Install the .NET SDK
On this page
You can use the Atlas Device SDK for .NET to develop apps in C# .NET with several frameworks, including .NET MAUI, Xamarin, Avalonia UI, UWP, Unity, and others.
For more information about specific version support for .NET, .NET MAUI, UWP, and Xamarin, see Platform and Framework Compatibility - .NET SDK.
Note
Integrating the .NET SDK with Unity has different prerequisites and install steps than the ones below. Learn how to Integrate the SDK with Unity.
Prerequisites
Before getting started, ensure you have installed Visual Studio:
Visual Studio 2015 Update 2 or later.
Visual Studio for Mac 7.0 or later.
Installation
Tip
Atlas Device SDK and Realm
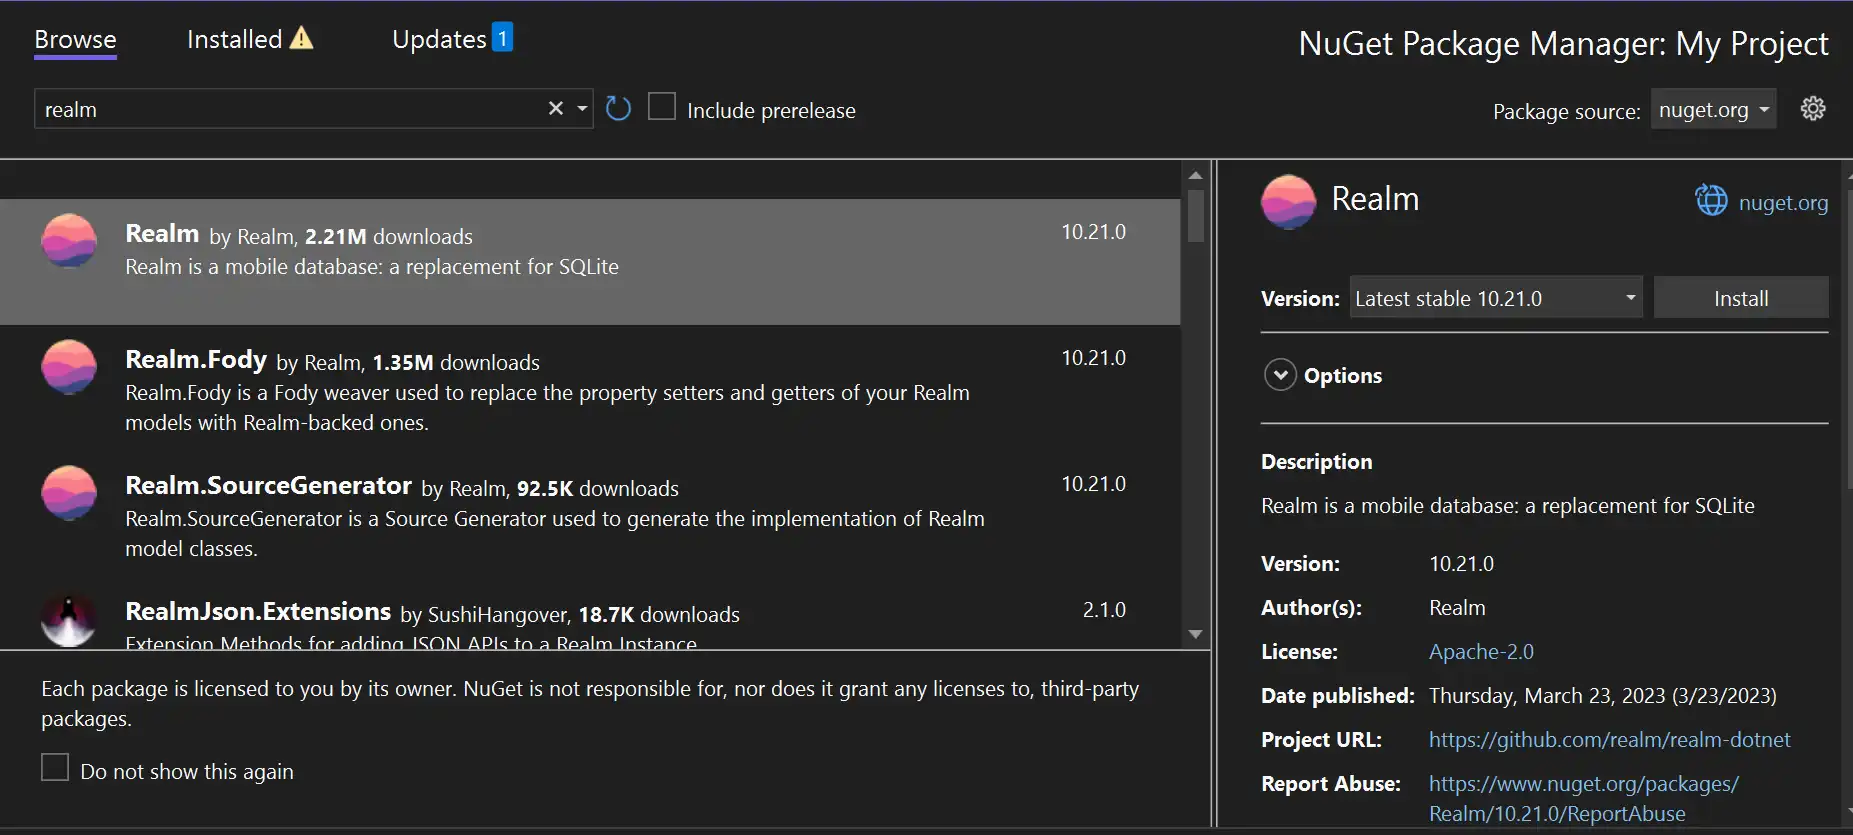
The SDK uses Realm Core database for device data persistence. When you install the .NET SDK, the package names reflect Realm naming.
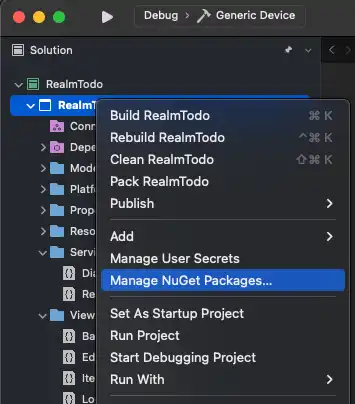
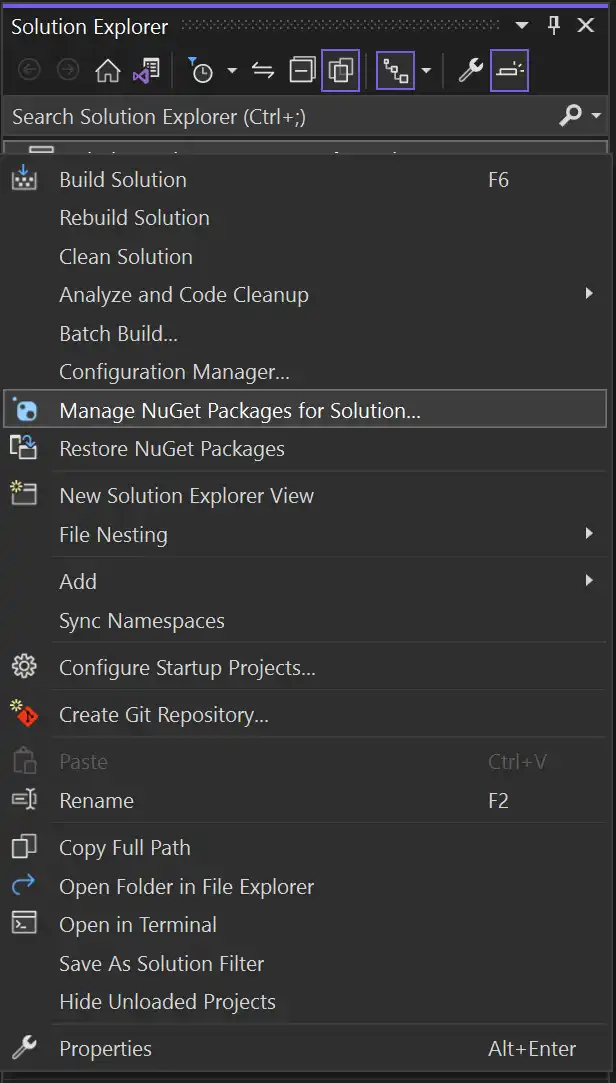
Follow these steps to add the .NET SDK to your project.
Important
Install the SDK for all projects
If you have a multi-platform solution, be sure to install the SDK for all of the platform projects, even if the given project doesn't contain any SDK-specific code.
Add the Realm Weaver to FodyWeavers.xml
Note
You can skip this step if you were not already using
Fody in your project.
Visual Studio will generate a properly-configured
FodyWeavers.xml file for you when you first build.
If your project was already using Fody, you must manually add the
Realm weaver to your FodyWeavers.xml file. When done,
your FodyWeavers.xml file should look something like
this:
<Weavers xmlns:xsi="http://www.w3.org/2001/XMLSchema-instance" xsi:noNamespaceSchemaLocation="FodyWeavers.xsd"> <Realm /> </Weavers>
Import the SDK
Add the following line to the top of your source files to use the SDK:
using Realms;


