So you want to try MongoDB, but you're not sure how to create a database. You're in the right place.
In this article, we will cover how to create a database using the MongoDB Atlas UI (user interface), the MongoDB shell (mongosh), or using Compass, the MongoDB GUI. All methods are available for MongoDB Atlas, MongoDB’s modern, multi-cloud database, and for self-managed clusters.
Looking for a detailed step by step guide on setting up Atlas Fully Managed? Check out our Atlas setup guide.
Table of contents
Using the MongoDB Atlas UI
The easiest way to get started with MongoDB is by using Atlas. A free tier with basic database functionalities is available. This free tier is more than enough for the purposes of this article.
Prerequisites for MongoDB Atlas
To create a database on MongoDB Atlas, you will need to register an Atlas account and create your first forever-free cluster:
- Register a free Atlas account with your email address (no credit card required)
- Deploy your first cluster in less than 10 minutes
Creating a MongoDB database with the Atlas UI
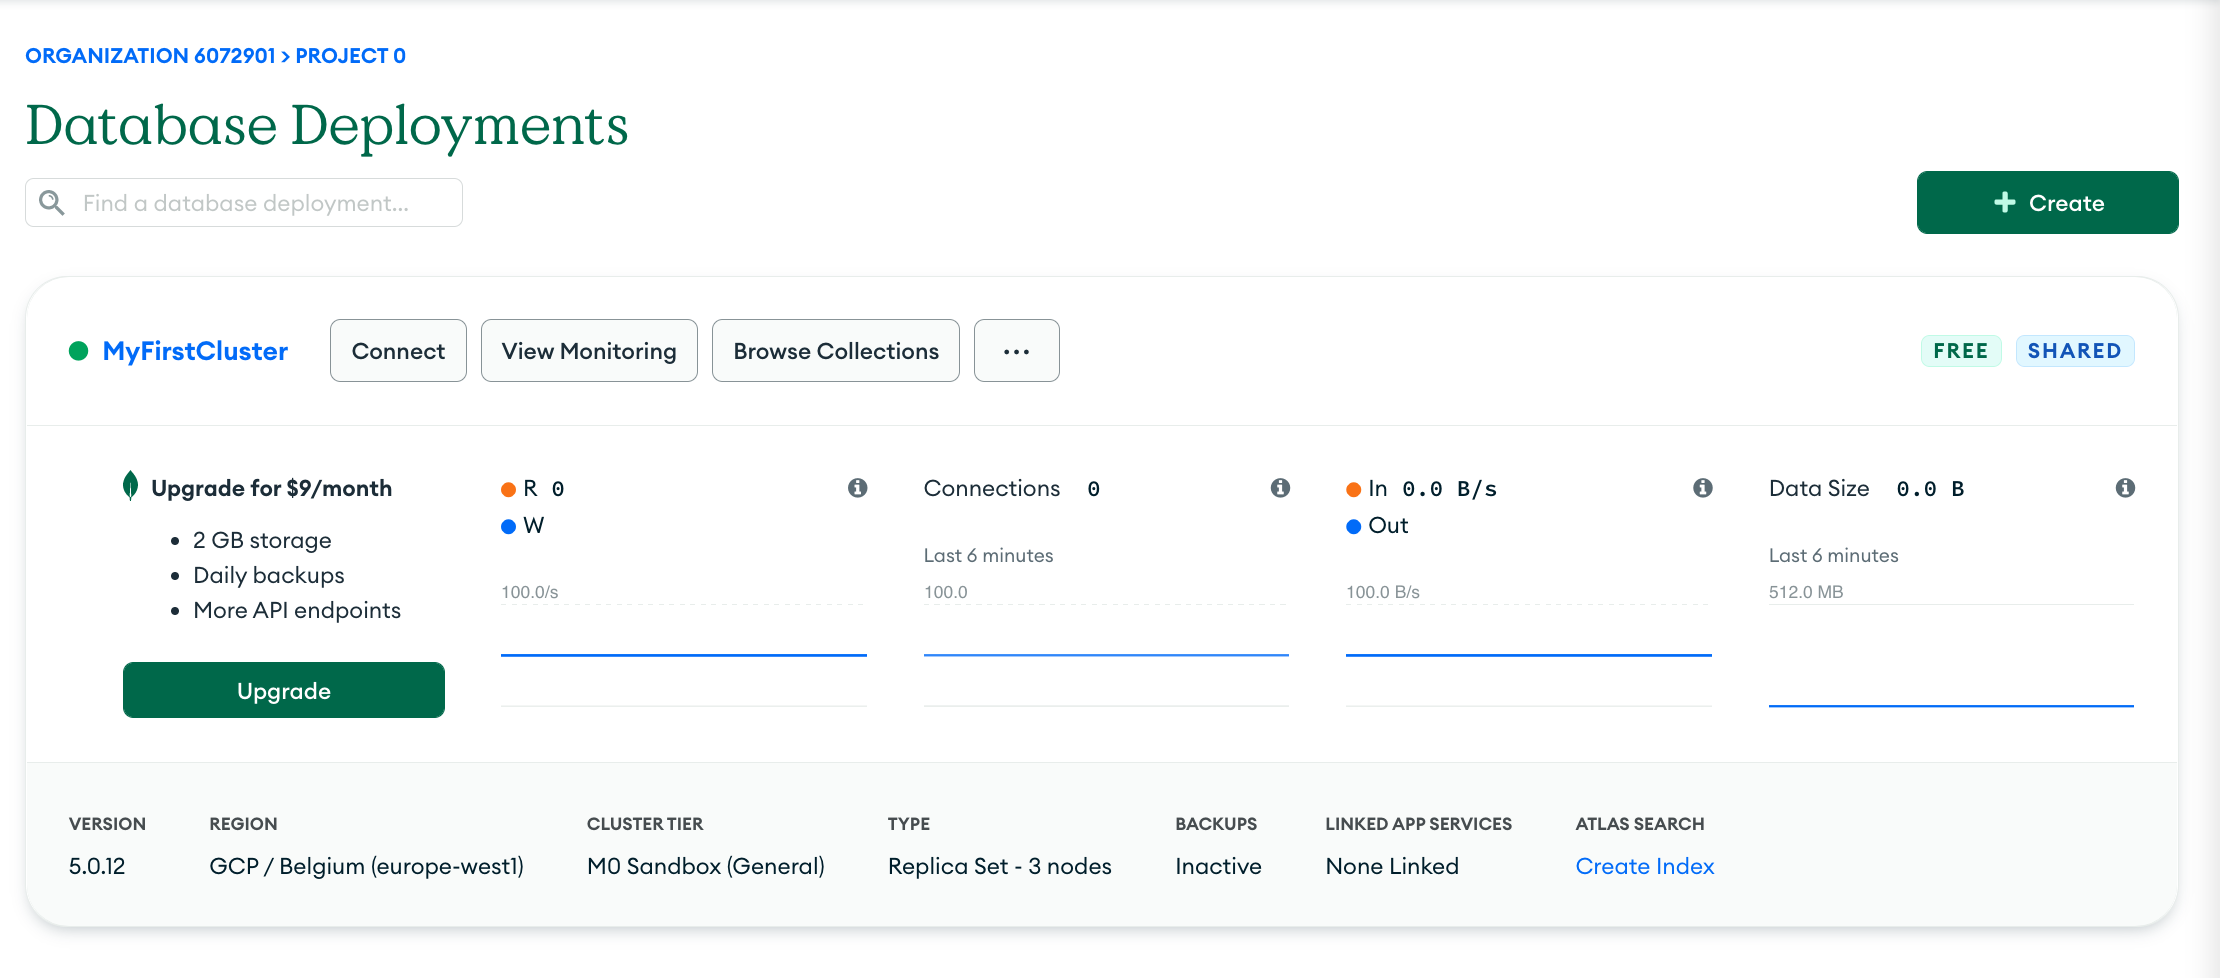
From your cluster page, click on “Browse Collections.”
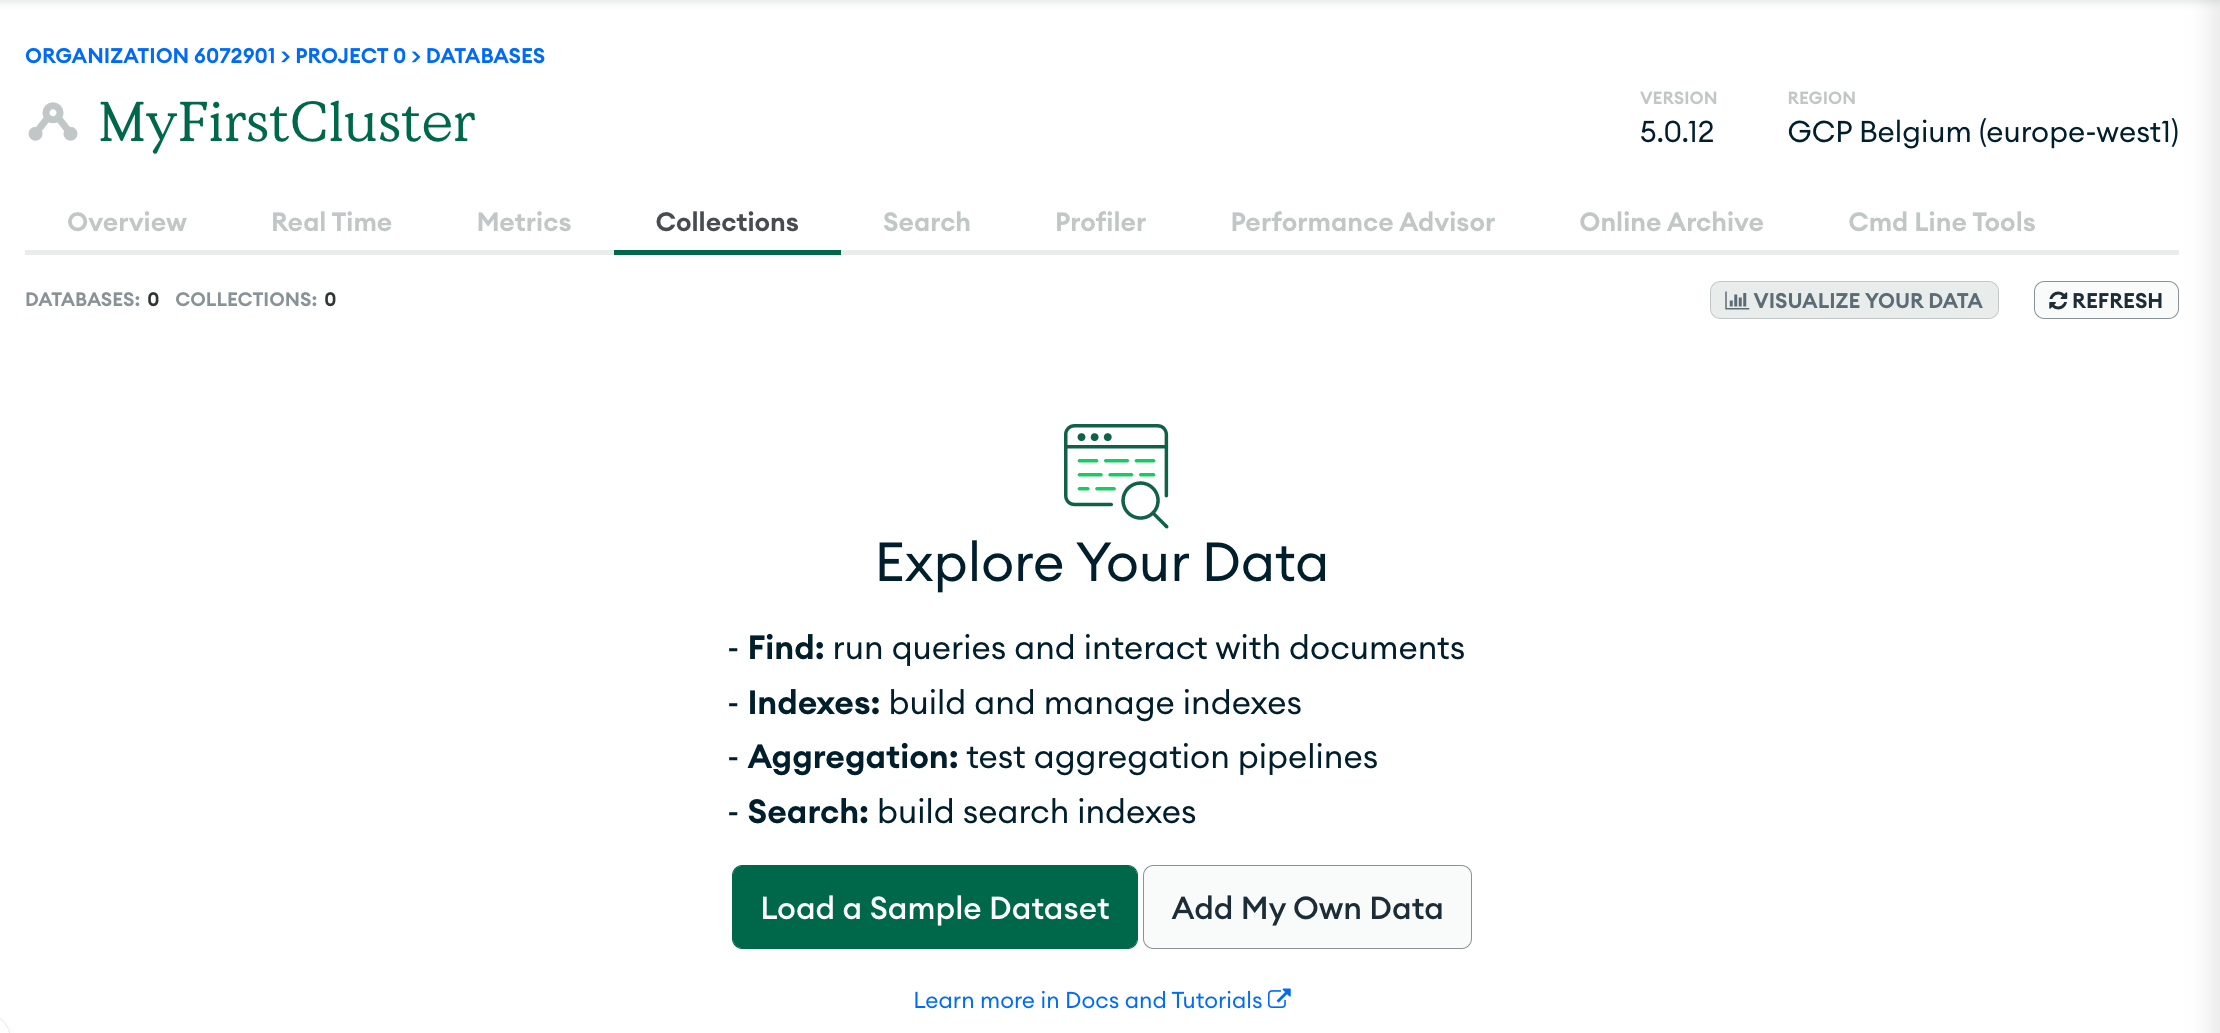
If there are no databases in this cluster, you will be presented with the option to create your first database by clicking on the “Add My Own Data” button.
This will open up a modal, asking you for a database name and collection name. Once these fields are filled, click on “Create” and your database will be created for you.

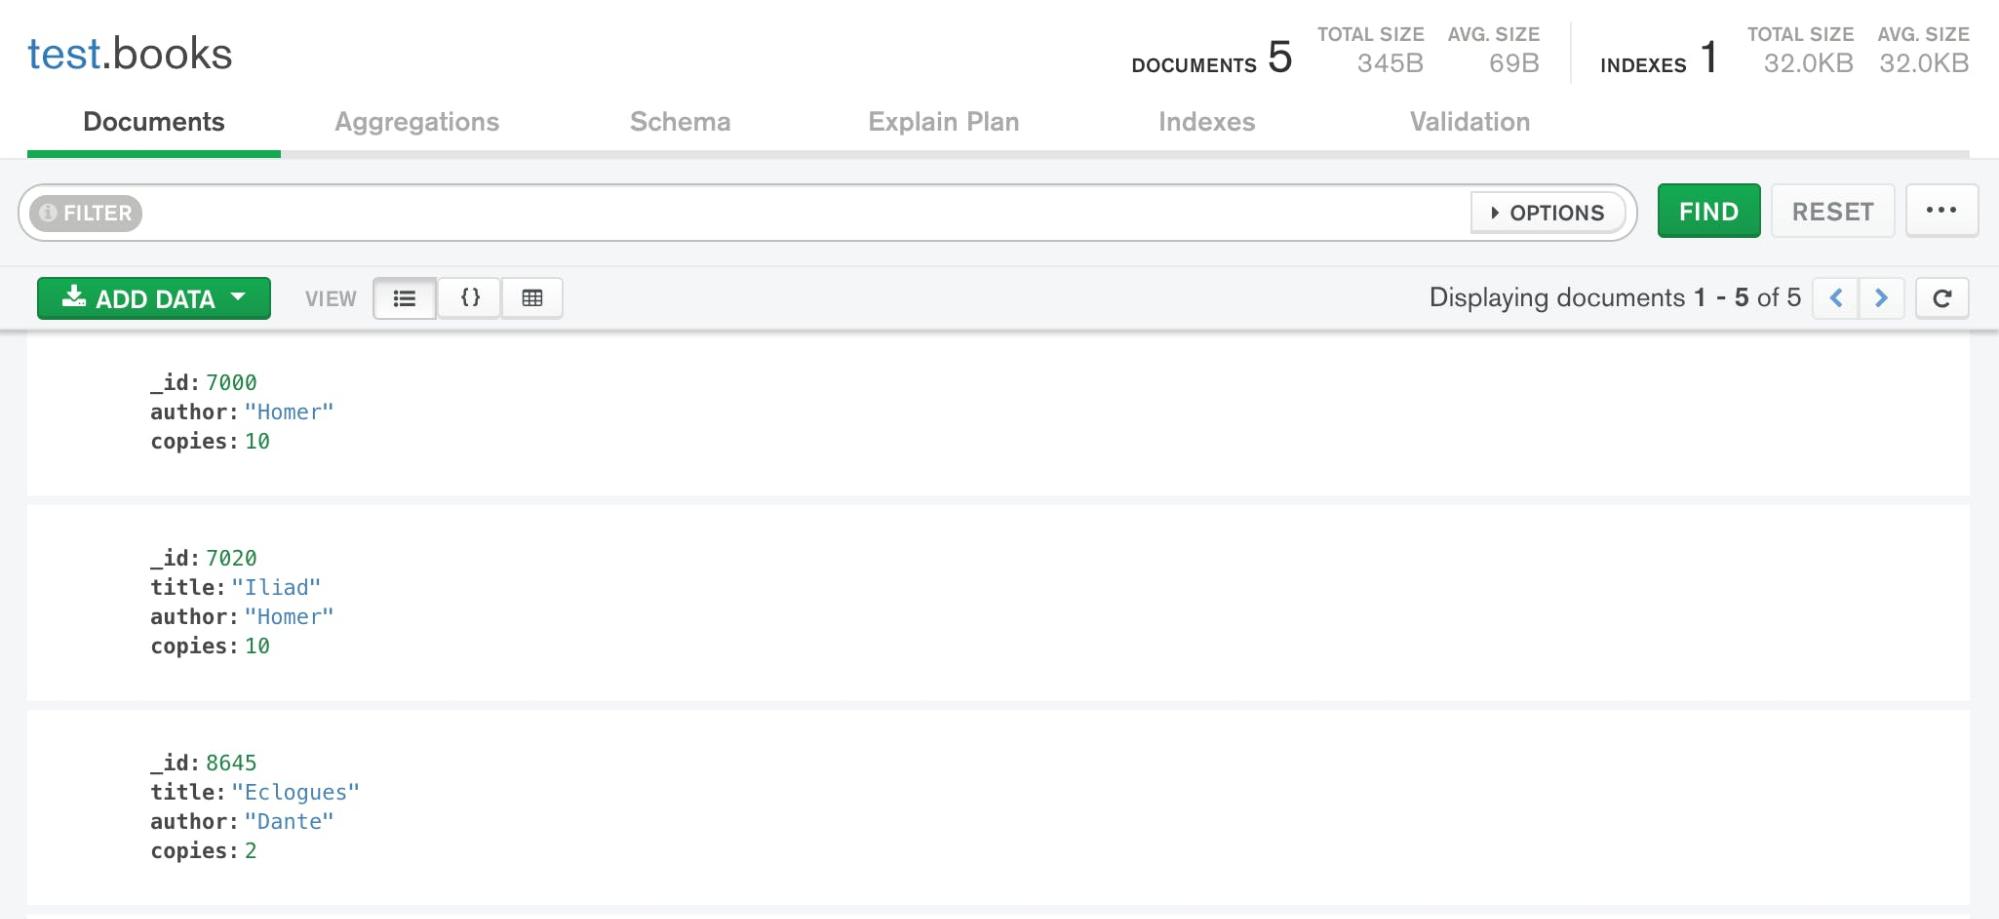
The database is now available to you. You can manually enter new documents, or connect to the database using any of the MongoDB drivers.
Using the MongoDB Shell
Like most complex software systems, MongoDB can be controlled with what is called a command-line interface, often referred to as a CLI.
By entering commands into the CLI, you tell MongoDB how to operate, get information about how the MongoDB cluster is running, and perform fundamental actions like the one we will cover today: creating a database.
To create a database using a command-line interface, the first task is to get access to the MongoDB cluster you are using via the MongoDB Shell. A shell is a program that allows you to enter commands into a software system.
Prerequisites for using the CLI with MongoDB Atlas
If you are using MongoDB Atlas, the steps to getting a shell are as follows:
- Add your IP to the IP access list for your Atlas project
- Make sure you have a database user on the MongoDB cluster you want to use
- Make sure you have the MongoDB Shell installed on your machine
- Open a terminal emulator, run the mongosh command, and log in to the MongoDB Atlas cluster
Find out more at Connect to Atlas via MongoDB Shell
Prerequisites for using the CLI with a self-managed MongoDB cluster
If you are running a self-managed cluster of MongoDB:
- Make sure the MongoDB self-managed cluster is installed and running on your computer or the computer you are going to connect to
- Make sure you have a database user on the MongoDB cluster you want to use
- Make sure the MongoDB Shell is installed on your computer
- Open a terminal, run the mongosh command and log in to the MongoDB self-managed cluster
Find out more at Connect to a Deployment from the MongoDB Shell