Overview
このガイドでは、Ruby on Rails 8 をウェブフレームワークとして使用するRubyウェブアプリケーションを作成する方法を学びます。Ruby on Rails は、アプリケーションを構築するためのモデル ビュー コントロール(MVC)アーキテクチャ パターンに準拠したRubyのフルスタックウェブアプリケーションフレームワークです。
このチュートリアルのアプリケーションは、次のレイヤーで構成されています。
データベースレイヤー: MongoDB は、データのストレージと検索を提供します。
アプリケーションレイヤー: Rails はHTTPリクエスト、ルーティング、論理プロセシングを処理します。
プレゼンテーションレイヤー: 埋め込みRubyテンプレートと CSS レストラン データをウェブページでレンダーします。
Rubyと Rails でMongoDB を使用する理由
MongoDB をRubyおよび Rails と統合することで、Mongoid の Object-Document マッパー(ODM)を使用して MongoDB の柔軟なドキュメントモデルを操作できます。Mongoid は Rails のデフォルトのActive レコード ORM を置き換え、MongoDB のスキーマの柔軟性を活用できると同時に、Rails を使用してデータのモデル化および表示方法を簡単に制御できます。
クイック スタート チュートリアル
このチュートリアルでは、 Rubyと Rails を使用して Webアプリケーションをビルドする方法を説明します。アプリケーションはサンプルレストラン データにアクセスし、データをクエリし、その結果をローカルでホストされているサイトに表示します。このチュートリアルには、 MongoDB AtlasでホストされているMongoDBクラスターに接続し、データベースのデータにアクセスして表示する手順も含まれています。
Tip
Mongoid なしでRubyドライバーを使用してMongoDBに接続する場合は、 「Rubyドライバーを使い始める」チュートリアルに従ってください。
プロジェクトを設定する
このセクションの手順に従って、プロジェクトの依存関係のインストール、Atlas クラスターの作成、およびアプリケーション構造の設定を行います。
前提条件を確認します。
クイック スタートアプリケーションを作成する前に、開発環境に次のソフトウェアをインストールしてください。
前提条件 | ノート |
|---|---|
バージョン 3.1 以降を使用します。 | |
これはRuby用のパッケージマネージャーです。 | |
コードエディター | このチュートリアルではVisual Studio CodeRuby拡張機能を持つを使用しますが、お好みのエディターを使用できます。 |
ターミナルアプリとシェル | MacOS ユーザーの場合は、 ターミナル または 類似アプリを使用します。Windowsユーザーの場合は、 PowerShell を使用します。 |
MongoDB Atlas クラスターを作成します。
MongoDB Atlas は、MongoDB配置をホストするマネージドクラウドデータベースサービスです。MongoDB配置がない場合は、MongoDBを使い始めるチュートリアルを完了することで、MongoDBクラスターを無料で作成できます(クレジットは不要)。MongoDBを使い始めるチュートリアルでは、このチュートリアルで使用されるsample_restaurantsデータベースなどのサンプルデータセットをクラスターにロードする方法も説明します。
MongoDBクラスターに接続するには、接続 URI を使用する必要があります。接続文字列を検索する方法については、MongoDBを使い始めるチュートリアルの接続文字列の追加セクションを参照してください。
重要
接続stringを安全な場所に保存します。
バックエンドの設定
プロジェクト構造と依存関係を設定したら、このセクションの手順に従ってMongoDBに接続し、データモデルを設定します。
MongoDB接続を構成します。
config/mongoid.ymlファイルに移動し、その内容を次のコードで置き換えます。
development: clients: default: uri: <connection_URI>
<connection_URI> プレースホルダーを、前の手順で保存した接続 URI に置き換えます。URI に sample_restaurantsデータベース名が含まれていることを確認します。
データモデルを作成します。
次のコマンドを実行中て、name、cuisine、borough フィールドを使用して Restaurant モデルを生成します。
bin/rails g scaffold Restaurant name:string cuisine:string borough:string
Restaurant モデルは、sample_restaurantsデータベース内の restaurantsコレクションを表します。上記のコマンドでは、Restaurant モデルのコントローラーとビュー ファイルも作成されます。これらのファイルを含むディレクトリは、アプリケーションの appディレクトリにあります。
ルートを構成し、カスタムアクションを追加します。
config/routes.rbファイルに移動し、その内容を次のコードで置き換えます。
Rails.application.routes.draw do resources :restaurants get "browse" => "restaurants#browse" # Defines the root path route ("/") root "restaurants#index" end
次に、次のメソッドを app/controllers/restaurants_controller.rbファイルに追加します。
# GET /browse def browse @restaurants = Restaurant .where(name: /Moon/i).and(borough: "Queens") end
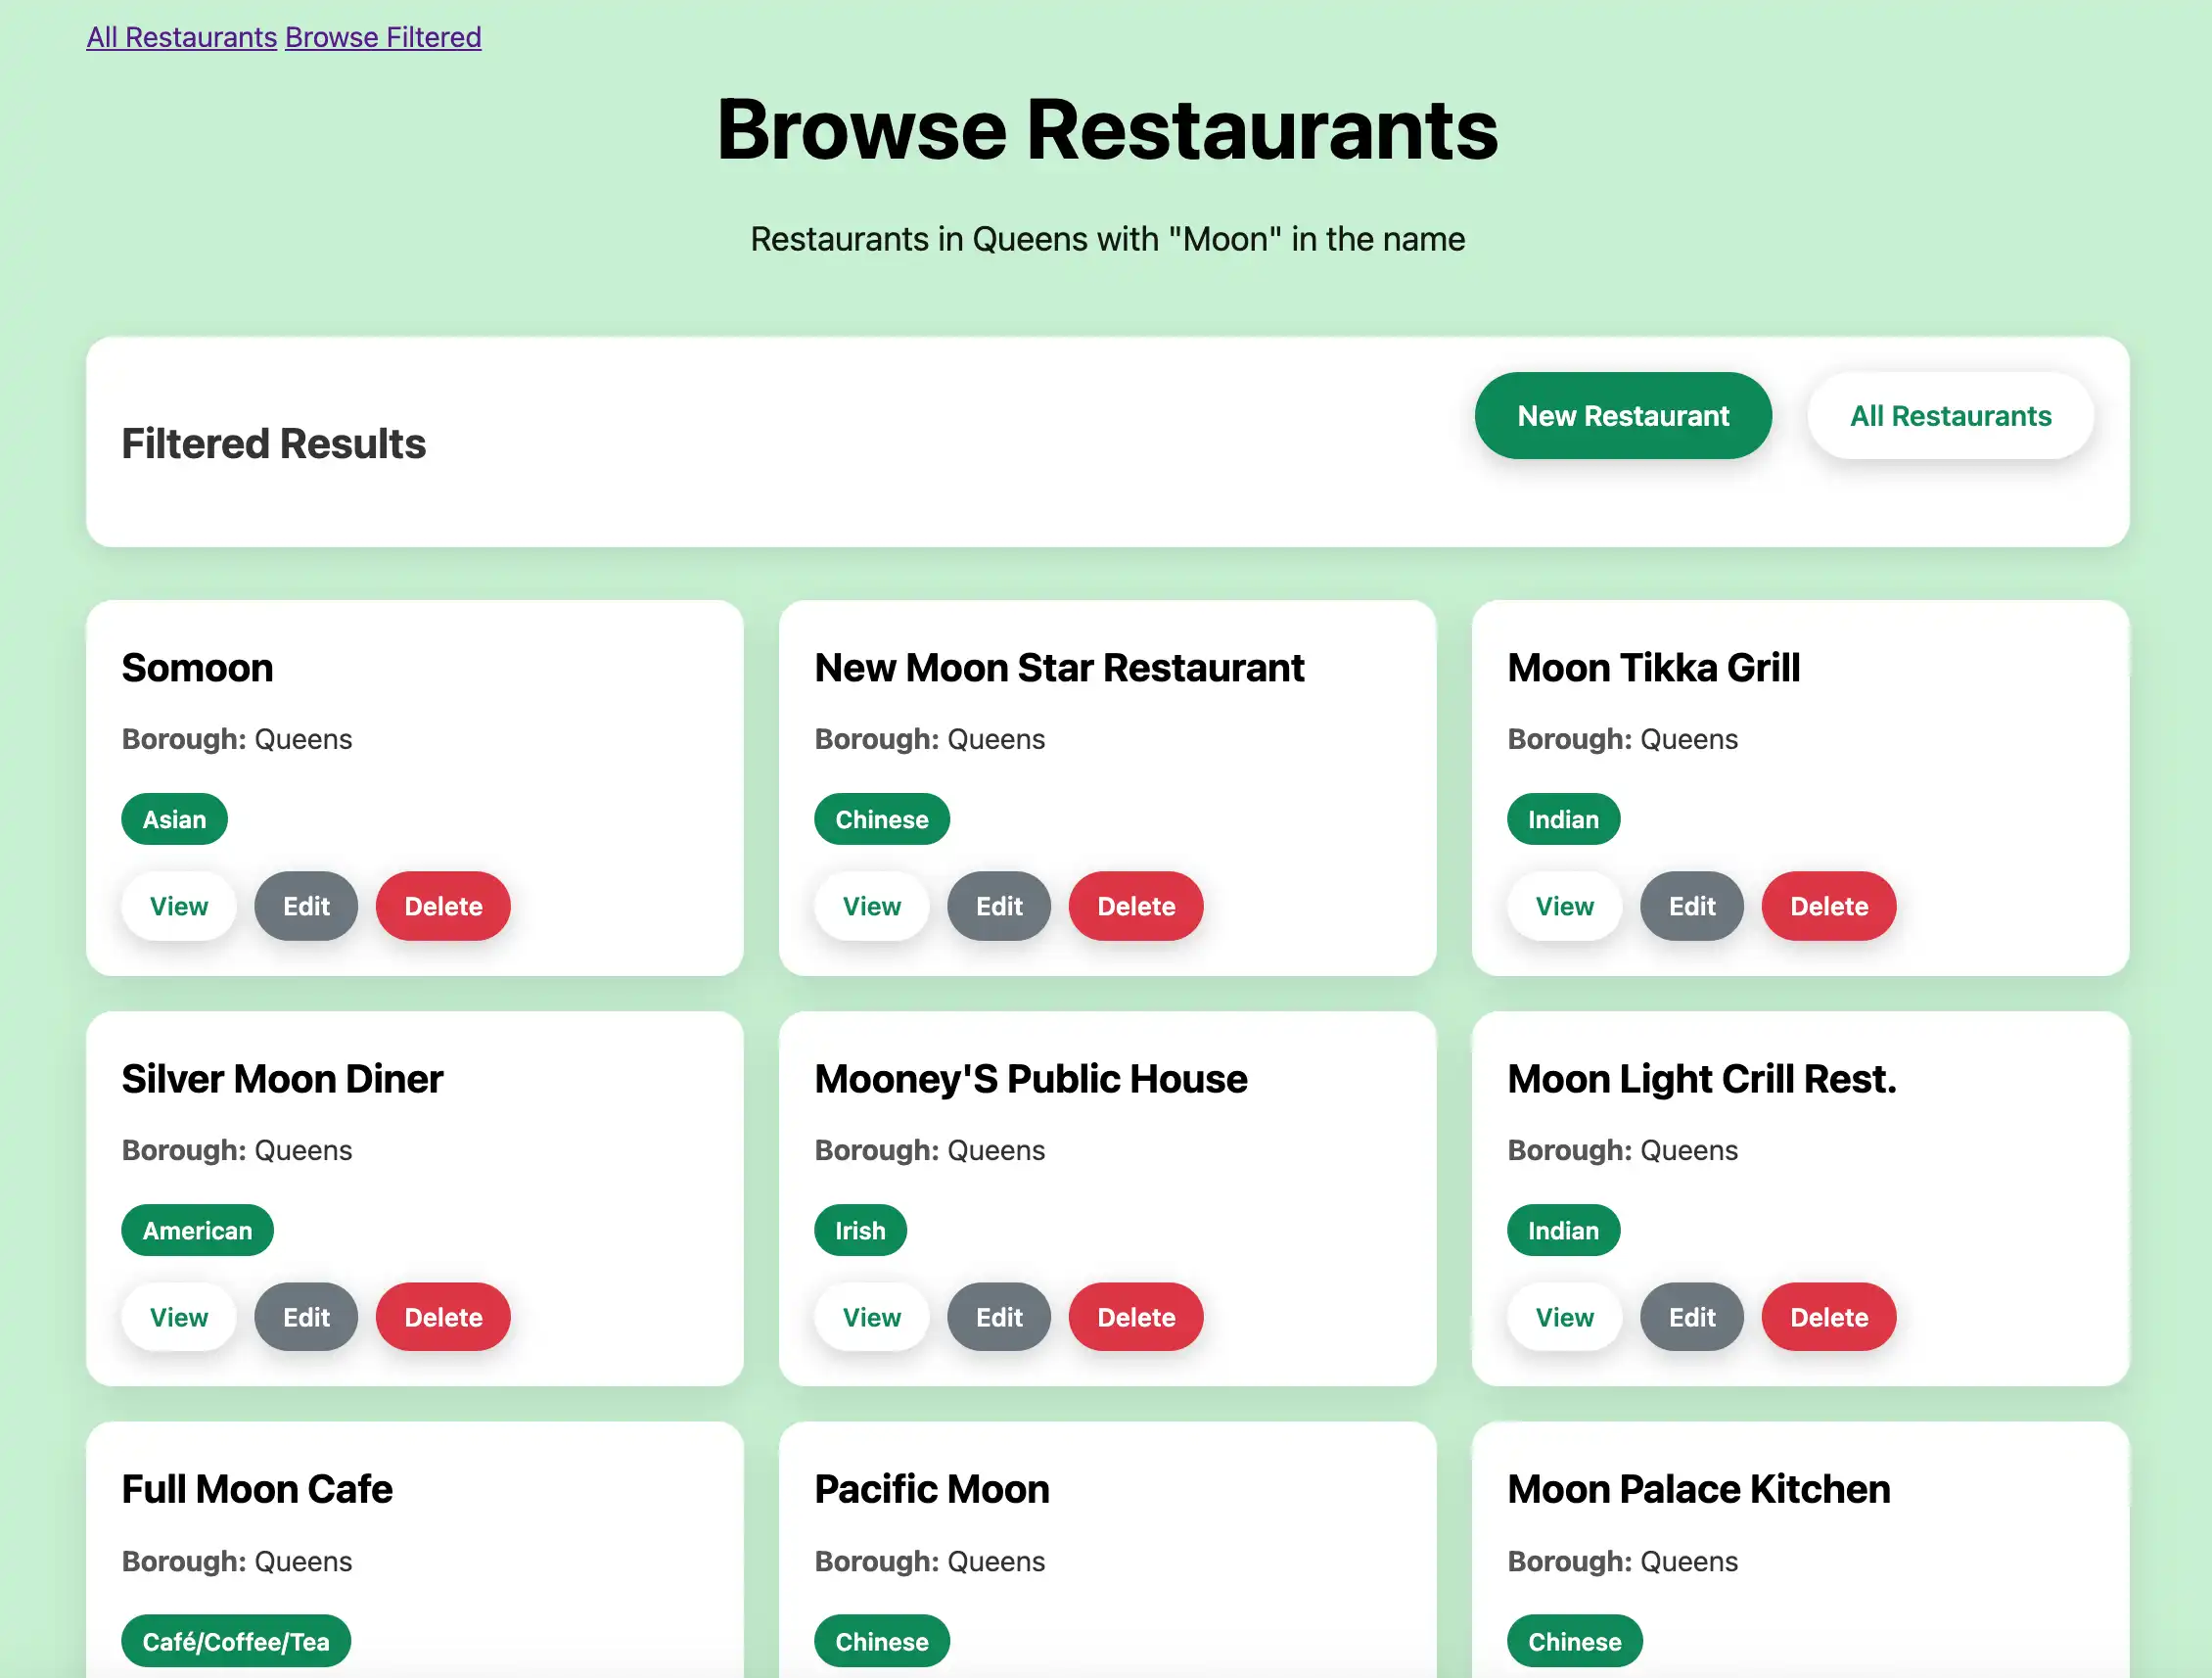
このメソッドは、大文字と小文字を区別しない正規式の一致を使用して、名前に "Moon" が含まれるクイーンズのレストランをクエリします。
フロントエンドの設定
データレイヤーを設定したら、このセクションの手順に従ってユーザー インターフェイスのテンプレートとスタイルを作成します。
メインのレイアウトを更新しました。
app/views/layouts/application.html.erbファイルに移動し、その内容を次のコードで置き換えます。
<!DOCTYPE html> <html> <head> <title><%= content_for(:title) || "Restaurant Directory" %></title> <meta name="viewport" content="width=device-width,initial-scale=1"> <%= csrf_meta_tags %> <%= csp_meta_tag %> <%= stylesheet_link_tag :app, "data-turbo-track": "reload" %> <%= javascript_importmap_tags %> </head> <body> <div class="container"> <nav class="navigation"> <%= link_to "All Restaurants", root_path, class: "nav-link" %> <%= link_to "Browse Filtered", browse_path, class: "nav-link" %> </nav> <%= yield %> </div> </body> </html>
このファイルは、アプリケーション内のすべてのページのメインのテンプレートラッパーです。これには、ナビゲーション リンク、ページ タイトル、セキュリティとアセットの読み込みに必要な Railsヘルパータグが含まれます。
レストラン リスト ビューを作成します。
app/views/restaurants/index.html.erbファイルに移動し、その内容を次のコードで置き換えます。
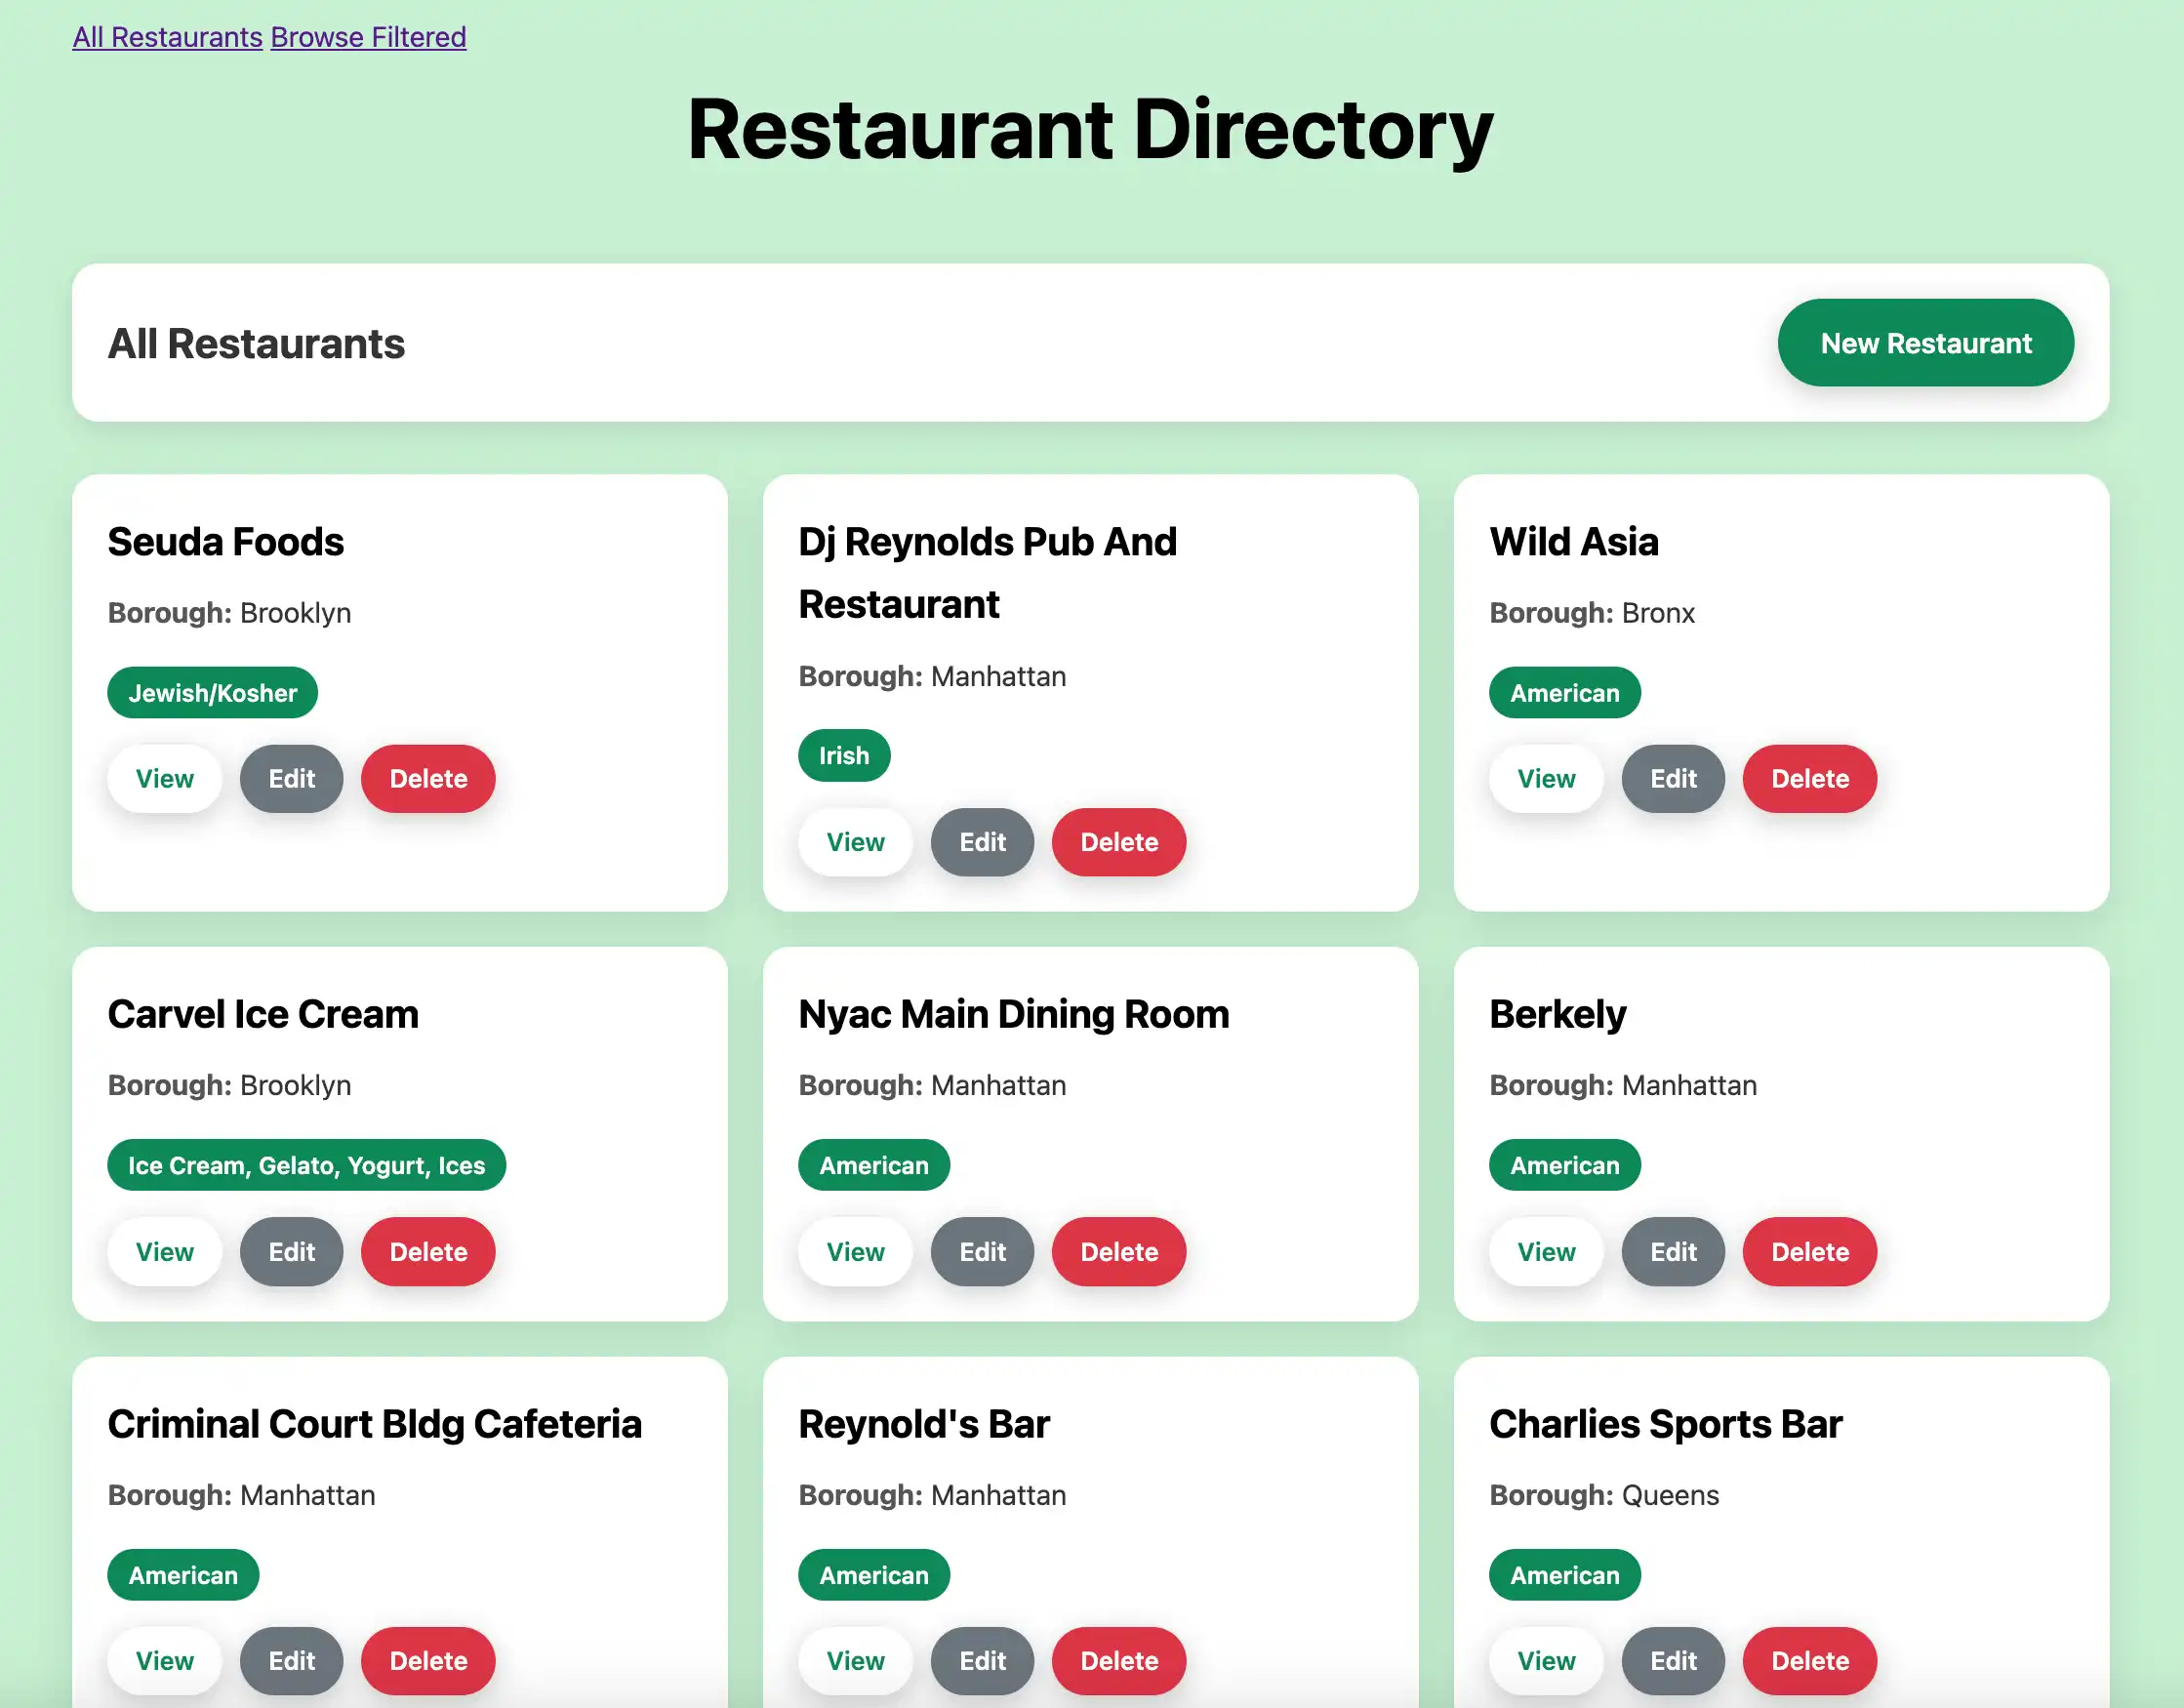
<% content_for :title, "Restaurant Directory" %> <header> <h1>Restaurant Directory</h1> </header> <div class="actions-header"> <h2>All Restaurants</h2> <%= link_to "New Restaurant", new_restaurant_path, class: "btn btn-success" %> </div> <div class="restaurants-grid"> <% @restaurants.each do |restaurant| %> <div class="restaurant-card"> <div class="restaurant-name"><%= restaurant.name %></div> <div class="restaurant-info"> <strong>Borough:</strong> <%= restaurant.borough %> </div> <div class="cuisine-tag"><%= restaurant.cuisine %></div> <div class="btn-group"> <%= link_to "View", restaurant, class: "btn" %> <%= link_to "Edit", edit_restaurant_path(restaurant), class: "btn btn-secondary" %> <%= link_to "Delete", restaurant_path(restaurant), method: :delete, confirm: "Are you sure?", class: "btn btn-danger" %> </div> </div> <% end %> </div>
このビューファイルには、すべてのレストランがグリッド メニューで表示されます。また、各レストランの表示、編集、削除を行うためのアクションボタンが含まれています。
フィルタリングされたビューを作成します。
app/views/restaurants/browse.html.erb という名前の新しいファイルを作成し、以下のコードを貼り付けます。
<% content_for :title, "Browse Restaurants" %> <header> <h1>Browse Restaurants</h1> <div class="subtitle">Restaurants in Queens with "Moon" in the name</div> </header> <div class="actions-header"> <h2>Filtered Results</h2> <div class="controls"> <%= link_to "New Restaurant", new_restaurant_path, class: "btn btn-success" %> <%= link_to "All Restaurants", root_path, class: "btn" %> </div> </div> <div class="restaurants-grid"> <% @restaurants.each do |restaurant| %> <div class="restaurant-card"> <div class="restaurant-name"><%= restaurant.name %></div> <div class="restaurant-info"> <strong>Borough:</strong> <%= restaurant.borough %> </div> <div class="cuisine-tag"><%= restaurant.cuisine %></div> <div class="btn-group"> <%= link_to "View", restaurant, class: "btn" %> <%= link_to "Edit", edit_restaurant_path(restaurant), class: "btn btn-secondary" %> <%= link_to "Delete", restaurant_path(restaurant), method: :delete, confirm: "Are you sure?", class: "btn btn-danger" %> </div> </div> <% end %> </div>
このビューファイルには、フィルタリングされたレストランの結果が表示され、カスタム browse コントローラーアクションのレストランのみが表示されます。
Add CSS styling.
次のコードをapp/assets/stylesheets/application.cssファイルに追加します。
* { margin: 0; padding: 0; box-sizing: border-box; } body { font-family: -apple-system, BlinkMacSystemFont, 'Segoe UI', Roboto, Oxygen, Ubuntu, Cantarell, sans-serif; line-height: 1.6; color: #333; background: rgb(198, 240, 209); min-height: 100vh; } .container { max-width: 1200px; margin: 0 auto; padding: 20px; } header { text-align: center; margin-bottom: 40px; color: rgb(0, 0, 0); } h1 { font-size: 3rem; margin-bottom: 10px; } .subtitle { font-size: 1.2rem; opacity: 0.9; } .controls { display: flex; justify-content: center; gap: 20px; margin-bottom: 30px; } .btn { background: white; color: #0d8958; border: none; padding: 12px 24px; border-radius: 25px; font-weight: 600; text-decoration: none; cursor: pointer; transition: all 0.3s ease; box-shadow: 0 4px 15px rgba(0,0,0,0.2); display: inline-block; } .btn:hover { transform: translateY(-2px); box-shadow: 0 6px 20px rgba(0,0,0,0.3); color: #0d8958; text-decoration: none; } .btn.btn-success { background: #0d8958; color: white; } .btn.btn-success:hover { background: #0a6b44; color: white; } .btn.btn-danger { background: #dc3545; color: white; } .btn.btn-danger:hover { background: #c82333; color: white; } .btn.btn-secondary { background: #6c757d; color: white; } .btn.btn-secondary:hover { background: #5a6268; color: white; } .restaurants-grid { display: grid; grid-template-columns: repeat(auto-fill, minmax(350px, 1fr)); gap: 20px; margin-top: 20px; } .restaurant-card { background: white; border-radius: 15px; padding: 20px; box-shadow: 0 8px 25px rgba(0,0,0,0.1); transition: transform 0.3s ease, box-shadow 0.3s ease; } .restaurant-card:hover { transform: translateY(-5px); box-shadow: 0 12px 35px rgba(0,0,0,0.15); } .restaurant-name { font-size: 1.4rem; font-weight: 700; color: #000000; margin-bottom: 10px; } .restaurant-info { margin-bottom: 8px; } .restaurant-info strong { color: #555; } .cuisine-tag { display: inline-block; background: #0d8958; color: white; padding: 4px 12px; border-radius: 15px; font-size: 0.85rem; font-weight: 600; margin-top: 10px; } .btn-group { display: flex; gap: 10px; margin-top: 15px; } .btn-group .btn { padding: 8px 16px; font-size: 0.9rem; } .notice { background: white; color: #0d8958; padding: 15px 20px; border-radius: 15px; margin-bottom: 20px; box-shadow: 0 4px 15px rgba(0,0,0,0.1); text-align: center; font-weight: 600; } .form-container { background: white; border-radius: 15px; padding: 30px; box-shadow: 0 8px 25px rgba(0,0,0,0.1); max-width: 600px; margin: 0 auto; } .form-group { margin-bottom: 20px; } .form-label { display: block; margin-bottom: 8px; font-weight: 600; color: #333; } .form-input { width: 100%; padding: 12px 16px; border: 2px solid #e9ecef; border-radius: 12px; font-size: 1rem; transition: border-color 0.3s ease; } .form-input:focus { outline: none; border-color: #0d8958; } .form-actions { display: flex; gap: 15px; justify-content: center; margin-top: 25px; } .page-header { text-align: center; margin-bottom: 30px; } .actions-header { display: flex; justify-content: space-between; align-items: center; margin-bottom: 30px; background: white; padding: 20px; border-radius: 15px; box-shadow: 0 4px 15px rgba(0,0,0,0.1); } .actions-header h1 { font-size: 2rem; color: #0d8958; margin: 0; } @media (max-width: 768px) { .container { padding: 10px; } h1 { font-size: 2rem; } .controls { flex-direction: column; align-items: center; } .restaurants-grid { grid-template-columns: 1fr; } .actions-header { flex-direction: column; gap: 15px; } .form-actions { flex-direction: column; } }
この CSSファイルは、サイトのグリッド 配置にスタイルを追加します。
アプリケーションの実行
最後に、このセクションの手順に従って、ブラウザインターフェイスを使用してウェブアプリケーションを実行し、レストランのデータを調べます。
Railsアプリケーション を起動します。
プロジェクトディレクトリに移動し、次のコマンドを実行してください。
bin/rails s
成功させた場合、コマンド出力は次の例のようになります。
=> Booting Puma => Rails 8.0.1 application starting in development => Run `bin/rails server --help` for more startup options Puma starting in single mode... * Puma version: 6.4.3 (ruby 3.2.5-p208) ("The Eagle of Durango") * Min threads: 3 * Max threads: 3 * Environment: development * PID: 66973 * Listening on http://127.0.0.1:3000 * Listening on http://[::1]:3000 * Listening on http://127.0.2.2:3000 * Listening on http://127.0.2.3:3000 Use Ctrl-C to stop
Webアプリケーションを開きます。
ウェブ ブラウザで http://:127.0.0.1 3000を開きます。最初のランディング ページには、sample_restaurants.restaurantsコレクション内のすべてのレストランが表示されます。

次に、[Browse Filtered] ボタンをクリックして、名前に "Moon" が含まれるクイーンズのレストランを表示します。

クイック スタート チュートリアルが完了しました。これらの手順を完了すると、 MongoDBの配置に接続し、サンプルレストラン データに対してクエリを実行し、完全なCRUD機能を備えてローカルでホストされているウェブ インターフェースに結果を表示するRubyと Rails のウェブアプリケーションが作成されます。
追加リソース
Ruby、Rails、Mongoid、 MongoDBの詳細については、次のリソースを表示します。
Ruby on Rails のドキュメント
Ruby言語ドキュメント