Auto Pausing Inactive Clusters
Rate this article
A couple of years ago I wrote an article on how to pause and/or scale clusters using scheduled triggers. This article represents a twist on that concept, adding a wrinkle that will pause clusters across an entire organization based on inactivity. Specifically, I’m looking at the Database Access History to determine activity.
It is important to note this logging limitation:
If a cluster experiences an activity spike and generates an extremely large quantity of log messages, Atlas may stop collecting and storing new logs for a period of time.
Therefore, this script could get a false positive that a cluster is inactive when indeed quite the opposite is happening. Given, however, that the intent of this script is for managing lower, non-production environments, I don’t see the false positives as a big concern.
The implementation uses a Scheduled Trigger. The trigger calls a series of App Services Functions, which use the Atlas Administration APIs to iterate over the organization’s projects and their associated clusters, testing the cluster inactivity (as explained in the introduction) and finally pausing the cluster if it is indeed inactive.

In order to call the Atlas Administrative APIs, you'll first need an API Key with the Organization Owner role. API Keys are created in the Access Manager, which you'll find in the Organization menu on the left:
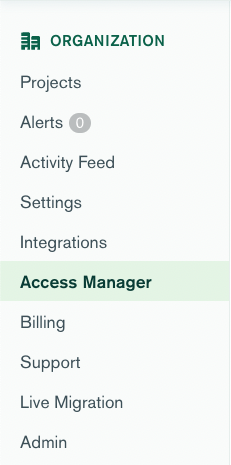
or the menu bar at the top:


Click Create API Key. Give the key a description and be sure to set the permissions to Organization Owner:
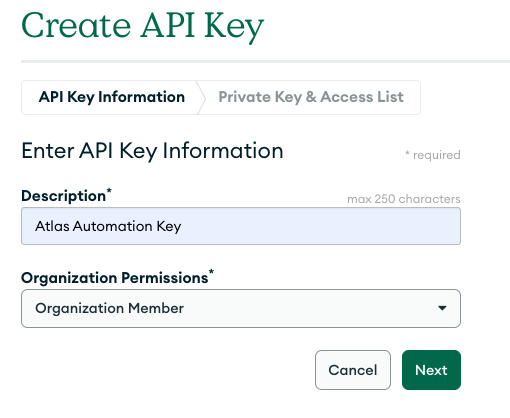
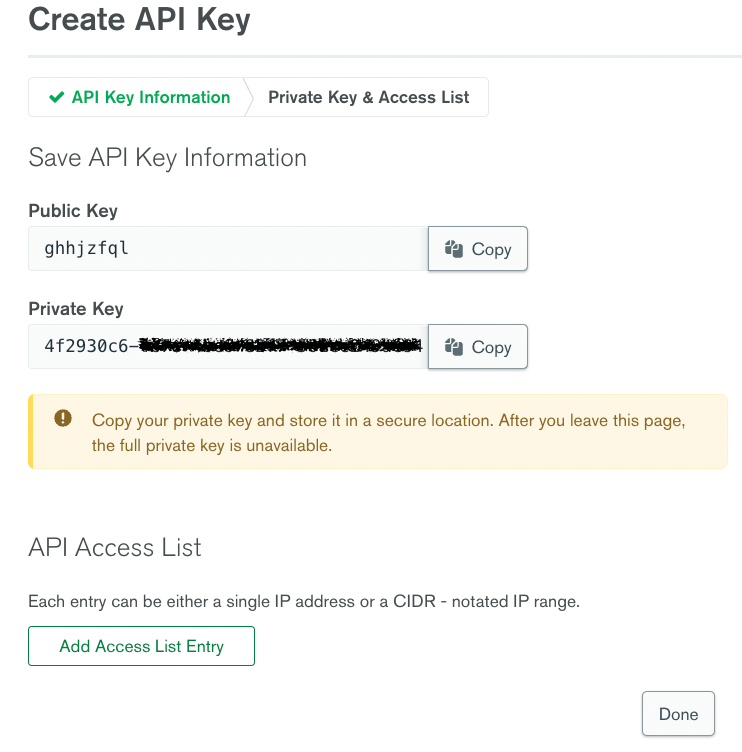
When you click Next, you'll be presented with your Public and Private keys. Save your private key as Atlas will never show it to you again.
As an extra layer of security, you also have the option to set an IP Access List for these keys. I'm skipping this step, so my key will work from anywhere.
Since this solution works across your entire Atlas organization, I like to host it in its own dedicated Atlas Project.

Atlas App Services provide a powerful application development backend as a service. To begin using it, just click the App Services tab.

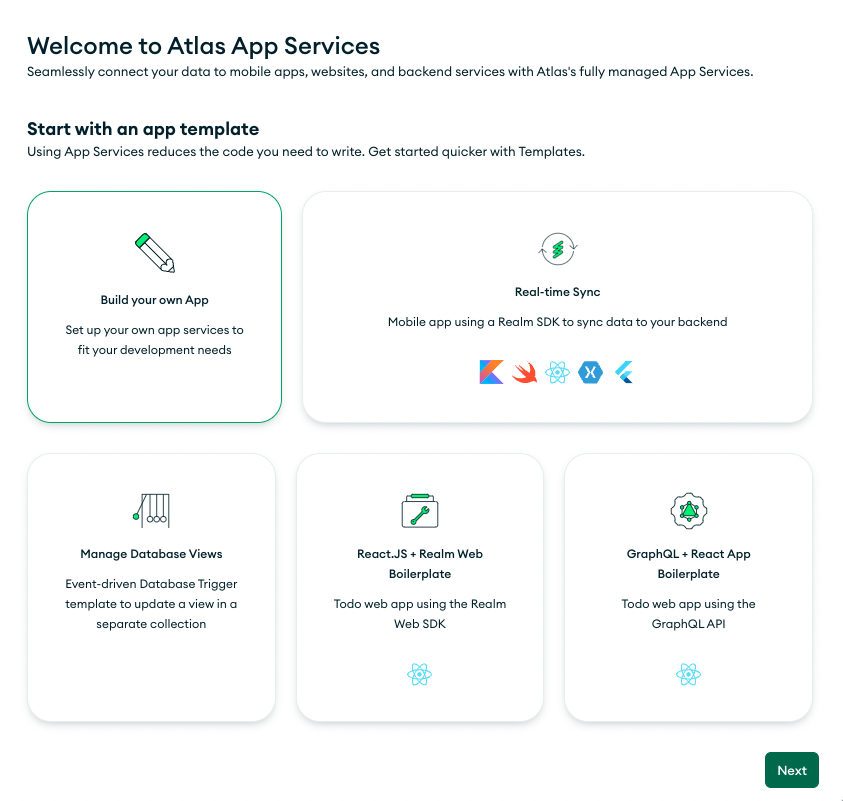
You'll see that App Services offers a bunch of templates to get you started. For this use case, just select the first option to Build your own App:
You'll then be presented with options to link a data source, name your application and choose a deployment model. The current iteration of this utility doesn't use a data source, so you can ignore that step (App Services will create a free cluster for you). You can also leave the deployment model at its default (Global), unless you want to limit the application to a specific region.
I've named the application Atlas Cluster Automation:
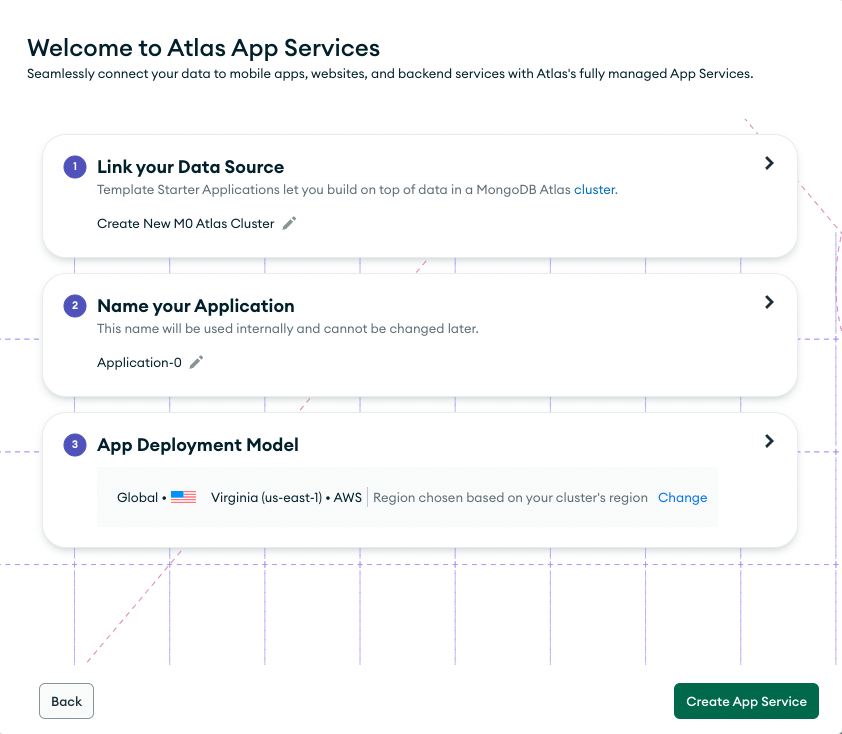
At this point in our journey, you have two options:
- Simply import the App Services application and adjust any of the functions to fit your needs.
- Build the application from scratch (skip to the next section).
The extract has a dependency on the API Secret Key, thus the import will fail if it is not configured beforehand.
Use the
Values menu on the left to Create a Secret named AtlasPrivateKeySecret containing the private key you created earlier (the secret is not in quotes):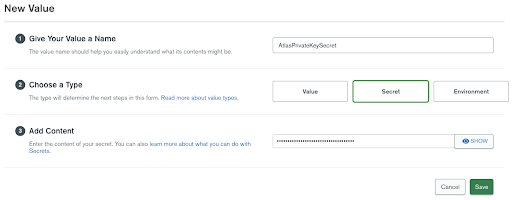
npm install -g mongodb-realm-cliTo configure your app with realm-cli, you must log in to Atlas using your API keys:
Select the
App Settings menu and copy your Application ID:
Run the following
realm-cli push command from the directory where you extracted the export:After the import, replace the `AtlasPublicKey' with your API public key value.
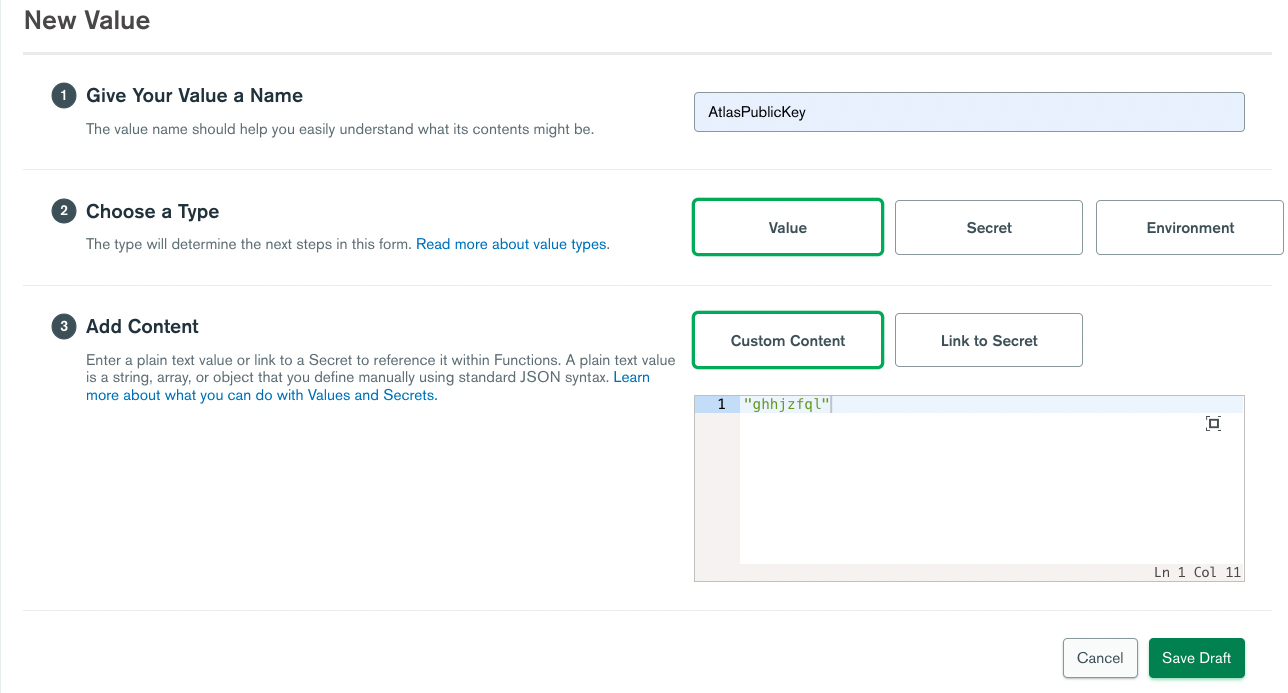


The trigger is schedule to fire every 30 minutes. Note, the pauseClusters function that the trigger calls currently only logs cluster activity. This is so you can monitor and verify that the fuction behaves as you desire. When ready, uncomment the line that calls the pauseCluster function:
In addition, the pauseClusters function can be configured to exclude projects (such as those dedicated to production workloads):
Now that you have reviewed the draft, as a final step go ahead and deploy the App Services application.

To understand what's included in the application, here are the steps to build it yourself from scratch.
The functions we need to create will call the Atlas Administration API, so we need to store our API Public and Private Keys, which we will do using Values & Secrets. The sample code I provide references these values as
AtlasPublicKey and AtlasPrivateKey, so use those same names unless you want to change the code where they’re referenced.You'll find
Values under the Build menu: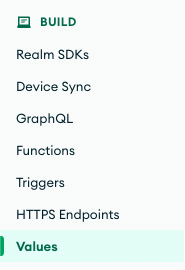
First, create a Value,
AtlasPublicKey, for your public key (note, the key is in quotes):
Create a Secret,
AtlasPrivateKeySecret, containing your private key (the secret is not in quotes):
The Secret cannot be accessed directly, so create a second Value,
AtlasPrivateKey, that links to the secret: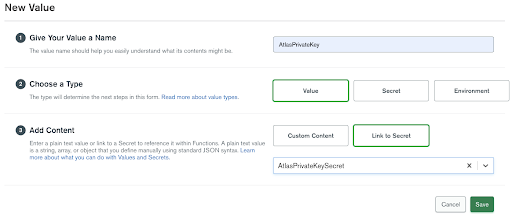

The four functions that need to be created are pretty self-explanatory, so I’m not going to provide a bunch of additional explanations here.
This standalone function can be test run from the App Services console to see the list of all the projects in your organization.
After
getProjects is called, the trigger iterates over the results, passing the projectId to this getProjectClusters function.To test this function, you need to supply a
projectId. By default, the Console supplies ‘Hello world!’, so I test for that input and provide some default values for easy testing.This function contains the logic that determines if the cluster can be paused.
Most of the work in this function is manipulating the timestamp in the database access log so it can be compared to the current time and lookback window.
In addition to returning true (active) or false (inactive), the function logs it’s findings, for example:
Checking if cluster 'SA-SHARED-DEMO' has been active in the last 60 minutesLike
getClusterProjects, there’s a block you can use to provide some test project ID and cluster names for easy testing from the App Services console.Finally, if the cluster is inactive, we pass the project Id and cluster name to
pauseCluster. This function can also resume a cluster, although that feature is not utilized for this use case.This function will be called by a trigger. As it's not possible to pass a parameter to a scheduled trigger, it uses a hard-coded lookback window of 60 minutes that you can change to meet your needs. You could even store the value in an Atlas database and build a UI to manage its setting :-).
The function will evaluate all projects and clusters in the organization where it’s hosted. Understanding that there are likely projects or clusters that you never want paused, the function also includes an excludeProjects array, where you can specify a list of project names to exclude from evaluation.
Finally, you’ll notice the call to
pauseCluster is commented out. I suggest you run this function for a couple of days and review the Trigger logs to verify it behaves as you’d expect.Yes, we’re still using a scheduled trigger, but this time the trigger will run periodically to check for cluster inactivity. Now, your developers working late into the night will no longer have the cluster paused underneath them.

As a final step you need to deploy the App Services application.

The genesis for this article was a customer, when presented my previous article on scheduling cluster pauses, asked if the same could be achieved based on inactivity. It’s my belief that with the Atlas APIs, anything could be achieved. The only question was what constitutes inactivity? Given the heartbeat and replication that naturally occurs, there’s always some “activity” on the cluster. Ultimately, I settled on database access as the guide. Over time, that metric may be combined with some additional metrics or changed to something else altogether, but the bones of the process are here.