As organizations’ business footprints expand, their digital footprints also grow. In today’s world, data is the fuel that keeps organizations growing and running, driving insights, innovation, and resilience.
But with an increased reliance on data also comes the responsibility to protect it. Backups act as an organization’s insurance policy, ensuring that in the event of a system failure, cyberattack, or human error, critical information can be quickly restored, minimizing downtime and business disruption.
That said, this insurance comes at a cost, one that scales directly with the volume of data being backed up and the retention period for which it must be stored. Although backups are typically stored in compressed form, over time their cumulative size can grow significantly, translating into substantial infrastructure and storage expenses.
From a strategic standpoint, organizations should aim to balance cost, compliance, and recoverability. Implementing tiered backup strategies, incremental snapshots, and data lifecycle management policies can help optimize storage costs without compromising recovery objectives. In essence, smart backup management isn’t just about data protection. It’s about data economics and operational resilience.
This blog post isn’t about how to initiate backups on MongoDB Atlas. Instead, it’s about optimizing long-term backup storage for large datasets while keeping costs under control.
Step-by-step guide
Below is a guide to automating the export of backups from MongoDB Atlas to AWS S3, offering a more cost-effective and compliance-friendly approach for both enterprises and startups.
Step 1: Cloning the GitHub repository
First, clone the GitHub repository and import the project into Postman or any other API testing tool of your choice.
Inside this repository, you’ll find a JSON file named MongoDB Atlas Backup → S3 Export Setup_Work.postman_collection.json.
This Postman collection contains all the required API calls to help you automate the export of MongoDB Atlas backups to AWS S3, allowing you to optimize cost and maintain compliance for long-term data retention.
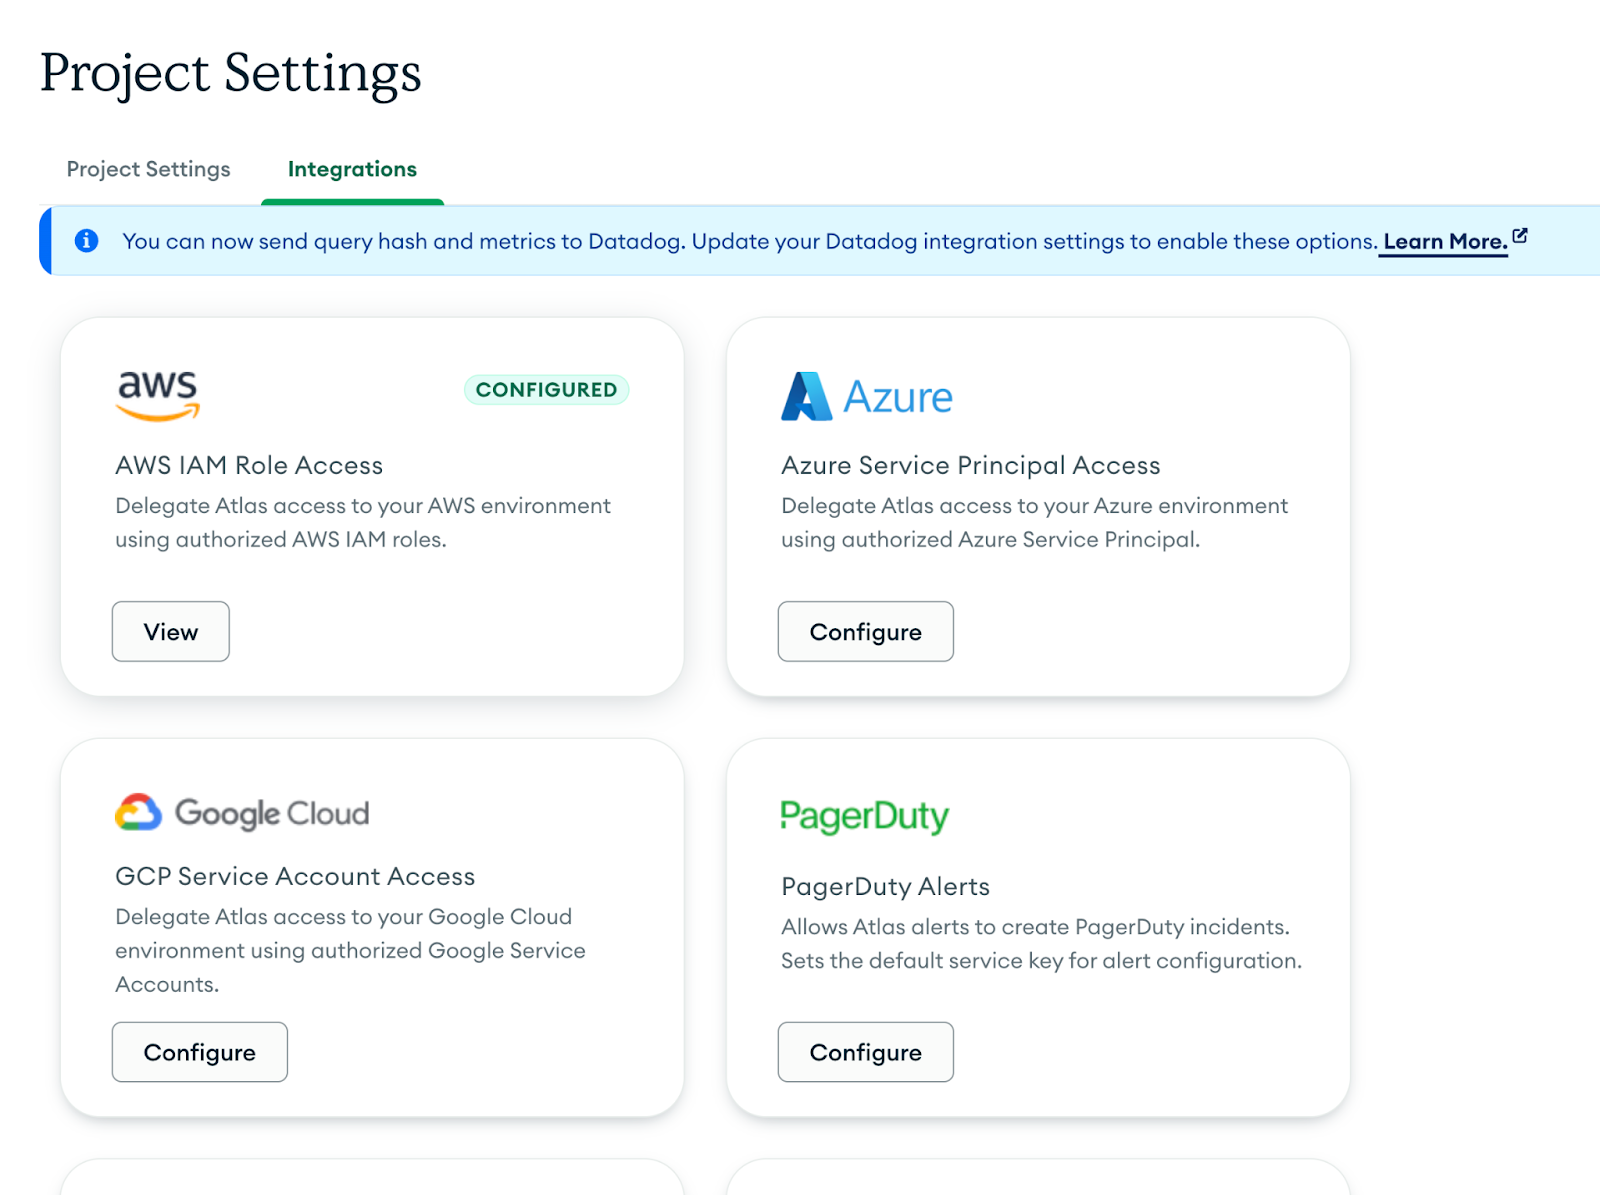
Step 2: Integration of MongoDB Atlas with AWS S3
MongoDB Atlas provides the capability to seamlessly integrate with AWS resources, including Amazon S3, allowing you to automate and manage data movement between your Atlas clusters and S3 buckets. This integration works by defining IAM policies and permissions on the AWS resource, enabling Atlas to securely access and interact with your S3 buckets.
You can follow the detailed step-by-step instructions in the official MongoDB documentation here: Set Up Unified AWS Access.
This setup ensures a secure and compliant connection between MongoDB Atlas and AWS, forming the foundation for backup exports, data archival, and long-term storage automation.
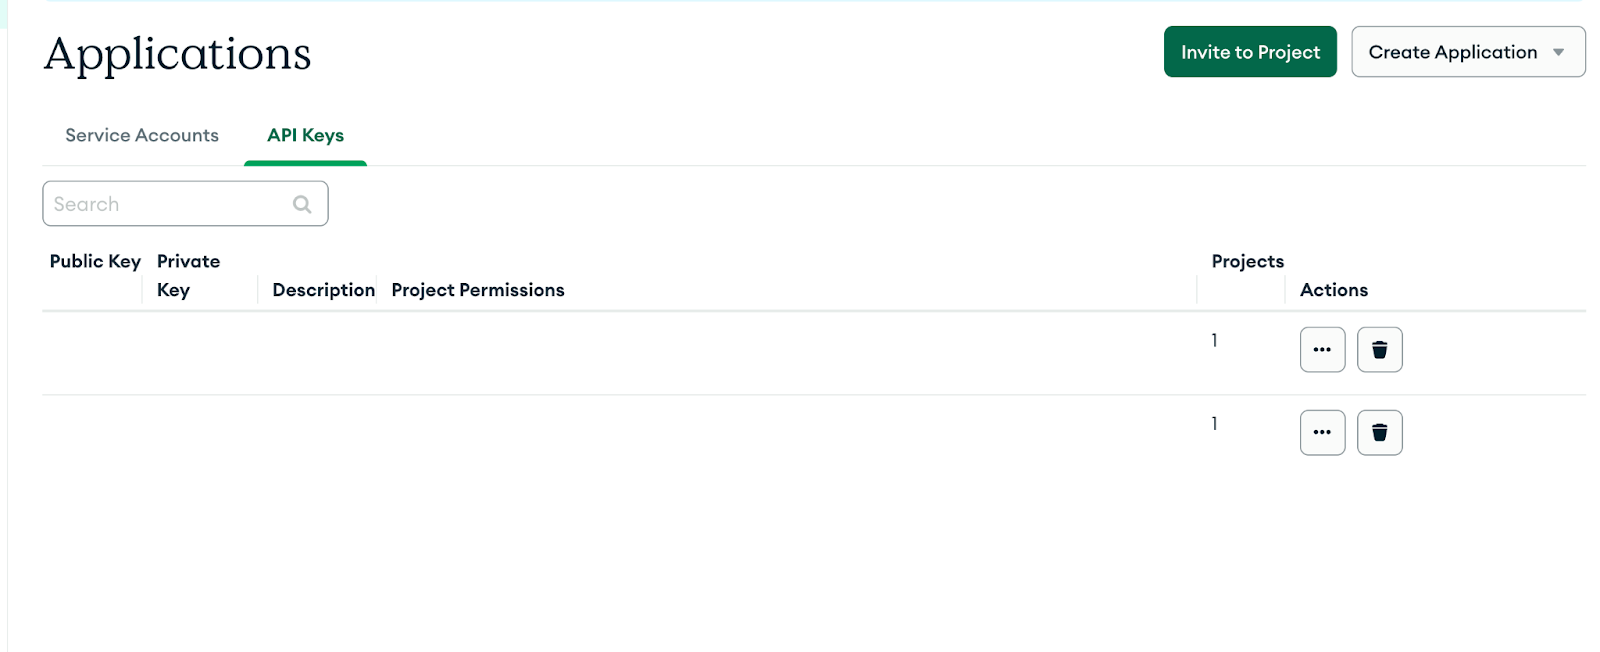
Step 3: Setting Up API Keys to Access the Atlas Admin API
If you’re an organization owner, you can create multiple API keys and assign roles based on your business needs. Alternatively, you can create projects, and the respective project owners can generate API keys with project-level ownership roles. These keys allow secure programmatic access to Atlas clusters and configurations through the MongoDB Atlas Admin API.
You can follow the official MongoDB documentation below to set up API keys using the Atlas UI:
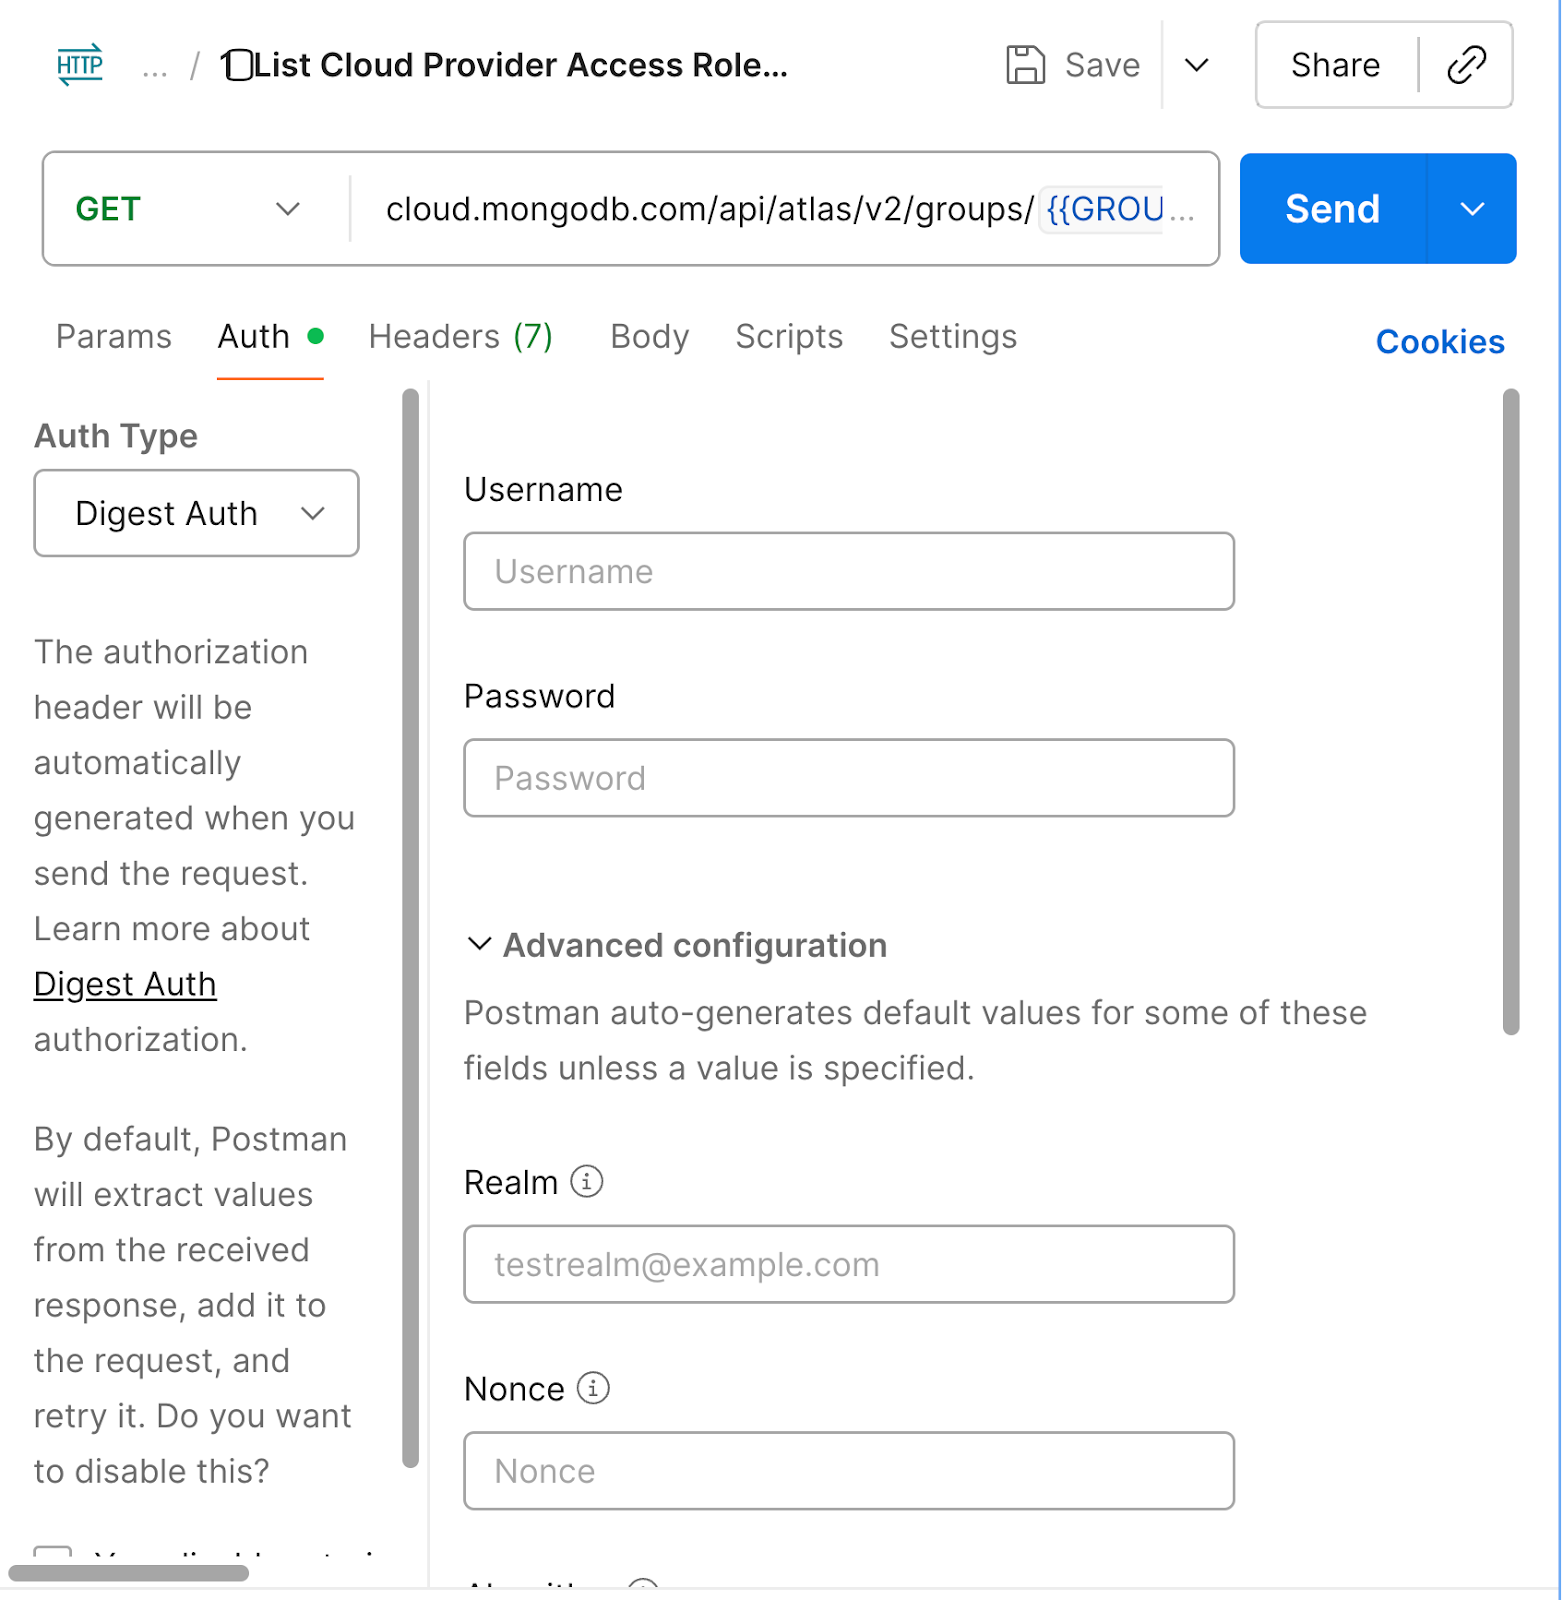
Step 4: Setting up API public and private keys in your Postman project
Once you’ve generated your API keys, set up your Public Key and Private Key within your Postman environment in digest auth to authenticate Atlas Admin API requests.
Please note that these keys are sensitive credentials and must be kept strictly confidential—never share them under any circumstances, especially if they belong to your production environment.
It’s also strongly recommended to define a key rotation policy within your organization and review it regularly in collaboration with your SRE or DevOps teams. This ensures that your API access remains secure and compliant with your organization’s security standards.
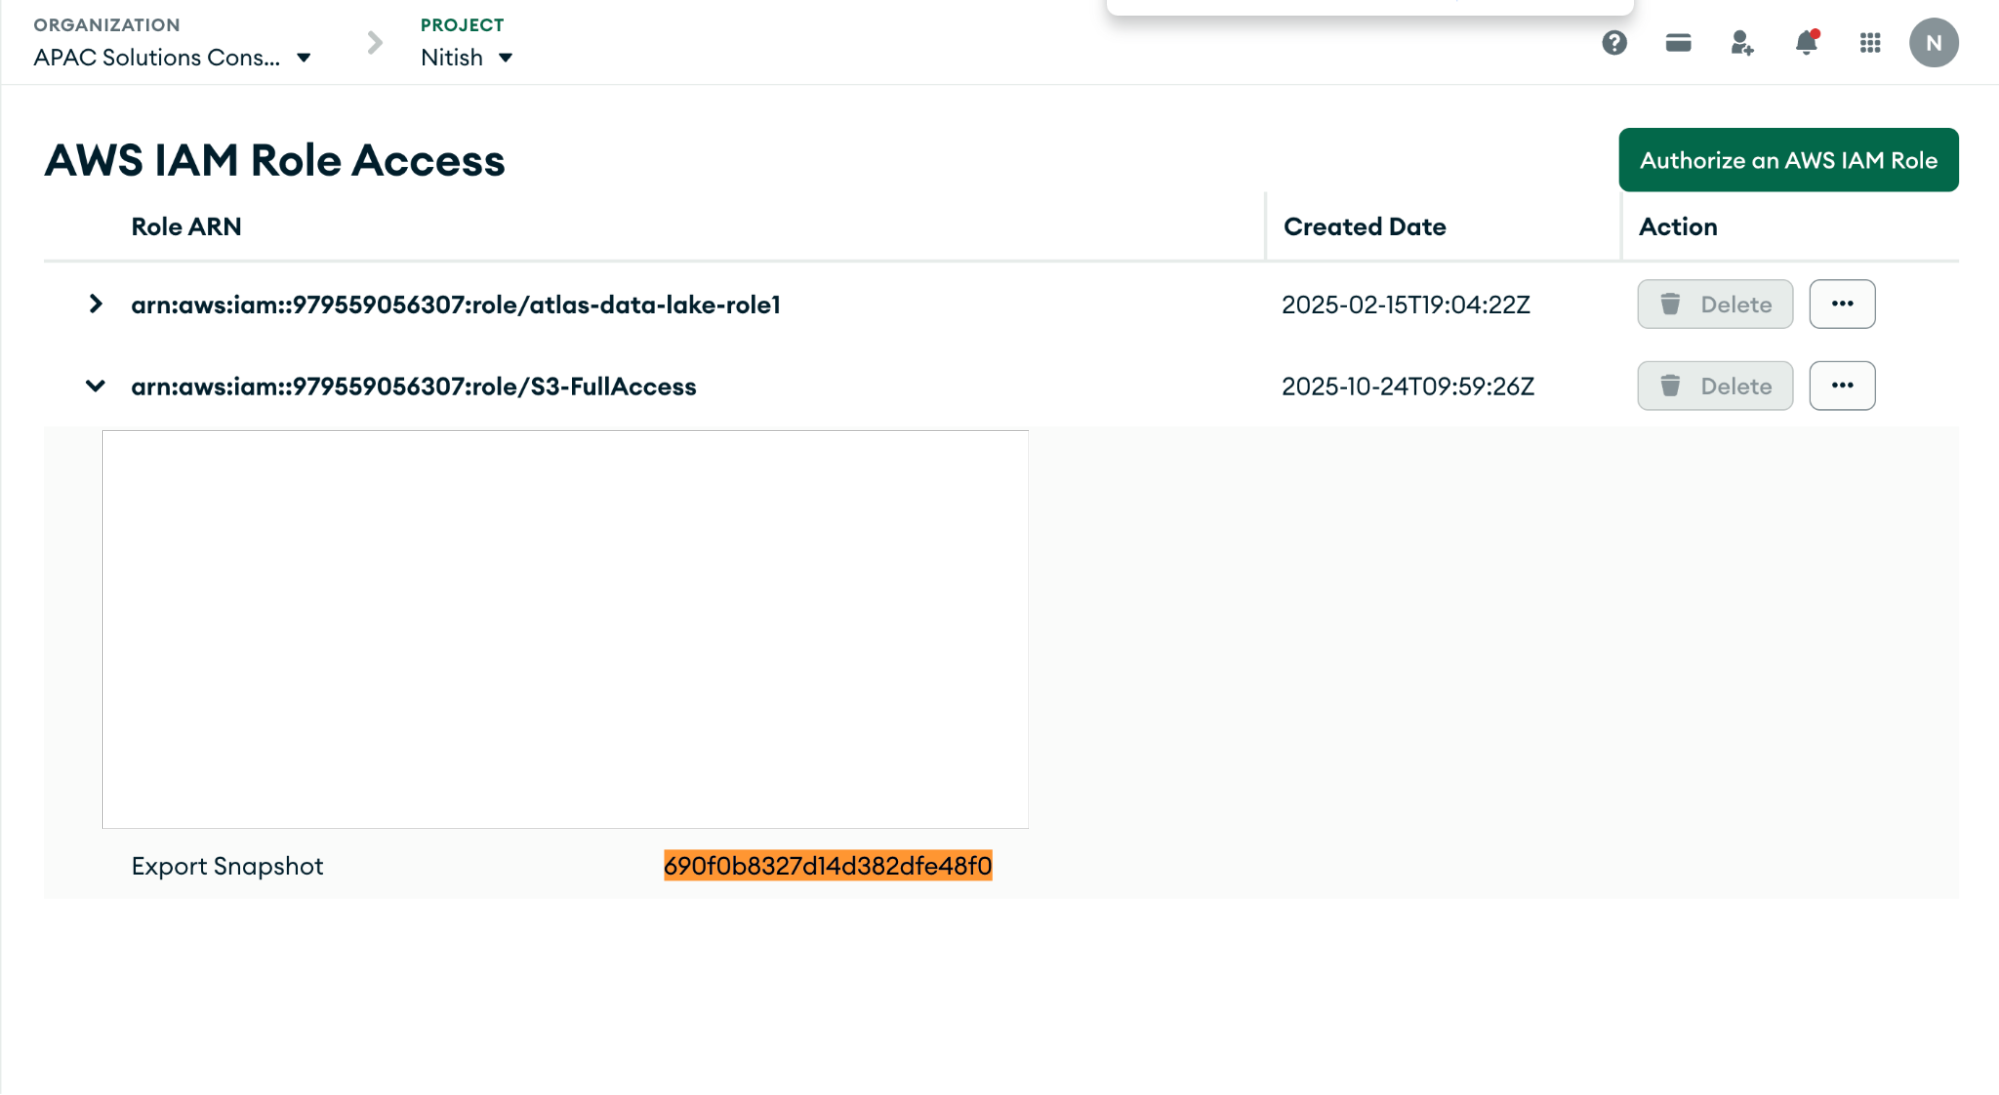
Step 5: Setting up AWS S3 Bucket
Since the backups will be exported to Amazon S3, it’s essential to set up your S3 bucket as the target destination with all the necessary permissions and IAM policies properly defined. This ensures that MongoDB Atlas can securely write backup files to your designated bucket without any access issues.
If needed, you can follow the official AWS documentation below to learn how to create and configure an S3 bucket: Create an S3 Bucket—AWS Documentation
Note: If you’ve successfully completed all the setup steps up to this point, more than 50% of the work is already done!
Now, it’s time to execute the backup export to S3 using the Postman project you downloaded in Step 1. This step will trigger the actual backup export process from MongoDB Atlas to your configured AWS S3 bucket, completing the integration workflow.
Step 6: Initiate the Export and get the Export ID from this API
This API call starts the export process from the MongoDB Atlas side by generating an Export ID. This Export ID acts as a unique identifier that binds together all the collections included in the backup that need to be transferred to AWS S3.
You can also view this Export ID on the Atlas Integration Page, where it is displayed along with the export status and related metadata, as shown in the screenshot below.
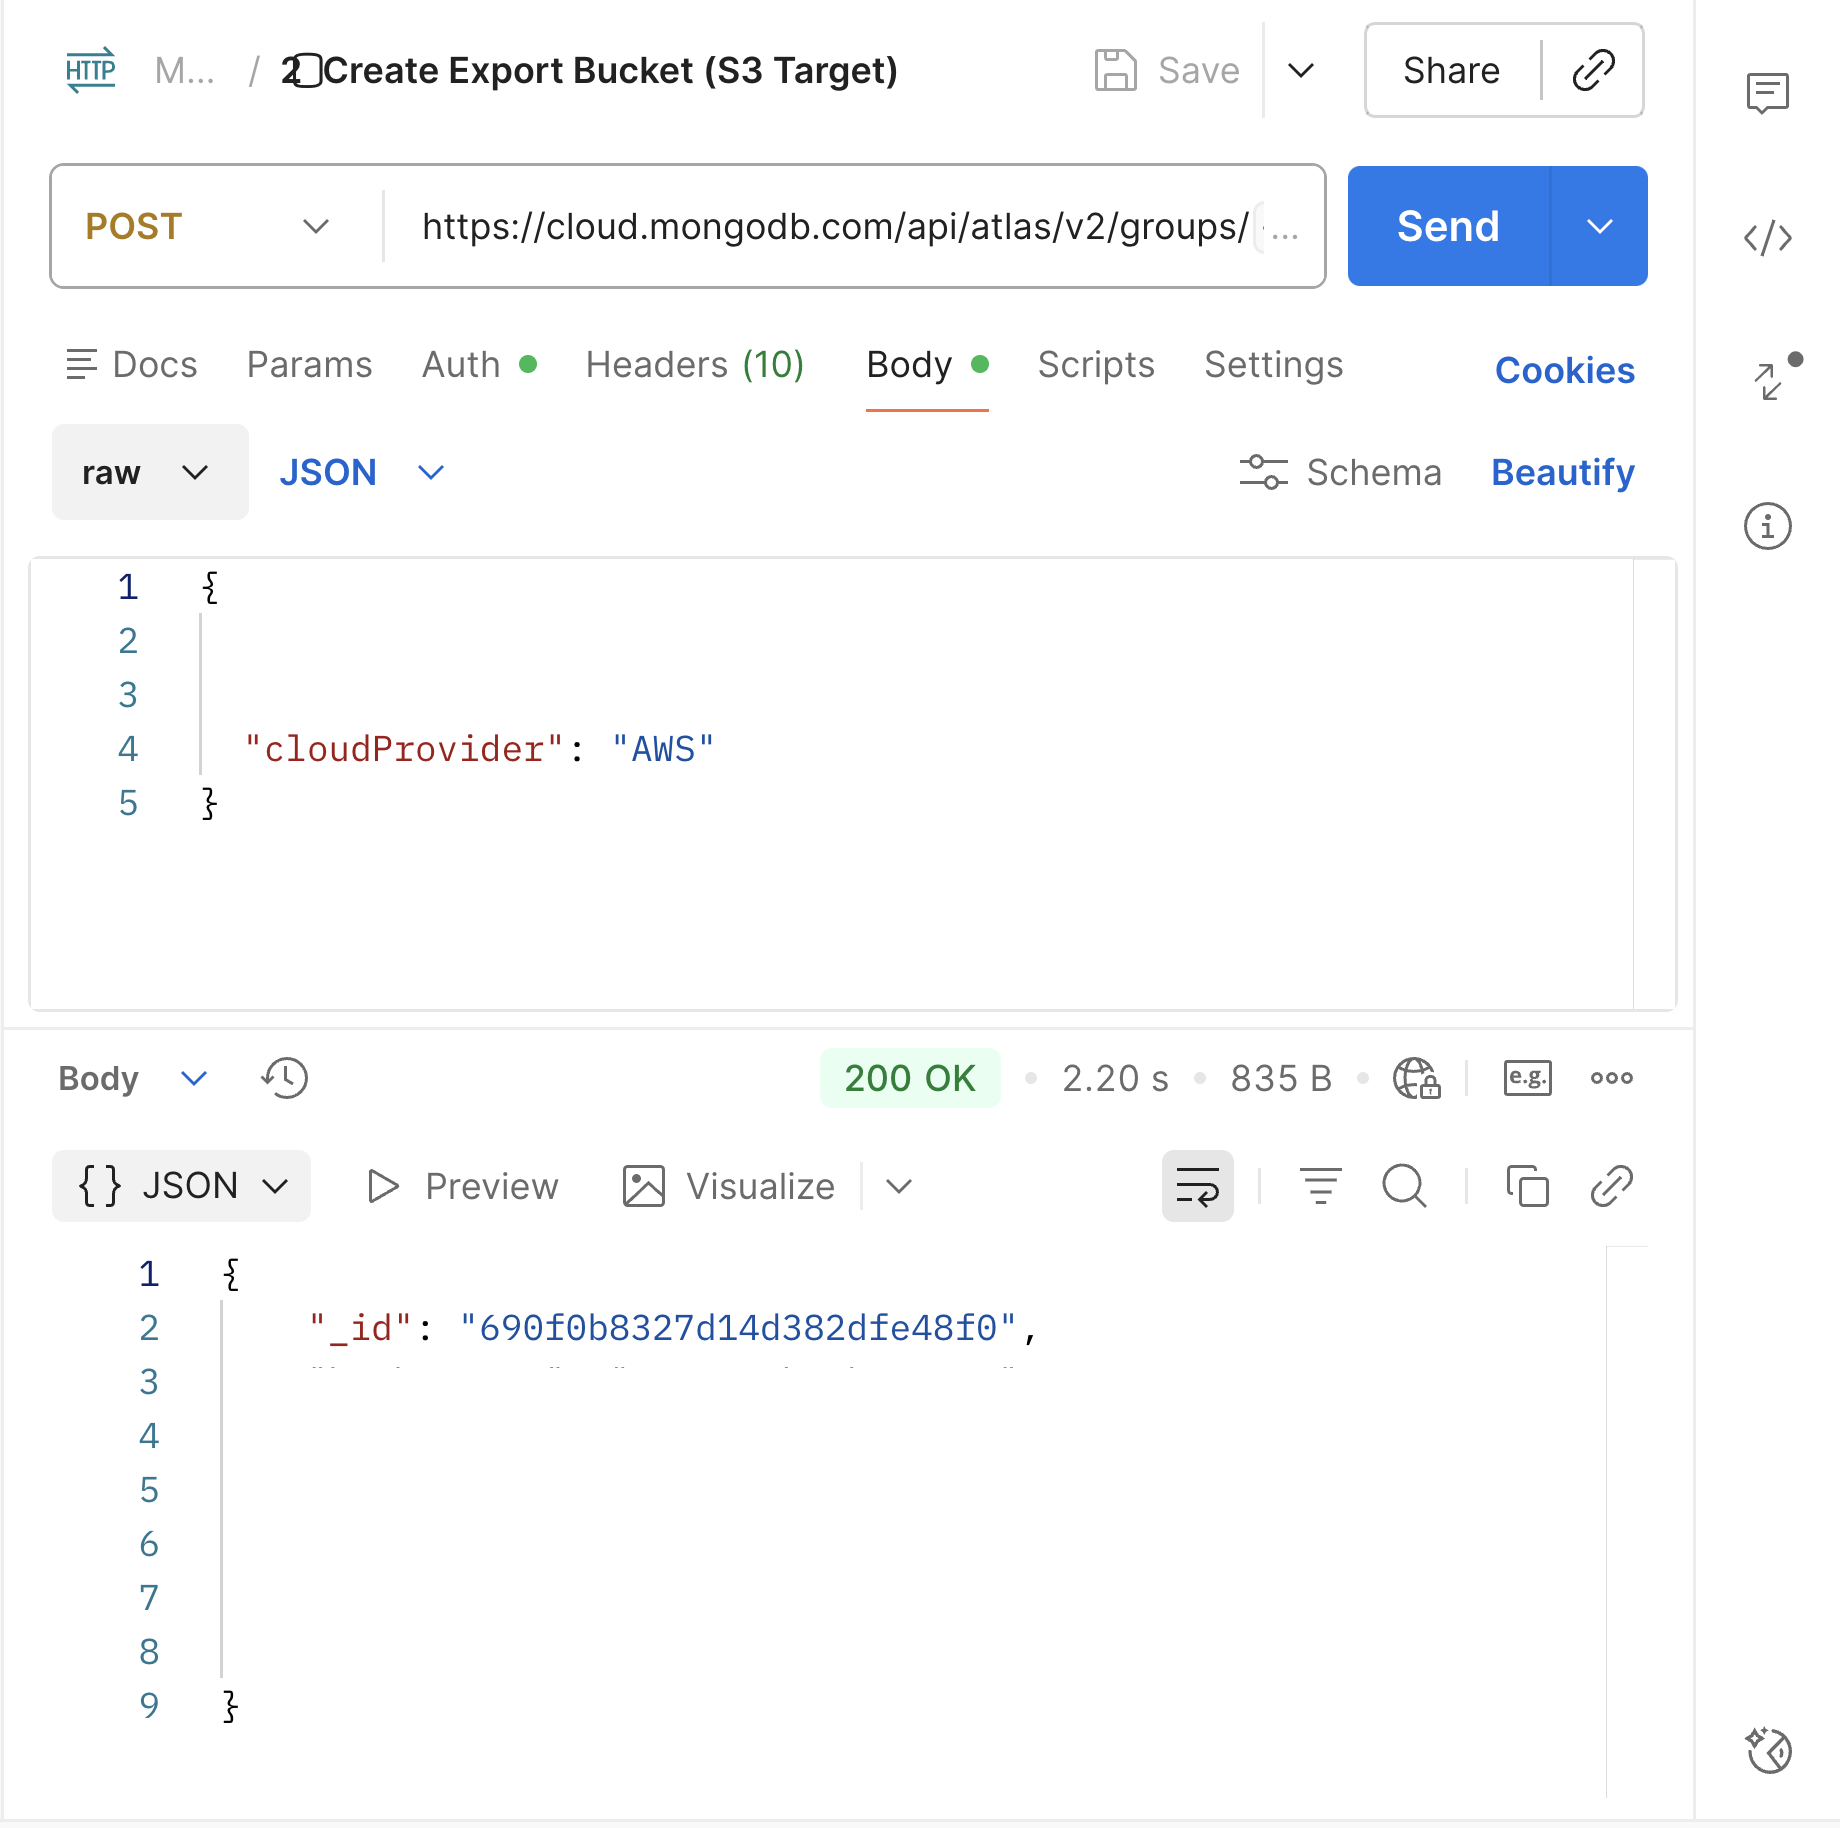
In both images above, you can see that your Export ID has been successfully created—this confirms that everything up to Step 5 has been configured correctly.
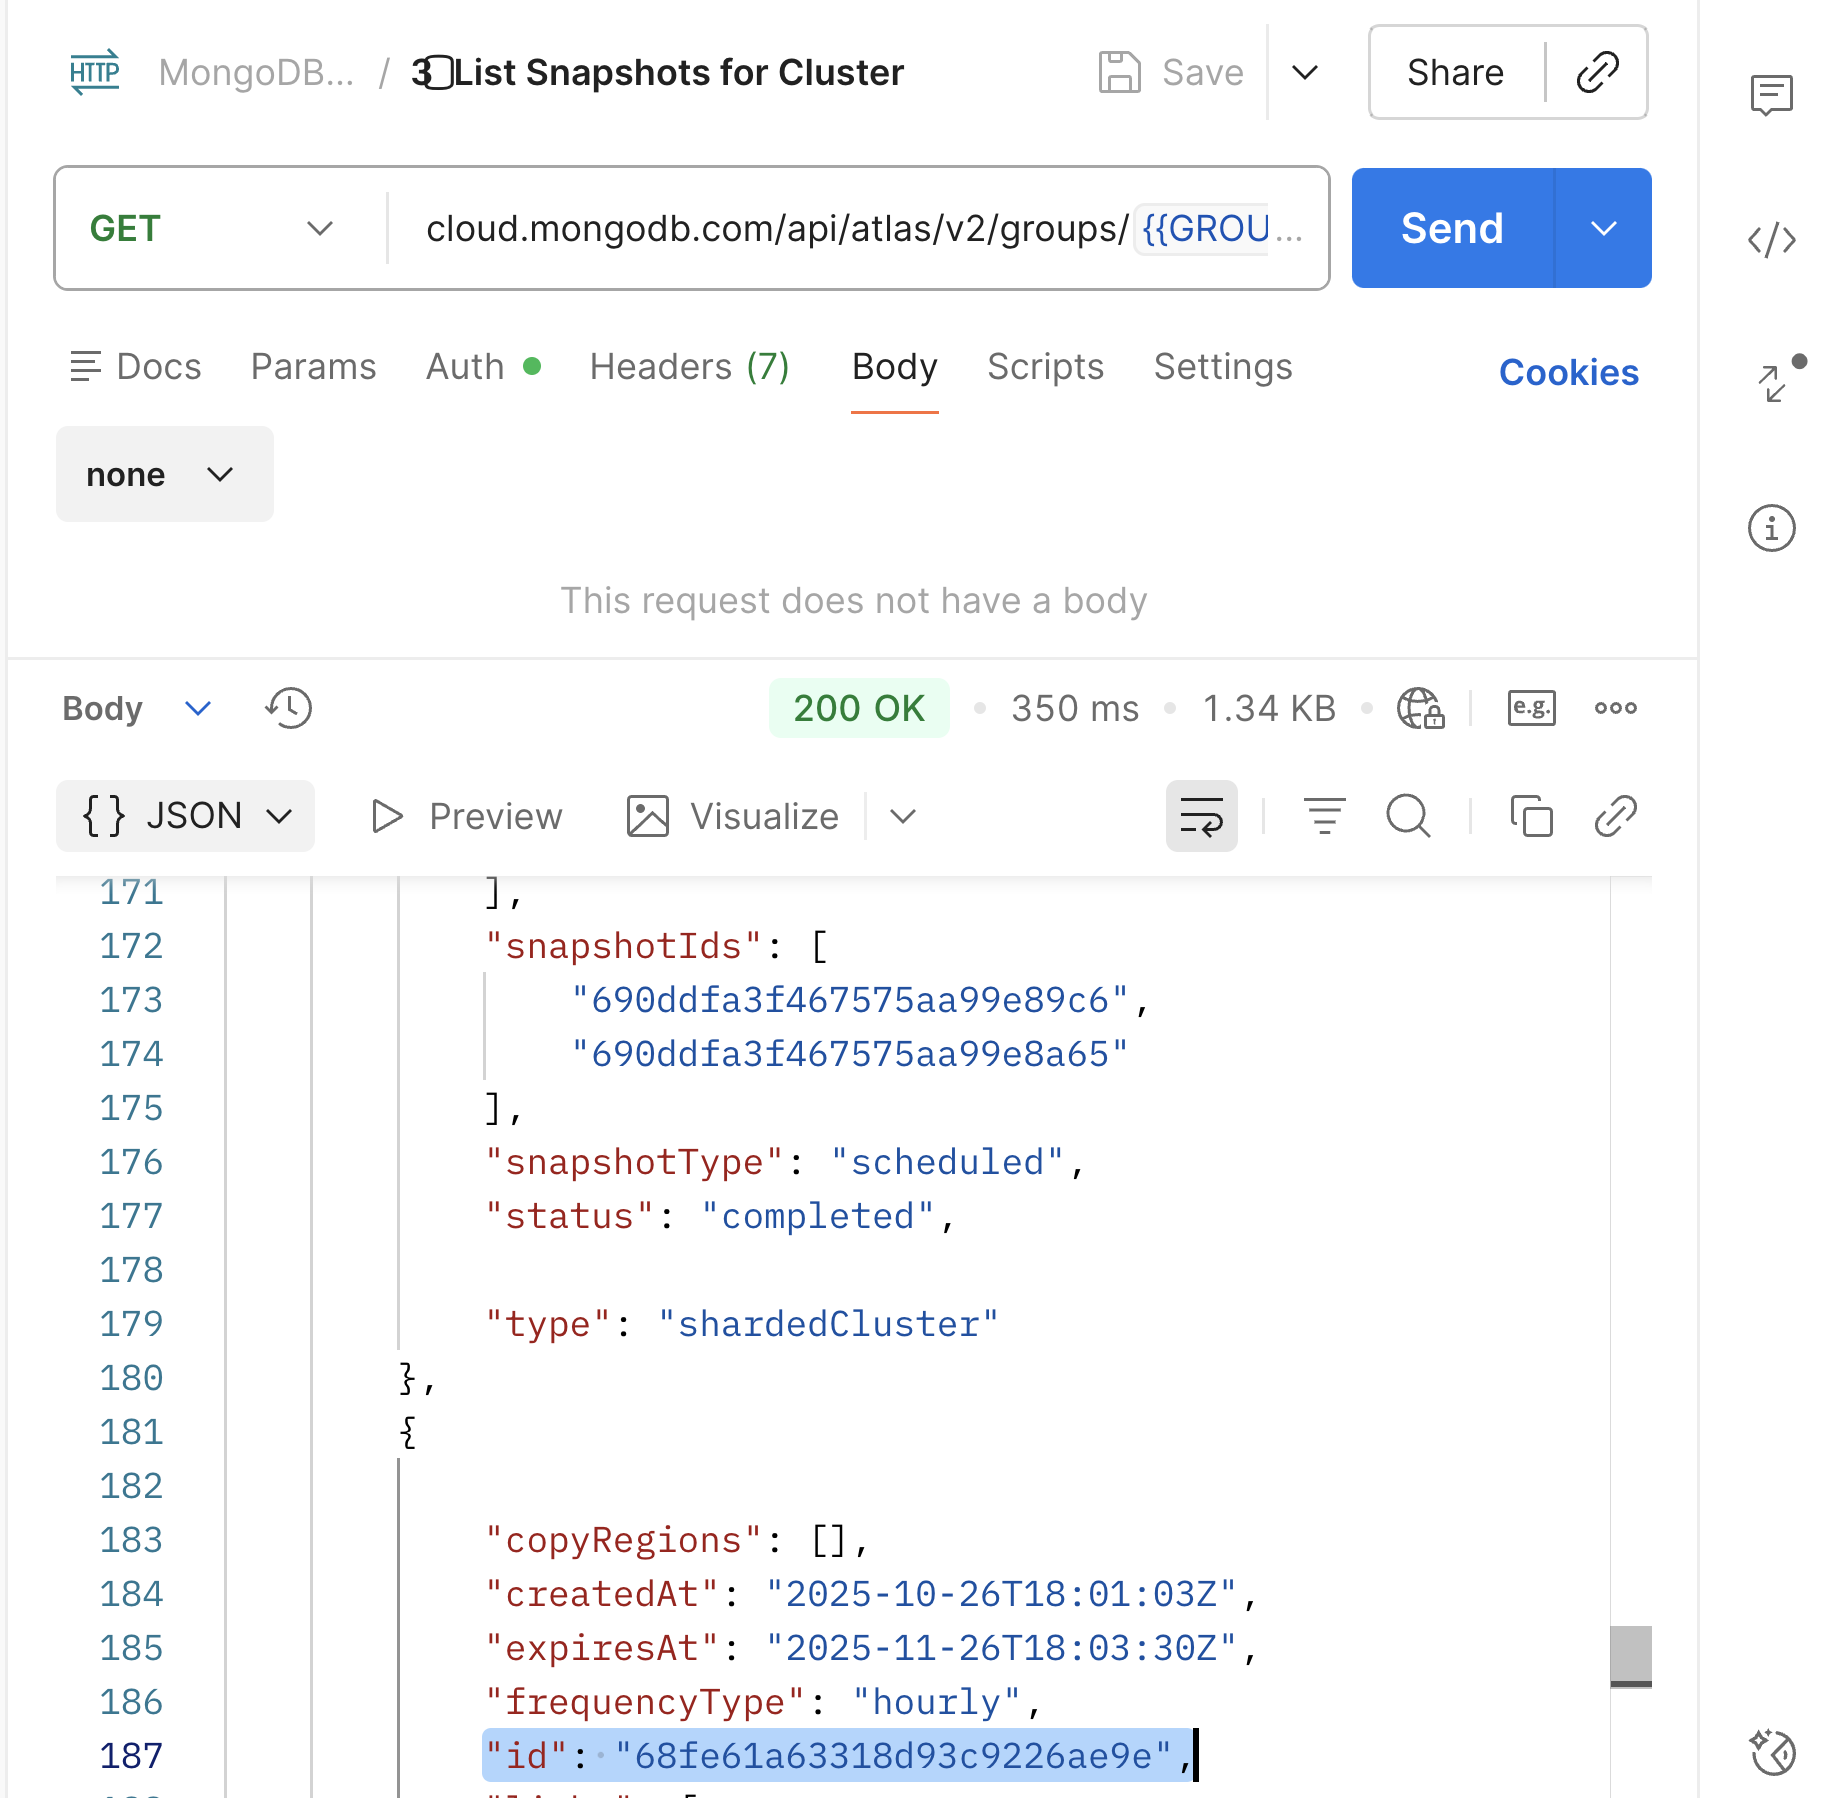
Step 7: List the snapshot of the clusters
Using this API, you can list all the snapshots that have been taken for your cluster. These snapshots can either be scheduled automatically based on your backup policy or manually triggered by an administrator.
The API response will display a list of snapshot IDs along with their details. Simply copy the ID of the snapshot that you want to export to AWS S3 in the next step.
Also, your cluster is not necessarily in an active state while taking snapshots; it can be in a pause state, but should not be terminated.
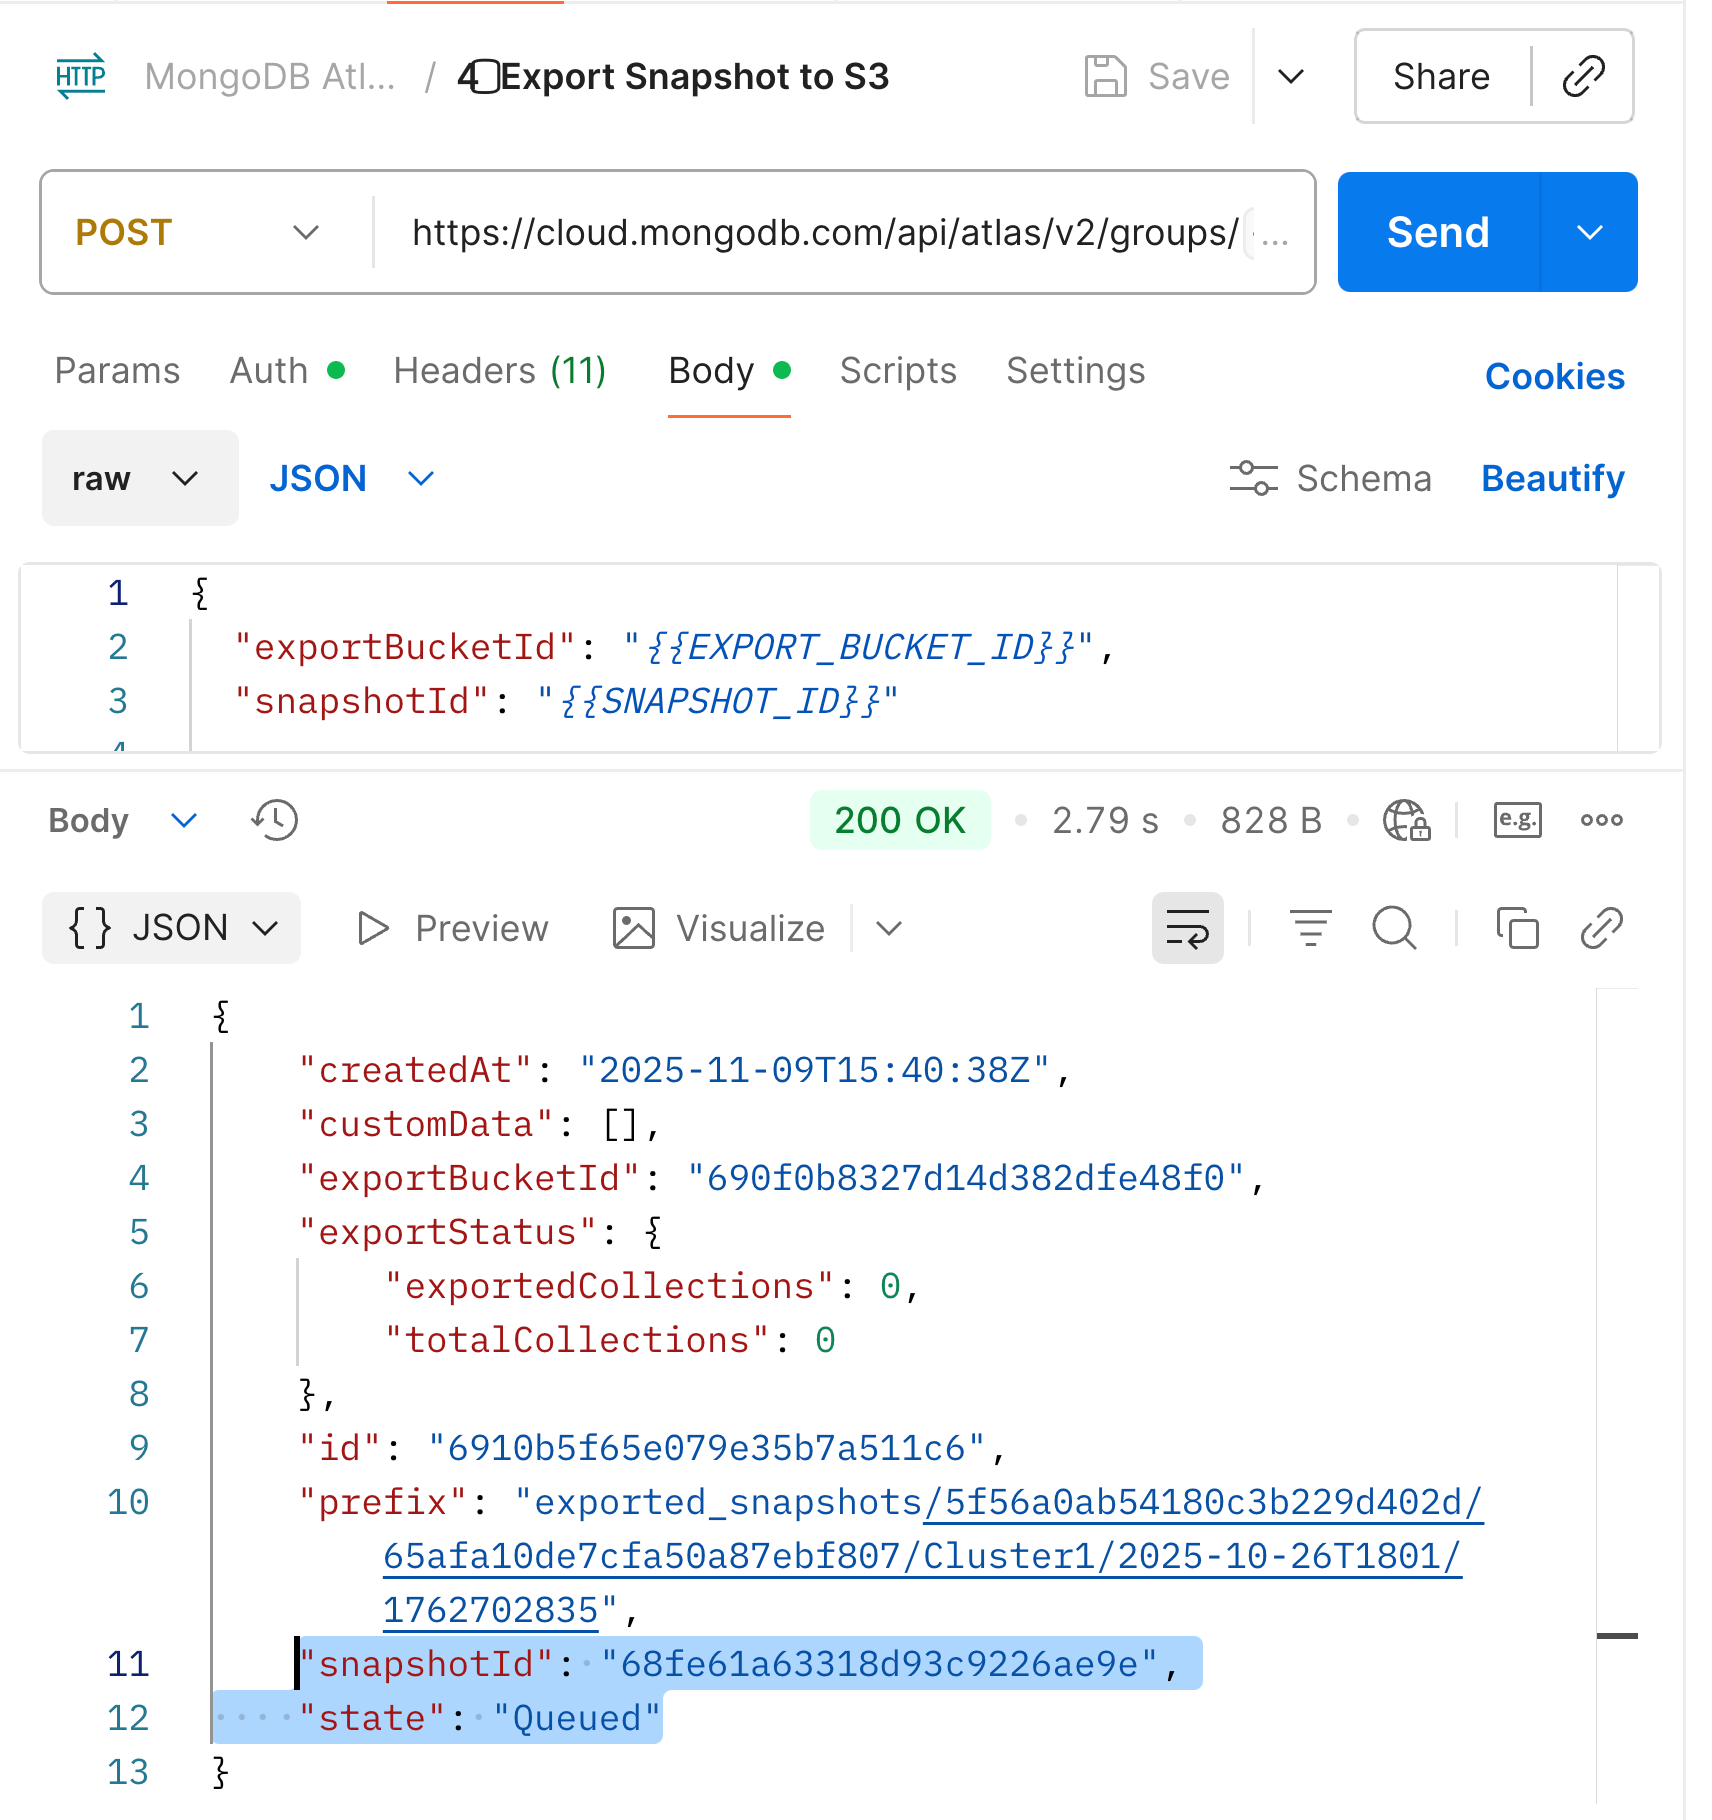
Step 8: Launching your backup export
As you can see in the following API, you now need to pass two parameters—snapshotId and exportId—which you obtained from Step 6 and Step 7.
Once these parameters are in place, you’re all set to launch your backup export to AWS S3—essentially sending your backup ship on its journey from MongoDB Atlas to your S3 bucket.
This API lists all the collections that are part of the selected snapshot and begins transferring them one by one to your AWS S3 bucket. Each collection is exported to the location specified in the prefix field of the response payload, which defines the exact folder path within your S3 bucket.
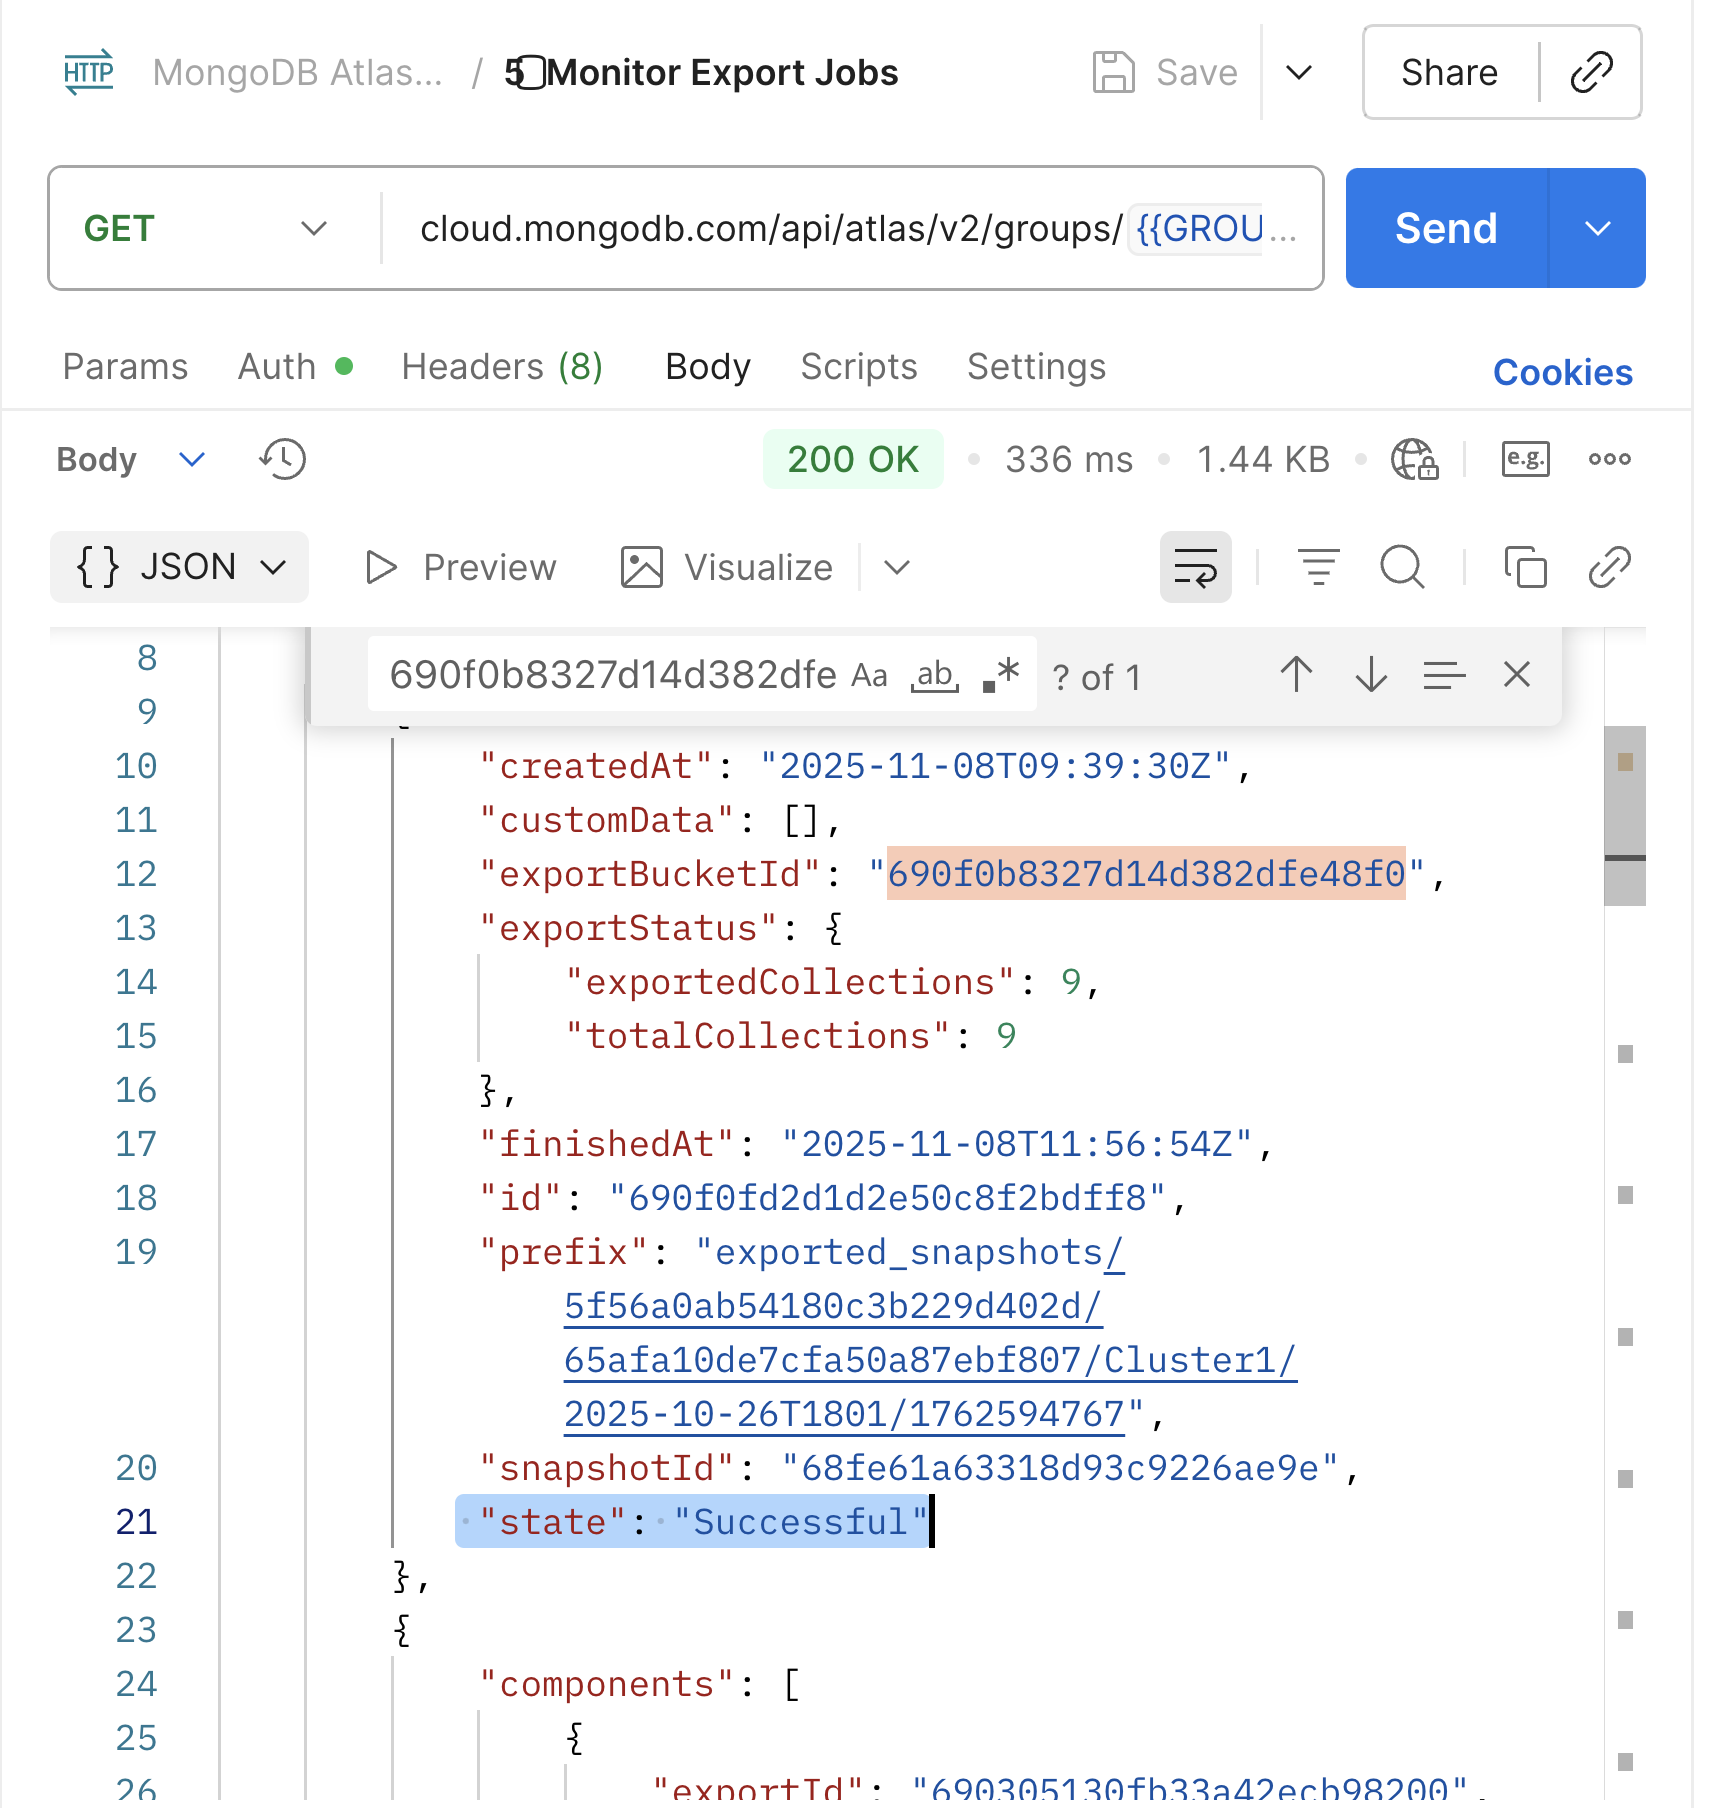
Step 9: Monitor your export progress
Using the Monitor API, you can track the real-time progress of your backup export. MongoDB Atlas maintains the export state in three distinct stages:
Queued → The process has been initiated and is waiting to start.
InProgress → Atlas is calculating the number of collections and actively transferring them to S3.
Successful → All collections have been successfully exported to your AWS S3 bucket.
Monitoring this API helps you validate the health and completion of the export process and ensures that your backup has been fully transferred to S3 without interruption.
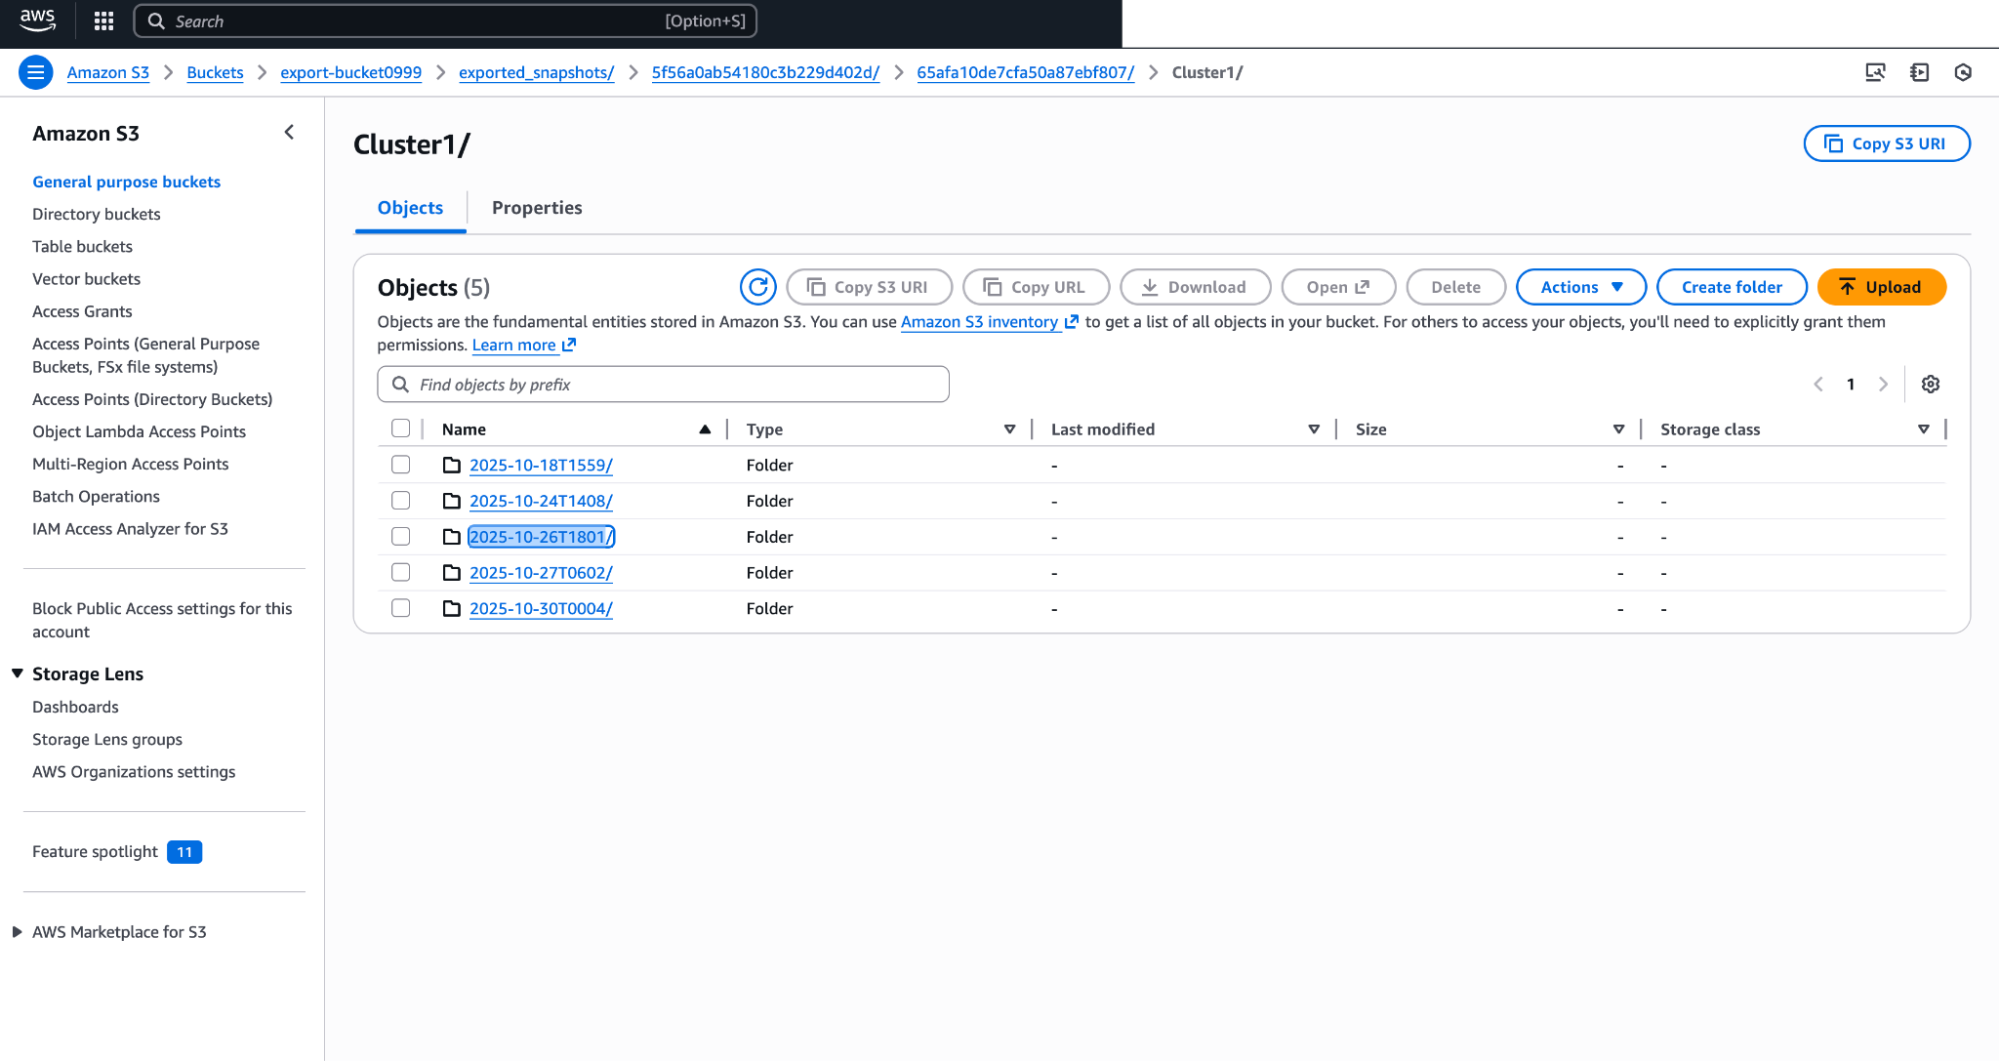
Step 10: Verify your export on AWS S3
You can now log in to your AWS Management Console and navigate to the Amazon S3 service to view your exported backup. You’ll find your data neatly organized in a well-structured folder hierarchy, making it easy to manage and identify different backup sets.
These exports are safely stored and can be restored back to MongoDB Atlas at any time, ensuring that your data remains both accessible and recoverable whenever needed, and you can meet your compliance requirements.
Conclusion
Managing backups efficiently is not just about safeguarding data—it’s about doing it smartly, securely, and cost-effectively. By integrating MongoDB Atlas with AWS S3, you create a scalable and compliant framework that gives you full control over your data lifecycle.
Through this step-by-step process, you’ve learned how to:
Set up secure integration between MongoDB Atlas and AWS S3,
Configure API keys, IAM roles, and permissions for secure access,
Automate the backup export process using Postman APIs, and
Monitor and verify the export to ensure data integrity and recoverability.
With this automation in place, your organization can now reduce storage costs, simplify backup management, and retain complete ownership of long-term data—all while staying aligned with enterprise-grade compliance requirements.
In short, this isn’t just a technical setup—it’s a step toward operational resilience and data autonomy, ensuring your MongoDB environment is always ready to recover, scale, and evolve with your business.
Next Steps
This post is for everyone interested in keeping snapshots of larger sizes on low-cost storage options like S3. Learn more about MongoDB’s backup strategy and best practices.