Overview
此页面包含将Realm快速集成到 Electron应用程序的信息。要学习;了解如何在不使用任何其他框架的情况下使用Realm设立Electron应用程序,请参阅 Electron设立说明。如果您已经使用 Create React App 创建了一个应用程序,或者有兴趣使用 Electron 将React App 与Realm集成,请查看 Electron with React设立说明。
开始之前,请确认您已:
设置
设置应用程序文件
要开始开发应用程序,请创建一个应用程序目录:
mkdir myElectronApplication
在应用程序的根目录下创建 index.html、main.js 和 renderer.js 文件。
touch index.html main.js renderer.js
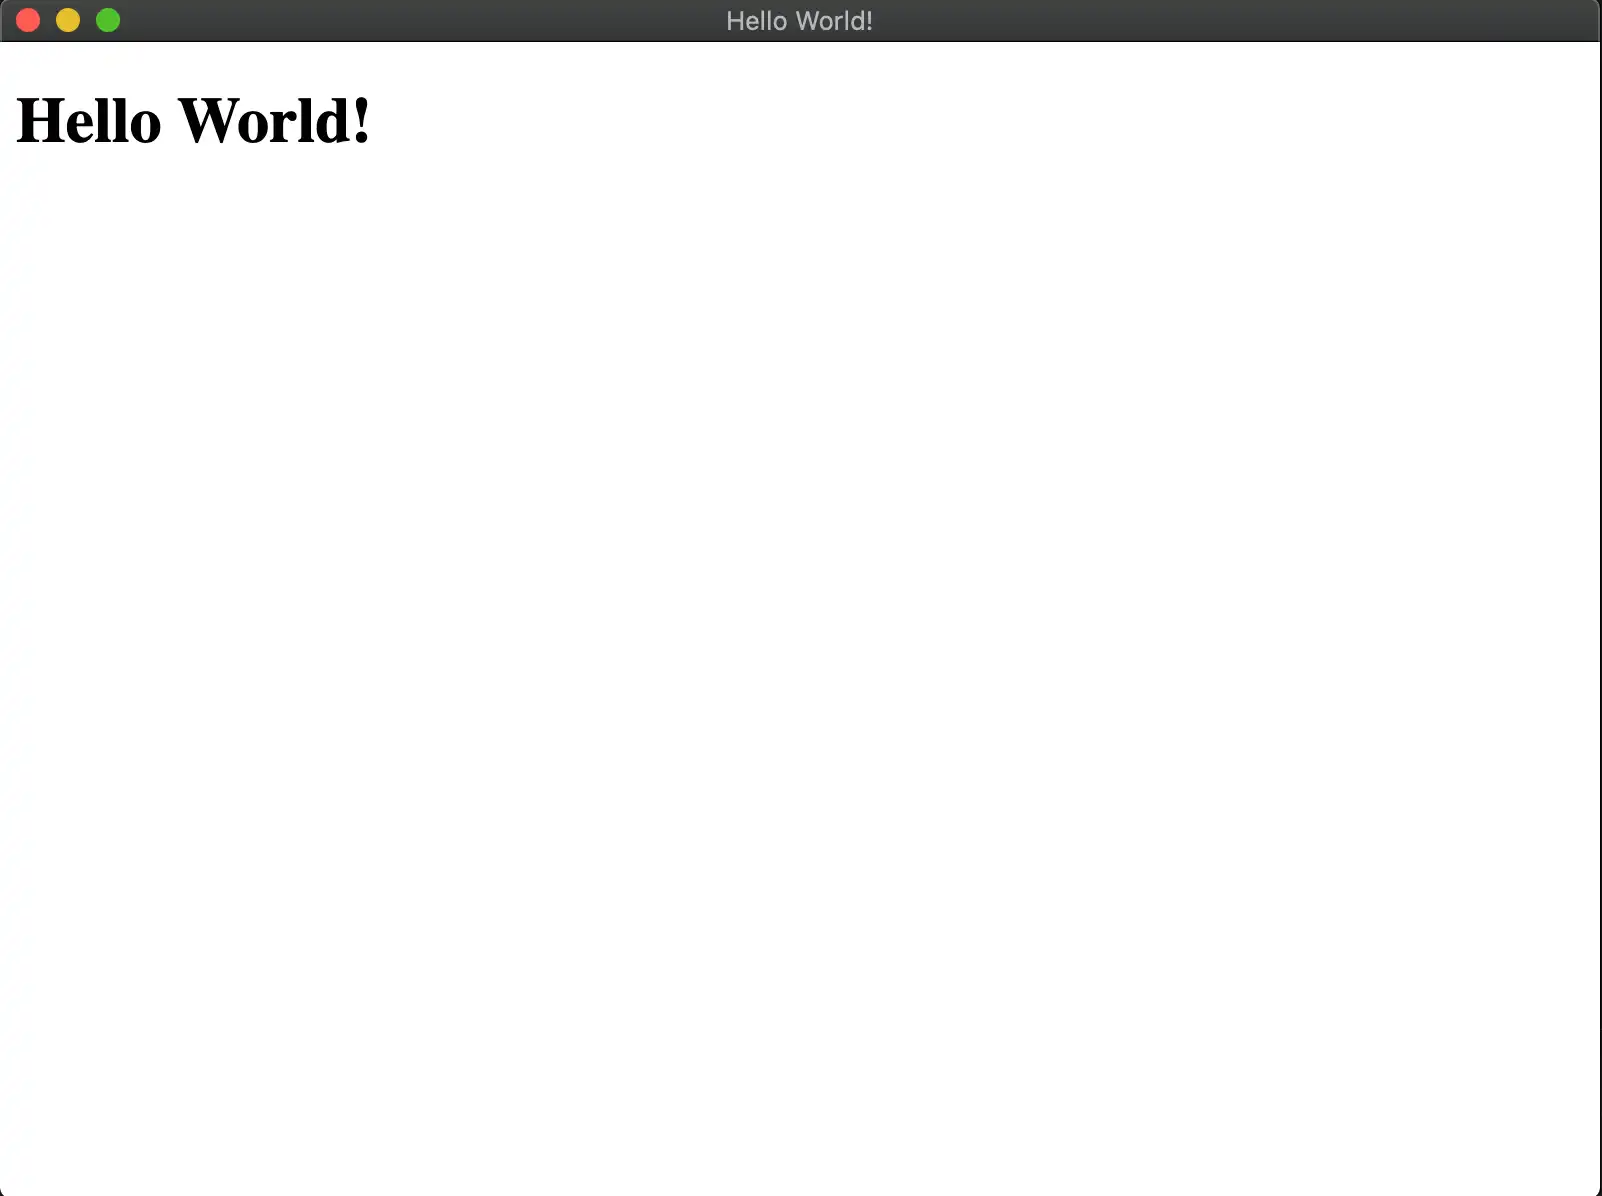
main.js文件是应用程序的入口点,并在主进程上执行。它负责将index.html 文件加载到 Electron 的 BrowserWindow API中。此 HTML文件中所需的任何脚本文件都将在呈现器进程中执行。将以下内容添加到index.html 文件中:
<!DOCTYPE html> <html> <head> <meta charset="UTF-8" /> <title>Hello World!</title> </head> <body> <h1>Hello World!</h1> <script src="renderer.js"></script> </body> </html>
将以下代码添加到 renderer.js 文件:
const Realm = require("realm");
注意
每个 Electron应用程序只能有一个main process 。主进程会创建网页。每个网页都在自己的进程(称为 )中运行。要学习;了解更多信息,请阅读官方renderer process Electron 进程模型文档。
创建主脚本文件
main.js 文件是应用程序的入口点。在其中创建一个 Electron BrowserWindow 并加载 index.html 文件以向用户显示您的 HTML:
const { app, BrowserWindow } = require('electron') function createWindow () { const win = new BrowserWindow({ width: 800, height: 600, webPreferences: { nodeIntegration: true, contextIsolation: false } }) // to prevent the Sync Connection from ending prematurely, start reading from stdin so we don't exit process.stdin.resume(); win.loadFile('index.html') } app.whenReady().then(createWindow)
设置 package.json
初始化 package.json 以开始安装包并在您的项目中使用它们。在终端中运行以下命令:
npm init -y
应用程序文件结构应类似于以下内容:
. |-- package.json |-- package-lock.lock |-- index.html |-- main.js // runs on the main process |-- renderer.js // runs on a renderer process
main.js 文件将在 main 进程中执行。renderer.js 文件以及它或 index.html 所需的所有其他文件则会在 renderer 进程中执行。

打开 Realm
对用户进行身份验证,定义模式并同步已启用的 Device Sync,然后在 renderer.js 文件中调用 Realm.open()。
打开 Realm 后,便可向此 Realm 进行写入。
const app = new Realm.App({ id: "<Your App ID>" }); // create a new instance of the Realm.App async function run() { // login with an anonymous credential await app.logIn(Realm.Credentials.anonymous()); const DogSchema = { name: "Dog", properties: { _id: 'int', name: "string", age: "int", }, primaryKey: '_id' }; const realm = await Realm.open({ schema: [DogSchema], sync: { user: app.currentUser, partitionValue: "myPartition", }, }); // The myPartition realm is now synced to the device. You can // access it through the `realm` object returned by `Realm.open()` // write to the realm } run().catch(err => { console.error("Failed to open realm:", err) });
注意
有关通过renderer和main进程写入 Realm 的示例,请查看 realm-electron-advanced-quickstart 存储库。
注意
当前的 React Native 二进制文件包含在 realm 包中。您可以从构建中删除这些二进制文件和 react-native 目录。在 package.json 文件中,添加 build.files 条目,并将其值设为 !**/node_modules/realm/react-native。