Adding the MongoDB Driver
In the following sections, you are going to learn how to start using the MongoDB Driver and implement the basic Create, Read, Update, Delete (CRUD) functions.
Let’s create a game listing application using the ASP.NET Core Web API. Here's the GitHub repo for "GamesServices", which lists games as well as their price and the category they belong to.
The MongoDB Driver for C#/.NET is very easy to install using Microsoft’s Nuget Package manager in your development environment, or using the .NET SDK available in your Command Line Interface (CLI).
CLI
One way of adding the MongoDB driver to your application is via the CLI. When you install .NET Core/.NET 5.0 on your machine, you get the .NET SDK command line tools out of the box.
Run the following command from the root directory of the project, inside your CLI of choice:
You can also add the driver via Nuget Package Manager within Visual Studio, or by editing your .csproj file to add the MongoDB.Driver reference to the ItemGroup. Your .csproj file will then look very similar to below:
Connect to MongoDB Atlas
The most straightforward way is to initiate a MongoClient instance with the Atlas connection string URI taken from your clusters connect tab.
The MongoClient is a class available from the MongoDB.Driver package, and you need an instance of it in your code to allow you to connect and access your cluster.
In order to use the MongoDB client in your code, ensure you have the correct using statements at the top of your service class, as shown in GamesServices.cs.
Getting your connection string
In order to create the client, you will need to pass the connection string to access your database.
The connection string can be found in the Atlas UI. The following steps will show you how to get your connection string:
1. Visit the Atlas UI and ensure you are logged into your account
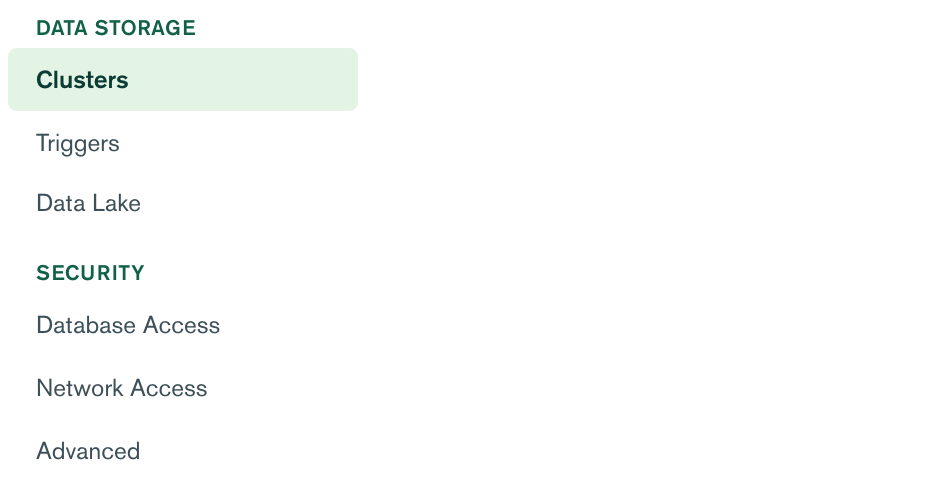
2. Ensure you are on the Clusters page. It should be the default page but if not, select it from the left-hand menu on the page.
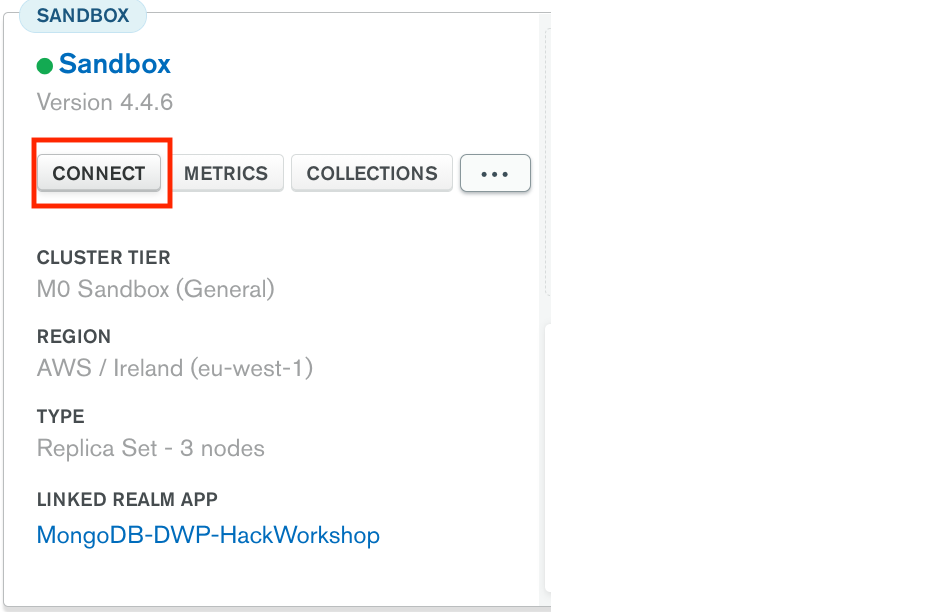
3. Click the ‘Connect’ button for the Cluster you created earlier.
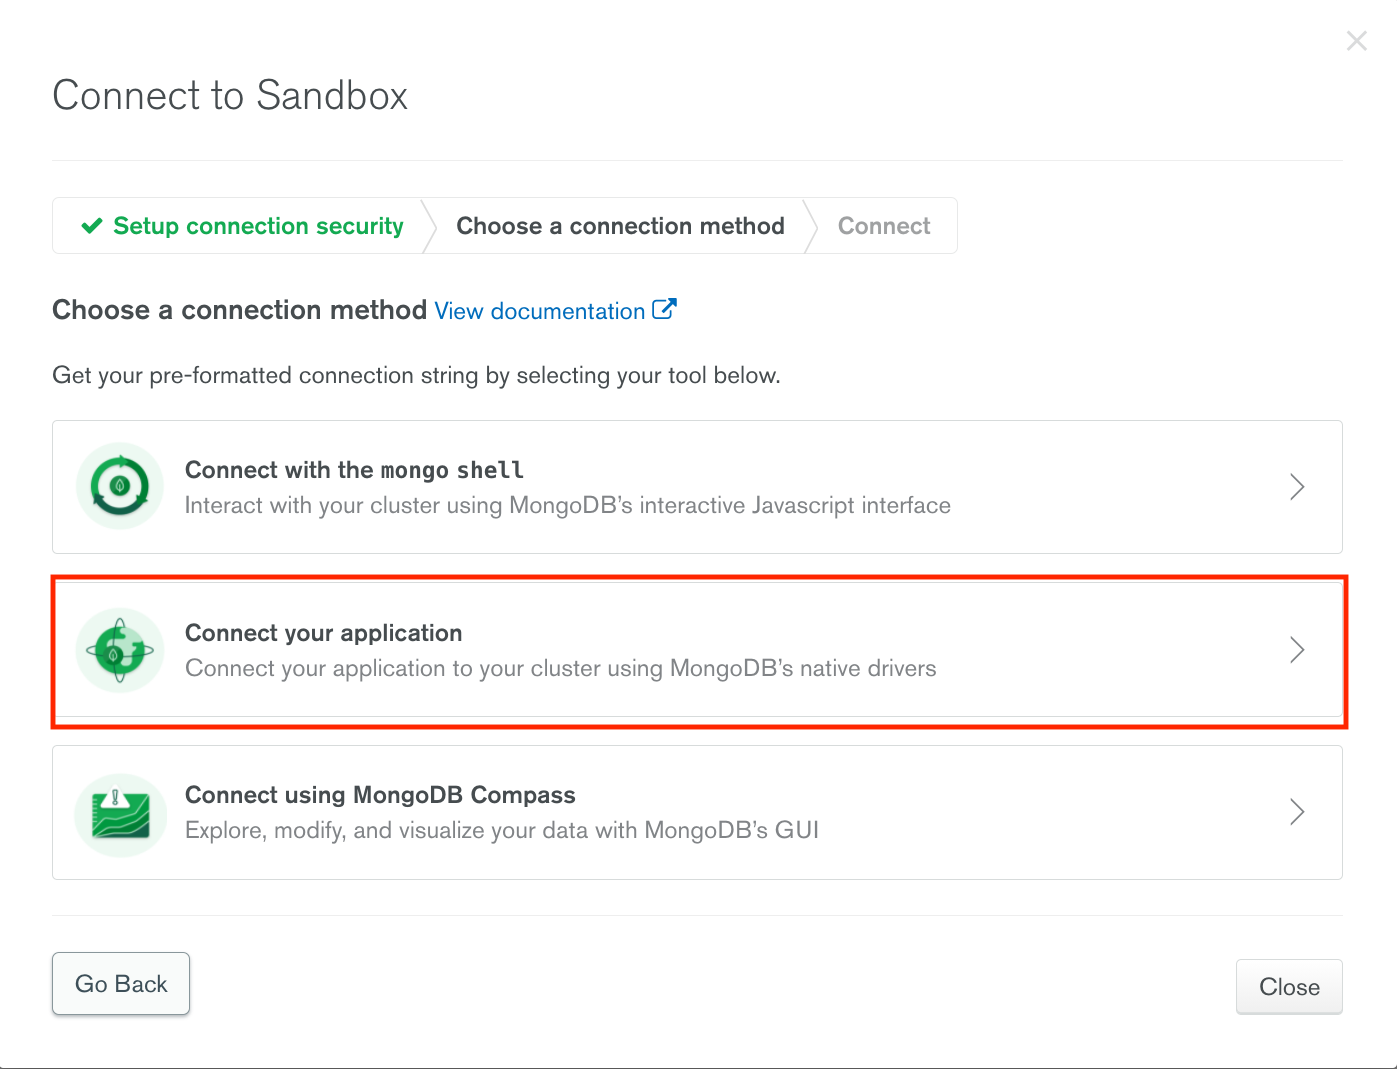
4. Select ‘Connect your application’
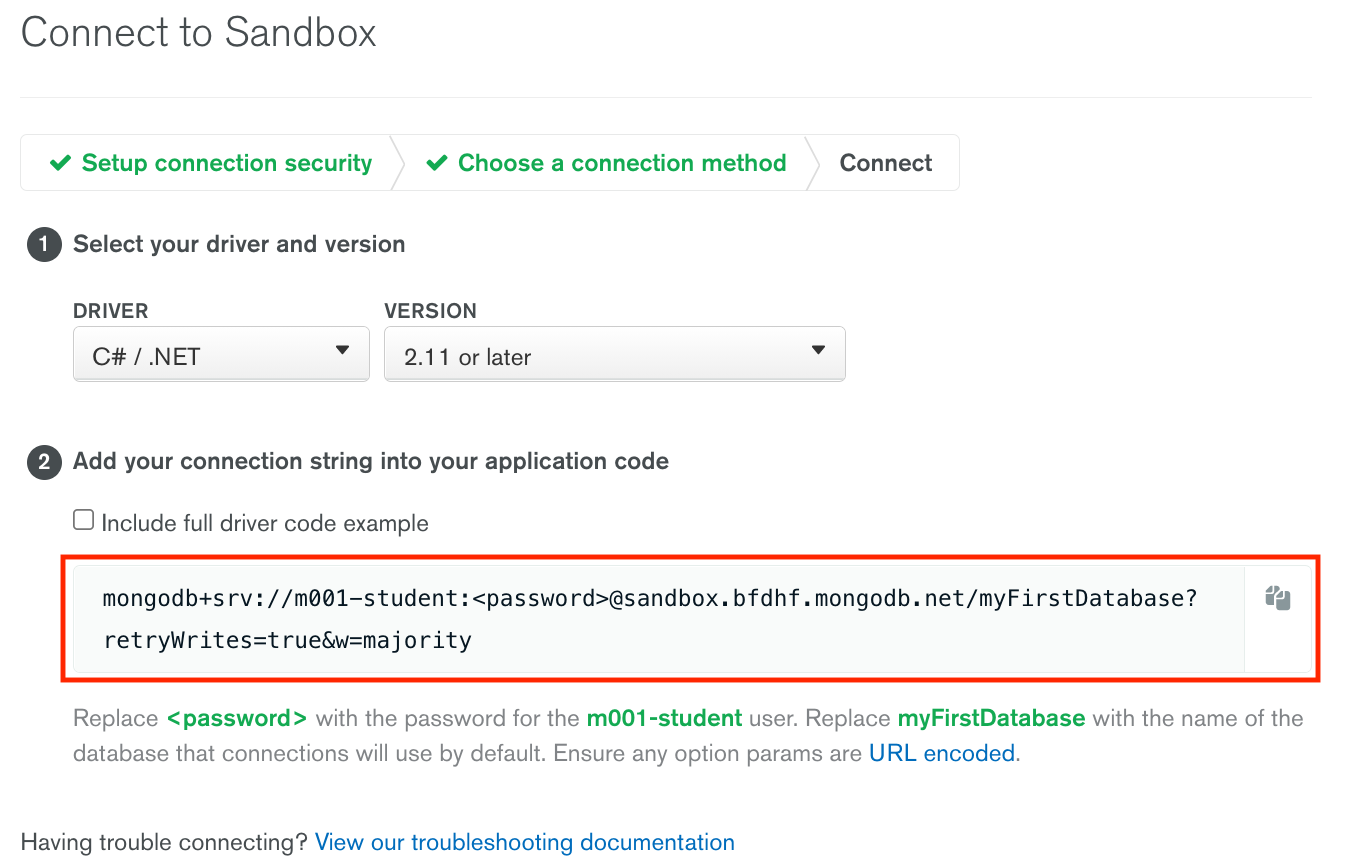
5. Copy the provided connection string into the create code, substituting any values within < > such as <password> with your details.
In production we recommend placing the string and passwords in a secure source not exposed as a clear text code. A commonly used secure source for information in .NET applications is user secrets.
Once you have your connection string, you can create an instance of the client and pass it in as per below, replacing the template string below with your connection string:
In our sample application, the client is created inside a GamesService class. This service was created to give us access to all the CRUD operations.
How to use MongoDB with .NET
Now that we have a client, it is time to connect to the database using this client and begin to add in the CRUD functionality.
In the sample repo, all the following code is placed in the GamesService class.
Accessing a Database
Creating a Collection and MongoDB Documents
In MongoDB, information is stored in BSON Documents. BSON is a binary, JSON-like structure. It supports the same data types as JSON with a few extras such as date, raw binary as well as more number types such as integer, long and float.
A collection is what MongoDB calls a group of documents in one ‘container’.
As part of the MongoDB.Driver, we have access to an interface, allowing us to choose the type of collection. In the sample application, this is a Game type, which is a class we defined with the same properties as the field in our document.
Use the InsertOne method to create a single document inside a collection. If a collection does not exist, the first write operation will implicitly create it. Same happens when we create a database, the first structure inside a database will implicitly create it.
Use InsertMany or BulkWrite to insert multiple documents at once. For more please read our writing reference.
Read Documents
Use the Find or Aggregate method to read documents. You may want to find all documents in the collection to return them as a list:
Here, we are passing a filter expression which is the game we want to find. The boolean true is there because we don’t need to carry out any filtering and just want all games in our collection.
You can also find a single document based on id:
For more information read our reading reference.
Updating Documents
Updating documents is done via the UpdateOne or UpdateMany methods. As well as these, there is the option to run ReplaceOne to replace a full document. With the object-oriented nature of C#, the simplest way to update a document is to pass it the id to update and the updated object model of the document, in our case Game, to the ReplaceOne method:
Deleting Documents
The MongoDB.Driver also makes it very simple to delete documents. The following code takes an id and deletes a document with the matching id:
Testing the Web API
The sample application is a Web API project which means that while running, you can actually use your favourite API client, such as Postman, to carry out all the CRUD operations by calling those endpoints, found in the GamesController class. These call into the GamesService where we added in the code that uses the MongoDB.Driver package to work with the database. Let’s have a look at how you would call these endpoints with values.
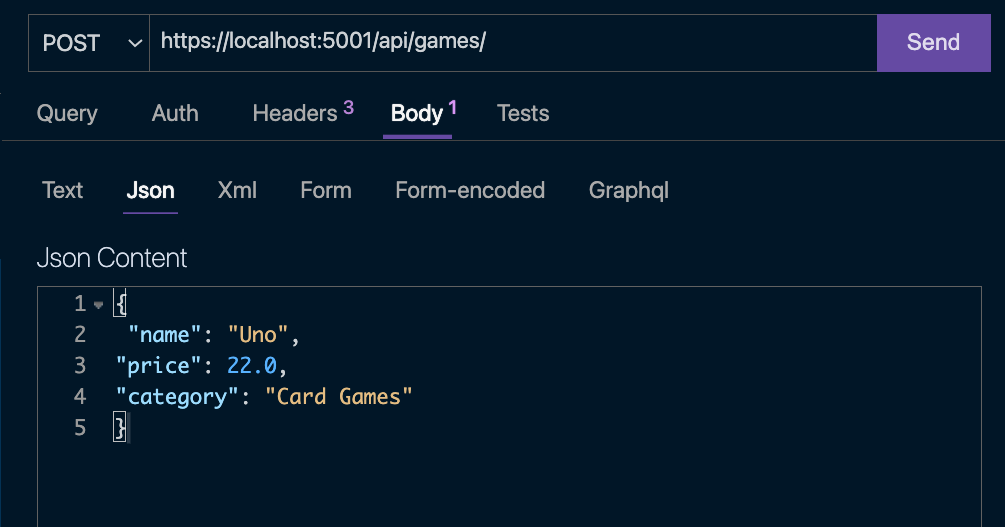
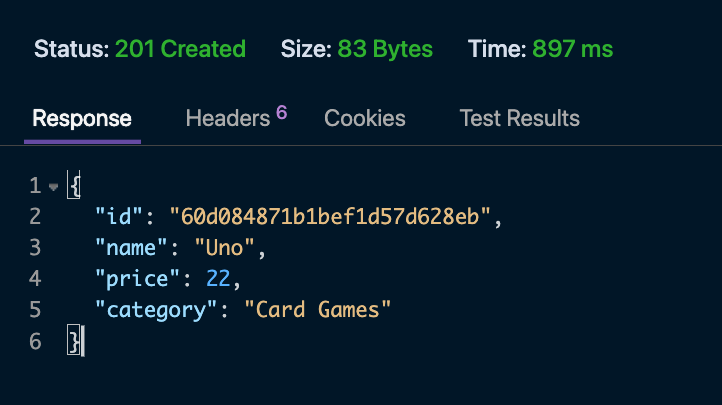
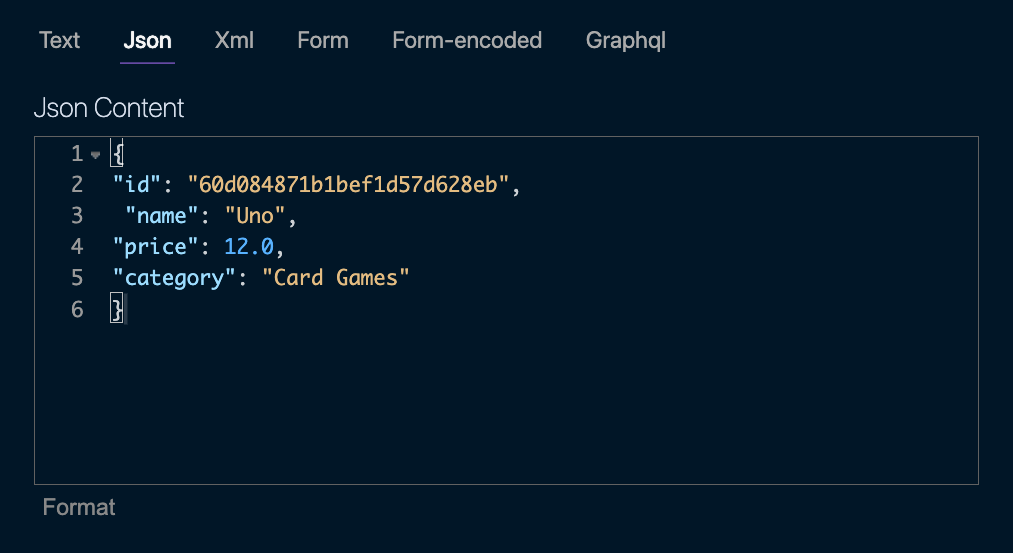
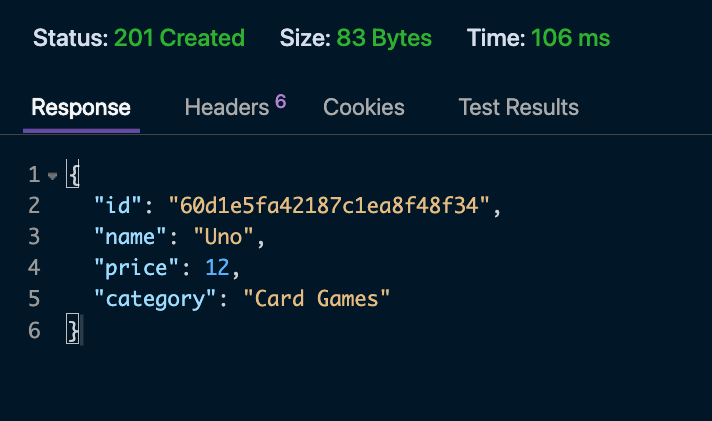
Create
Make a POST request to localhost:/api/games, passing it a JSON object in the body which defines the fields for the new game.
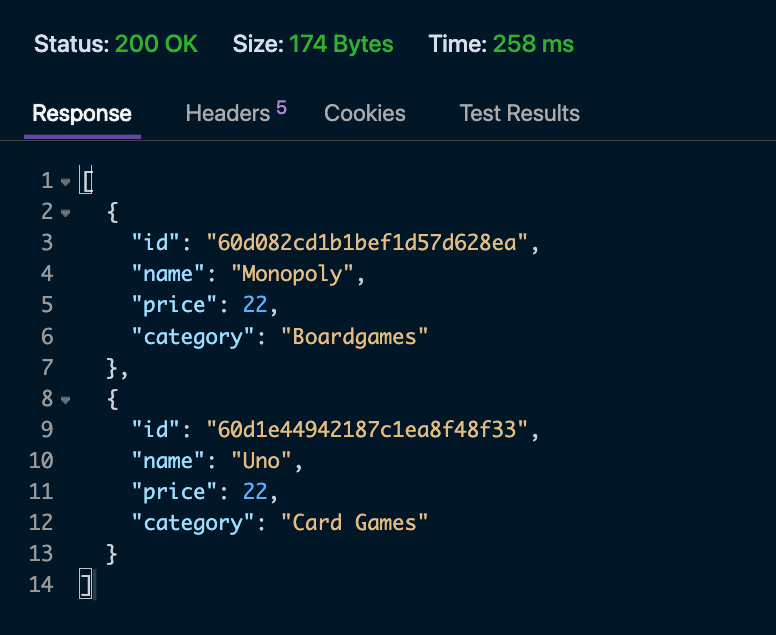
Read
Make a GET request to localhost:/api/games:
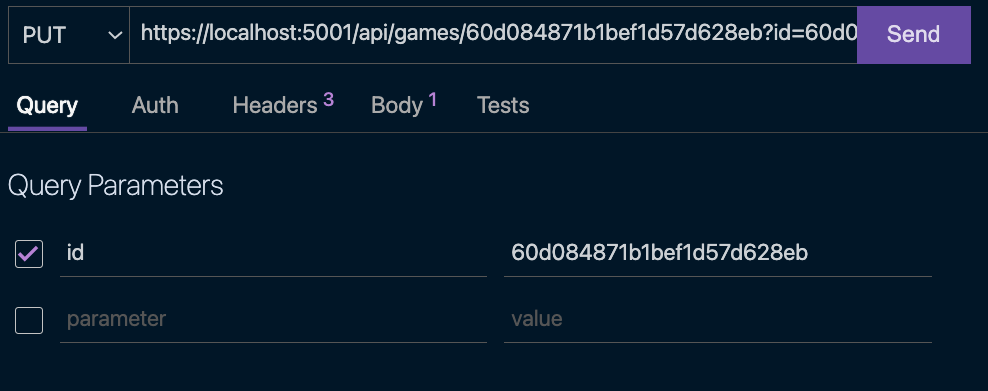
Update
Make a PUT request to localhost:/api/games, passing the id of the document you want to update as a query parameter, as well as a JSON object in the body with the values and updates you want to be applied.
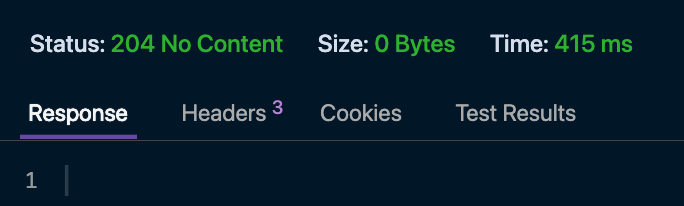
Delete
Make a DELETE request to localhost:/api/games/{id} to delete the document.
Using Realm .NET SDK with MongoDB Atlas
Atlas App Services is a mobile database and a Cloud backend-as a-service platform. It has a Realm .NET SDK allowing a seamless integration for .NET and Xamarin applications. The local Realm database can use the offline-first sync to MongoDB Atlas.
This allows developers to build cross-platform applications without the need of spinning backend servers and managing their connection pools and database credentials.
The Realm .NET SDK offers a simpler integration to the Unity 3D framework to build gaming applications.
Want to learn more about using MongoDB with .NET?
Check out the following resources: