LAUNCHMongoDB 8.3 is built for the sub-100ms retrieval & zero downtime AI demands. Read blog >
AI DATAStop fighting your data layer. Get the memory & retrieval agents need to scale. Read blog >

How to Use the MEAN Stack: Build a Web Application From Scratch

Get Started Free

Welcome to the MEAN stack tutorial! This tutorial will teach you how to build a full-stack web application using the MEAN stack. The final project will be an employee management system. You can find the source code for this tutorial on Github.

But first things first: Let's start with the basics.

What is the MEAN stack?

MEAN is a technology stack used for building full-stack applications. It's a combination of the following technologies:

  • MongoDB — a document database
  • Express — a Node.js framework for building APIs
  • Angular — a front-end application framework
  • Node.js — a server-side JavaScript runtime environment

Applications built with the MEAN stack follow the client-server architecture. The client, built with Angular, can be a web application, a native mobile application, or a desktop application. The client communicates with the server through an API, which is built with Express. The server then manages the requests with the MongoDB database.

Client-Server Architecture

What will this tutorial cover?

In this tutorial, we'll build a RESTful API that implements the CRUD (Create, Read, Update, Delete) operations for an employee management application. For data persistence, we'll be using a MongoDB Atlas cluster.

We'll be building an employee management web application. The interface will have the following pages:

  • View all employees
  • Add new employees
  • Update existing employees

Here's what our finished application looks like:

Getting started

You'll need Node.js and a MongoDB Atlas cluster to follow this tutorial.

  1. Visit https://nodejs.org/ to download and install the current version of Node.js. This tutorial is tested with Node.js version 20.11.1. To make sure you're using the correct Node.js version, execute the following command in your terminal:
  1. Follow the Get Started with Atlas guide to set up your free MongoDB Atlas cluster. Make sure you complete all the steps and locate your cluster's connection string. You'll need it later when we're connecting to the database.

Building the server-side Node.js and Express application

Let's start by creating a directory that will host our project and its files. We'll name it mean-stack-example.

We'll be using shell commands to create directories and files throughout the tutorial. However, you're more than welcome to use any other method.

Now, let's create the directories and files that will host our server-side application — server and server/src — and also initialize a package.json file for it.

Installing dependencies

We'll need a few external packages to build the RESTful API and to connect to our MongoDB Atlas cluster. Let's install them using the npm install command.

We'll also be using TypeScript for our server application. We'll install the TypeScript compiler and the supporting @types packages as development dependencies using the --save-dev flag. These packages are only used during development and shouldn't be included in the final production application.

Finally, we'll paste the following into the tsconfig.json configuration file that TypeScript will use to compile our code.

mean-stack-example/server/tsconfig.json

Create an employee interface on the server side

Since we’re building an employee management app, the main data unit is the employee. Let's create an Employee interface that will be used to define the structure of the employee object.

mean-stack-example/server/src/employee.ts

Our employees should have a name, position, and level. The _id field is optional because it's generated by MongoDB. So, when we're creating a new employee, we don't need to specify it. However, when we get an employee object from the database, it will have the _id field populated.

Connect to the database

Let's implement the following function to connect to our database:

mean-stack-example/server/src/database.ts


We're using the MongoDB Node.js driver distributed as the mongodb NPM package. First, we create a new MongoClient object with the provided connection string. Then, we connect to the database. We need to use await since connect is an asynchronous function. After that, we get the db object from the client object. We use this object to get the employees collection. Note that the variable employees is cast to the Employee interface. This will provide type checking to any query we send to the database. Finally, we assign the employees collection to the collections object which is exported from this file. That way, we can access the employees collection from other files such as the employee.routes.ts file which will implement our RESTful API.

We're also using JSON schema validation to ensure that all of our documents follow the shape of our Employee interface. This is a good practice to ensure that we don't accidentally store data that doesn't match the shape of our model. To learn more about JSON schema validation, check out JSON Schema Validation - Locking down your model the smart way.

We'll be persisting our data to a MongoDB Atlas cluster. To connect to our cluster, we'll need to set an ATLAS_URI environment variable that contains the connection string. Add it to the server/.env file. Make sure you replace the username, password, and cluster placeholders with your credentials.

mean-stack-example/server/.env


Now, we can load the environment variables using the dotenv package. We can do that in any file but it's a good practice to do it as early as possible. Since the server.ts file will be our entry point, let's load the environment variables from it, connect to the database, and start the server:

mean-stack-example/server/src/server.ts


Let's run the app and see if everything works:

You should see the following output:

Good job! Now, we’re ready to build the RESTful API for our employees.

Build the RESTful API

In this section, we'll implement a GET, POST, PUT, and DELETE endpoint for our employees. As you can notice, these HTTP methods correspond to the CRUD operations — Create, Read, Update, and Delete — we'll be performing on our employees in the database. The only caveat is that we'll have two GET endpoints: one for getting all employees and one for getting a single employee by ID.

To implement the endpoints, we'll use the router provided by Express. The file we'll be working in is src/employee.routes.ts.

GET /employees

Let's start by implementing the GET /employees endpoint which will allow us to get all the employees in the database.

mean-stack-example/server/src/employee.routes.ts

We're using the find() method. Because we're passing in an empty object — {} — we'll get all the employees in the database. We'll then use the toArray() method to convert the cursor to an array. Finally, we'll send the array of employees to the client.

You may notice that the route is /. This is because we'll register all endpoints from this file under the /employees route.

GET /employees/:id

Next, we'll implement the GET /employees/:id endpoint which will allow us to get a single employee by ID. Append the following to the bottom of employee.routes.ts:

mean-stack-example/server/src/employee.routes.ts

The ID of the employee is provided as a parameter. We use the method to convert the string ID to a MongoDB ObjectId object. We then use the findOne() method to find the employee with the given ID. If the employee is found, we'll send it to the client. Otherwise, we'll send a "404 Not Found" error.

If you're wondering what the “?” symbol represents in some of the expressions above, it's optional chaining operator. It enables you to read the value of a nested property without throwing an error if the property doesn't exist. Instead of throwing an error, the expression evaluates to undefined.

POST /employees

The POST /employees endpoint will allow us to create a new employee. Append the following to the bottom of employee.routes.ts:

mean-stack-example/server/src/employee.routes.ts

We receive the employee object from the client in the request body. We'll use the insertOne() method to insert the employee into the database. If the insertion is successful, we'll send a "201 Created" response with the ID of the employee. Otherwise, we'll send a "500 Internal Server Error" response.

PUT /employees/:id

The PUT /employees/:id endpoint will allow us to update an existing employee. Append the following to the bottom of employee.routes.ts:

mean-stack-example/server/src/employee.routes.ts

Here, the ID of the employee is provided as a parameter whereas the employee object is provided in the request body. We use the ObjectId method to convert the string ID to a MongoDB ObjectId object. We then use the updateOne() method to update the employee with the given ID. If the update is successful, we'll send a "200 OK" response. Otherwise, we'll send a "304 Not Modified" response.

DELETE /employees/:id

Finally, the DELETE /employees/:id endpoint will allow us to delete an existing employee. Append the following to the bottom of employee.routes.ts:

mean-stack-example/server/src/employee.routes.ts

Similar to the previous endpoints, we send a query to the database based on the ID passed as a parameter. We use the deleteOne() method to delete the employee. If the deletion is successful, we'll send a "202 Accepted" response. Otherwise, we'll send a "400 Bad Request" response. If the employee is not found (result.deletedCount is 0), we'll send a "404 Not Found" response.

Register the routes

Now, we need to instruct the Express server to use the routes we've defined. First, import the employeesRouter at the beginning of src/server.ts:

mean-stack-example/server/src/server.ts

Then, add the following right before the app.listen() call:

mean-stack-example/server/src/server.ts

Finally, restart the server by stopping the shell process with Ctrl-C and running it again.

You should see the same message as before in the console.

Well done! We've built a simple RESTful API for our employees. Now, let's build an Angular web application to interact with it!

Building the client-side Angular web application

The next step is to build a client-side Angular web application that will interact with our RESTful API. We'll use the Angular CLI to scaffold the application. To install it, open a new terminal tab and run the following command:

It's important to keep the server running while you're working on the client-side application. To do this, you'll need to open a new tab in your terminal where you will execute commands for the client-side application. Also, make sure you navigate to the mean-stack-example directory.

After the installation is finished, navigate to the root directory of the project and run the following command to scaffold a new Angular application:

This will create a new Angular application in a directory called client. The --inline-template and --inline-style flags specify that we will include the HTML template and CSS styles directly in the component file instead of breaking those out into separate files. The --minimal flag will skip any testing configuration as we won't be covering that in this tutorial. The --routing flag will generate a routing module. The --style=css flag will enable the CSS preprocessor.

Installing the dependencies may take a while. After the installation is finished, navigate to the new application and start it by running the following commands:

After the application is built, you should see a new tab in your browser window with the application running. It should say "Welcome to client!"

Finally, for styling, we'll use Angular Material. To install it, run the following command from a new terminal in the client directory. Select a color theme along with the default options when prompted:

Create an employee interface on the client side

Similar to our server-side application, we'll create an Angular interface for our employees. We'll use the Employee interface to define the properties of our employee objects. Open a new terminal window and run the following command to scaffold the interface:

Then, open the newly created src/app/employee.ts file in your editor and add the following properties:

mean-stack-example/client/src/app/employee.ts

Creating an employee service

Angular recommends separating your business logic from your presentation logic. That's why we'll create a service that handles all communication with the /employee endpoint of the API. The service will be used by the components in the application. To generate the service, run the following command:

The ng generate service command creates a new service in the src/app/employee.service.ts file. Replace the content of this file with the following:

mean-stack-example/client/src/app/employee.service.ts


We're using the HttpClient service to make HTTP requests to our API. The refreshEmployees() method is used to fetch the full list of employees and saves this to a signal called employees$ which will be accessible to the rest of the application.

The HttpClient service is provided by Angular through the provideHttpClient function. It's not part of the application by default — we need to import it in the app.config.ts file. First, add the following import to the top of the app.config.ts file:

mean-stack-example/client/src/app/app.config.ts

Then, add the function to the list of providers of the ApplicationConfig variable:

The withFetch function is used to configure the HttpClient service to use the fetch API.

Next, we'll create a new page that displays a table with our employees.

Create an employees list component

Let's create a new page for our table with employees. In Angular, a component is a reusable piece of code that can be used to display a view. We'll create a new component called EmployeesList and then also register it as the /employees route in the application.

To generate the component, run the following command:

The Angular CLI generated a new component named EmployeesListComponent in the src/app/employees-list.component.ts file. Replace the contents of src/app/employees-list.component.ts with the following:

mean-stack-example/client/src/app/employees-list/employees-list.component.ts


As you can notice, EmployeesListComponent is a TypeScript class that is decorated with the @Component decorator. The @Component decorator is used to indicate that this class is a component. The selector property is used to specify the HTML tag that will be used to display this component. Spoiler alert: We won't use this selector at all. Instead, we'll register the component as a route. The template property is used to specify the HTML template that will be used to display this component.

The implementation of the class contains the logic for the component. The ngOnInit() method is called when the component is rendered on the page. It's a good place to fetch the list of employees. For that, we're using the EmployeeService we created earlier. The getEmployees() method returns our signal containing all employees. This will automatically render the list of employees as soon as the data is available. We're using Angular Material to render a table displaying the employees.

There are also a few actions in the template — for editing, deleting, and adding new employees. The [routerLink] attribute is used to navigate to the /employees/edit/:id route, which we'll implement later in the tutorial. The (click) event is used to call the deleteEmployee() method. This method, implemented in the class, uses the EmployeeService to delete an employee.

Now that we've created our component, we need to register it as a route in the app.routes.ts file. Replace the contents of the file with the following:

mean-stack-example/client/src/app/app.routes.ts

Then, go to the src/app/app.component.ts file and replace the contents with the following:

mean-stack-example/client/src/app/app.component.ts


Let's refresh the browser and see if everything is working.


We have a table but we don't see any employees yet. Let's create a new page for adding employees.

Creating a page for adding employees

We need a form for filling in name, position, and level, to create a new employee. For editing existing employees, we'll need a similar form. Let's create an EmployeeForm component and reuse it for both adding and editing.

The g is a shorthand for generate and c is a shorthand for component.

Now, we can use Angular's ReactiveFormsModule and FormBuilder to create a reactive form:

mean-stack-example/client/src/app/employee-form/employee-form.component.ts


There's a lot of code here but there isn't anything groundbreaking to it. We're just using the FormBuilder to create a reactive form with three fields and we're also adding validation to the form. The template is displaying the error messages in case there's a validation error. We're using an input() to pass in the initial state of the form from the parent component. The type of the input() is InputSignal because we might pass async data into the form.

For example, the parent component might fetch the employee data from an API and pass it into the form. The child component will get notified when new data is available. The @Output() is an event emitter that will emit the form values whenever the form is submitted. The parent will handle the submission and send an API call.

The next step is to implement the AddEmployeeComponent:

Replace the content of the newly created file with the following:

mean-stack-example/client/src/app/add-employee/add-employee.component.ts


We're using the EmployeeFormComponent, and whenever the AddEmployeeComponent receives a form submission, it will call the EmployeeService to create the employee. The EmployeeService will emit an event when the employee is created and the AddEmployeeComponent will navigate back to the table of employees.

While we're at it, let's implement the component for editing an employee:

Replace the content of the newly created file with the following:

mean-stack-example/client/src/app/edit-employee/edit-employee.component.ts


The only notable difference from the AddEmployeeComponent is that we're getting the employee ID from the URL, fetching the employee from the API, and then passing it to the form in the ngOnInit() method.

Finally, let's add navigation to our new pages:

mean-stack-example/client/src/app/app-routing.module.ts


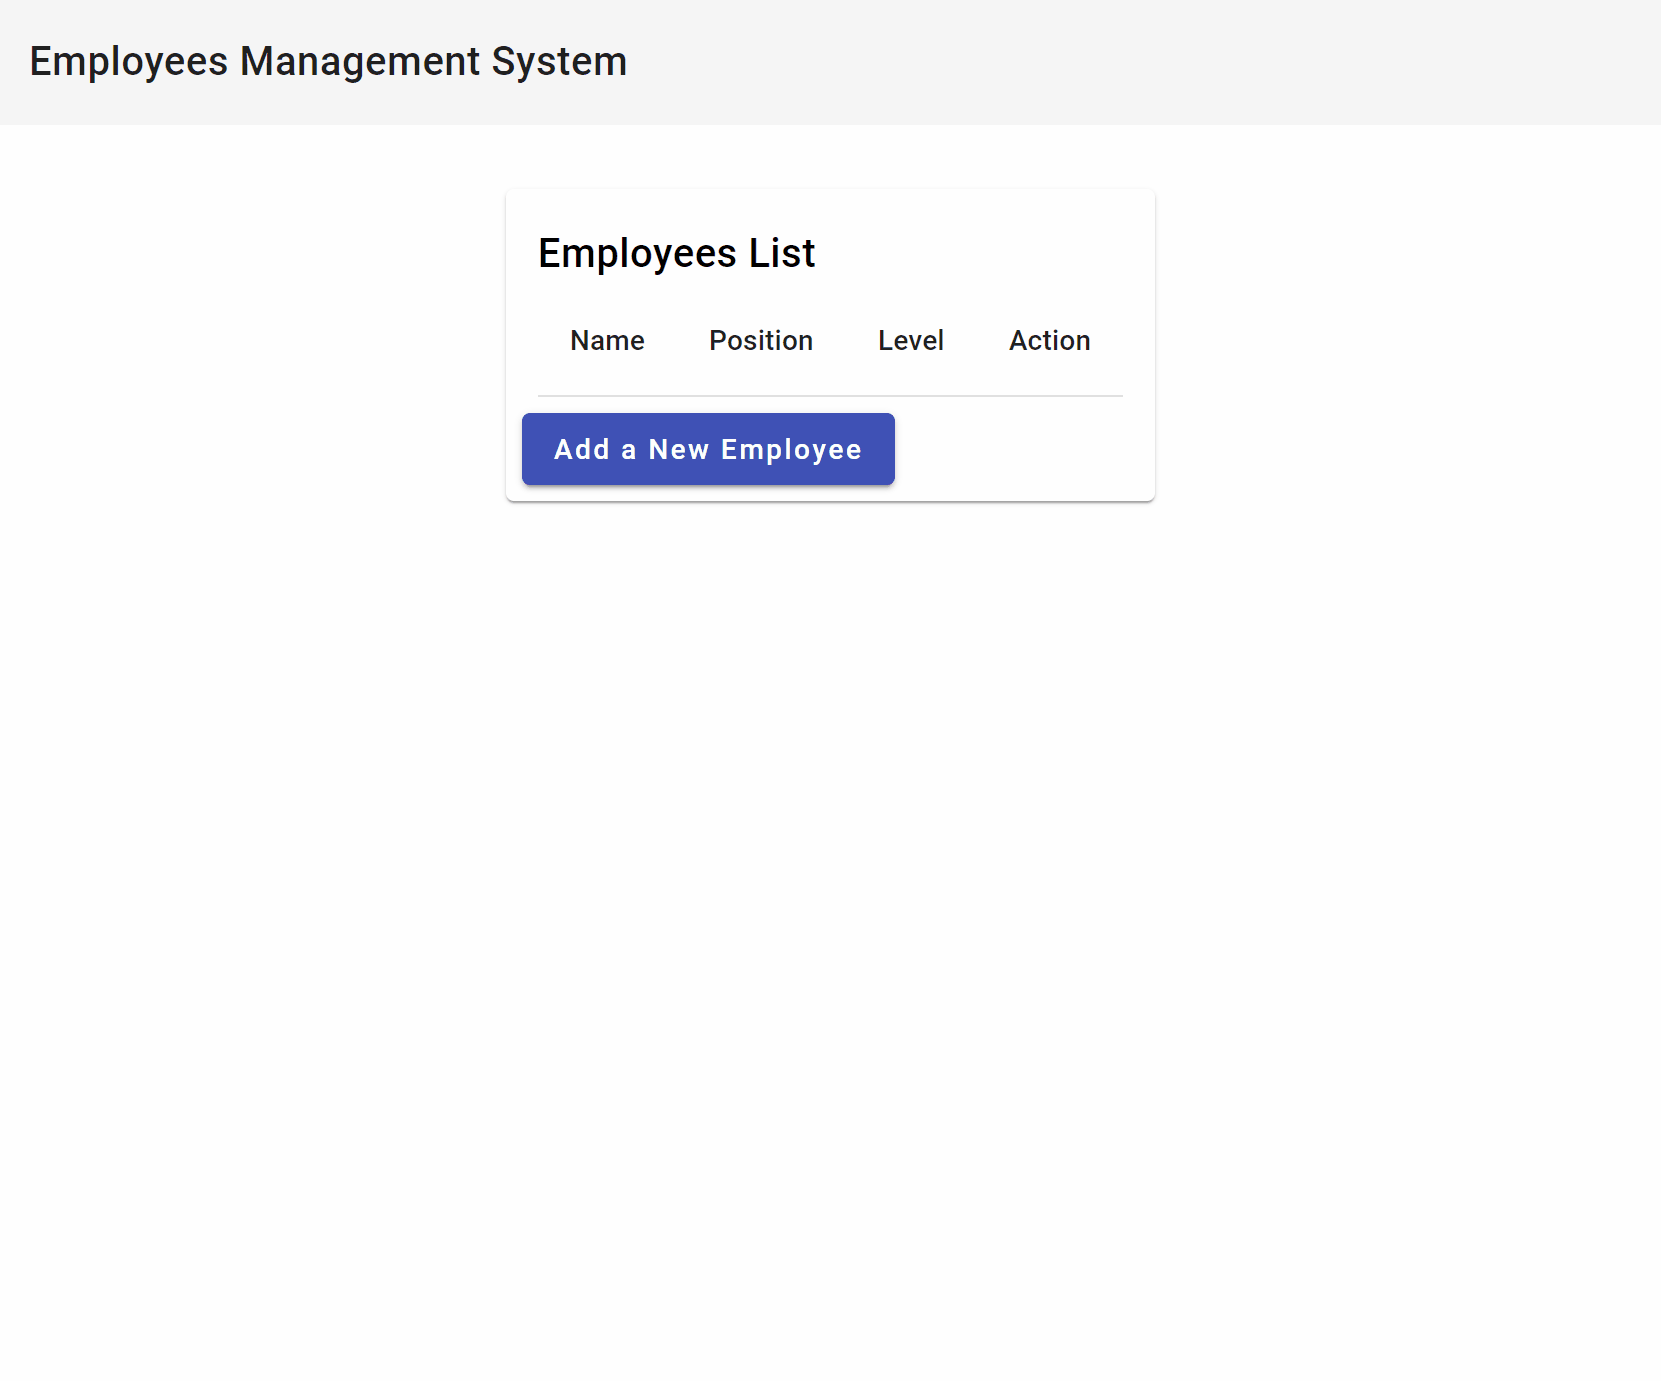
Alright! Let's test it out! Go ahead and try to create a new employee. After filling in the details, click the Submit button. You should see the new employee on the list. Then, you can try editing it by clicking the Edit button. You should see the form filled with the employee's details. When you submit the form, the employee will be updated in the table. Finally, you can delete it by clicking the Delete button.

An animate image of an angular app demonstration

If something doesn't add up, you can check out the finished project in the mean-stack-example repository.

Conclusion

Thank you for joining me on this journey and following along! I hope you enjoyed it and learned a lot. The MEAN stack makes it easy to get started and build scalable applications. You're using the same language throughout the stack: JavaScript. Additionally, MongoDB's document model makes it natural to map data to objects, and MongoDB Atlas's forever-free cluster makes it easy to host your data without worrying about costs.

Get started with Atlas today

Get started in seconds. Our free clusters come with 512 MB of storage so you can play around with sample data and get oriented with our platform.
Try FreeContact sales
GET STARTED WITH:
  • 125+ regions worldwide
  • Sample data sets
  • Always-on authentication
  • End-to-end encryption
  • Command line tools