Overview
This page contains information to get Realm integrated into your Electron application quickly by developing an application using Crea una aplicación de React.
Before you begin, ensure you have:
Nota
Version Requirement - Electron
Realm funciona con cualquiera de las versiones de Electron que estén oficialmente compatibles. Sin embargo, dado que Electron cambia constantemente con cada actualización, recomendamos usar la versión 13.2.x de Electron para compatibilidad con esta documentación. Para ver las versiones oficialmente soportadas de Electron, consulta el documento Electron Releases.
Nota
Version Requirement - React.js
This guide was created with support for React.js version 17.0 and Create React App version 4.0. Versions other than those may lead to errors while building the application since new dependencies are frequently added to both React.js and Create React App.
Configuración
Para configurar una aplicación de Electron usando Realm, siga las siguientes instrucciones:
Cree su aplicación React
Scaffold your application by using the Create React App toolchain. Enter the following command into your terminal:
npx create-react-app my_electron_react_application
Your application should include the following files. Some additional files in your project, such as CSS, service worker, and test files aren't included below.
. |-- package.json |-- package-lock.lock |-- public | |-- index.html |-- src | |-- App.js // renderer process |-- |-- index.js // renderer process
Cualquier archivo JS dentro del src El directorio se ejecuta en un renderer process.
Nota
Each Electron application can only have one main process. The main process creates web pages. Each web page runs in its own process, known as renderer process. To learn more about this, read the official Electron Process Model doc.
Remover la dependencia de web-vitals
Create React App version 4.0+ includes the web-vitals module. Since 'web-vitals' is designed to work with the web rather than an Electron environment, the inclusion of this module may lead to a "chunk runtime-main [entry] Cannot convert undefined or null to
object" error when building the application. To avoid this error, run the following command to uninstall the web-vitals package.
npm uninstall web-vitals
Luego borra el archivo reportWebVitals.js:
rm src/reportWebVitals.js
Por último, remueve las siguientes líneas del archivo src/index.js:
import reportWebVitals from './reportWebVitals'; reportWebVitals();
Install CRACO to Alter Your Webpack Configuration
To allow your application to work properly with Electron, you have to alter your webpack configuration. By default, applications created via create-react-app use a preconfigured webpack file and hidden to the end-user. The Create React App default webpack configuration is not compatible with Realm and you must override it. You can use CRACO to override these default values. Install CRACO with the following command:
npm install @craco/craco
Create a CRACO Configuration File
In order to override the preconfigured webpack values, create a CRACO config file called craco.config.js at the root of your application. Add the following to this file:
const nodeExternals = require("webpack-node-externals"); module.exports = { webpack: { configure: { target: "electron-renderer", externals: [ nodeExternals({ allowlist: [/webpack(\/.*)?/, "electron-devtools-installer"], }), ], }, }, };
El target se establece en "electron-renderer" para compilar tu aplicación para entornos de navegador para los módulos de funcionalidad incorporada de Electron. nodeExternals también se especifica para evitar que todos los node_modules se incluyan en el paquete. La clave allowList en el objeto pasado a nodeExternals especifica una lista de módulos a incluir en el paquete, en este caso, las herramientas de desarrollo de electron y webpack. Para utilizar webpack-node-externals, ejecutar el siguiente comando:
npm install webpack-node-externals --save-dev
Create Your Electron Main Process File
The Electron main process file can be thought of as the entry point into your application. This file is responsible for loading your React App's index.html file into the BrowserWindow created by Electron.
Nota
Cada aplicación de Electron solo puede tener un proceso principal. El proceso principal puede crear páginas web. Cada página web se ejecuta en su propio proceso, conocido como proceso del renderizador. Para aprender más sobre esto, lee la documentación oficial del modelo de procesos de Electron.
Add the following code to a new file called electron.js in the public directory:
const electron = require("electron"); const path = require("path"); const app = electron.app; const BrowserWindow = electron.BrowserWindow; let mainWindow; function createWindow() { // Create the browser window. mainWindow = new BrowserWindow({ width: 800, height: 600, webPreferences: { nodeIntegration: true, contextIsolation: false }, }); // and load the index.html of the app. console.log(__dirname); mainWindow.loadFile(path.join(__dirname, "../build/index.html")); } // This method will be called when Electron has finished // initialization and is ready to create browser windows. // Some APIs can only be used after this event occurs. app.on("ready", createWindow);
Your application should now include the following files. Some additional files in your project, such as CSS, service worker, and test files aren't included below.
. |-- package.json |-- package-lock.lock |-- craco.config.js |-- public | |-- index.html | |-- electron.js // main process |-- src | |-- App.js // renderer process |-- |-- index.js // renderer process
All JS files within the src directory executes on the renderer process. The electron.js and any files required by it execute on the main process.
Ejecutar la aplicación
In order to run your application, specify a homepage and a main entry point for Electron by adding the following to your package.json file:
"main": "public/electron.js", "homepage": "./",
Finally, add the following scripts to your package.json file:
"scripts": { "build": "craco build", "start": "electron ." },
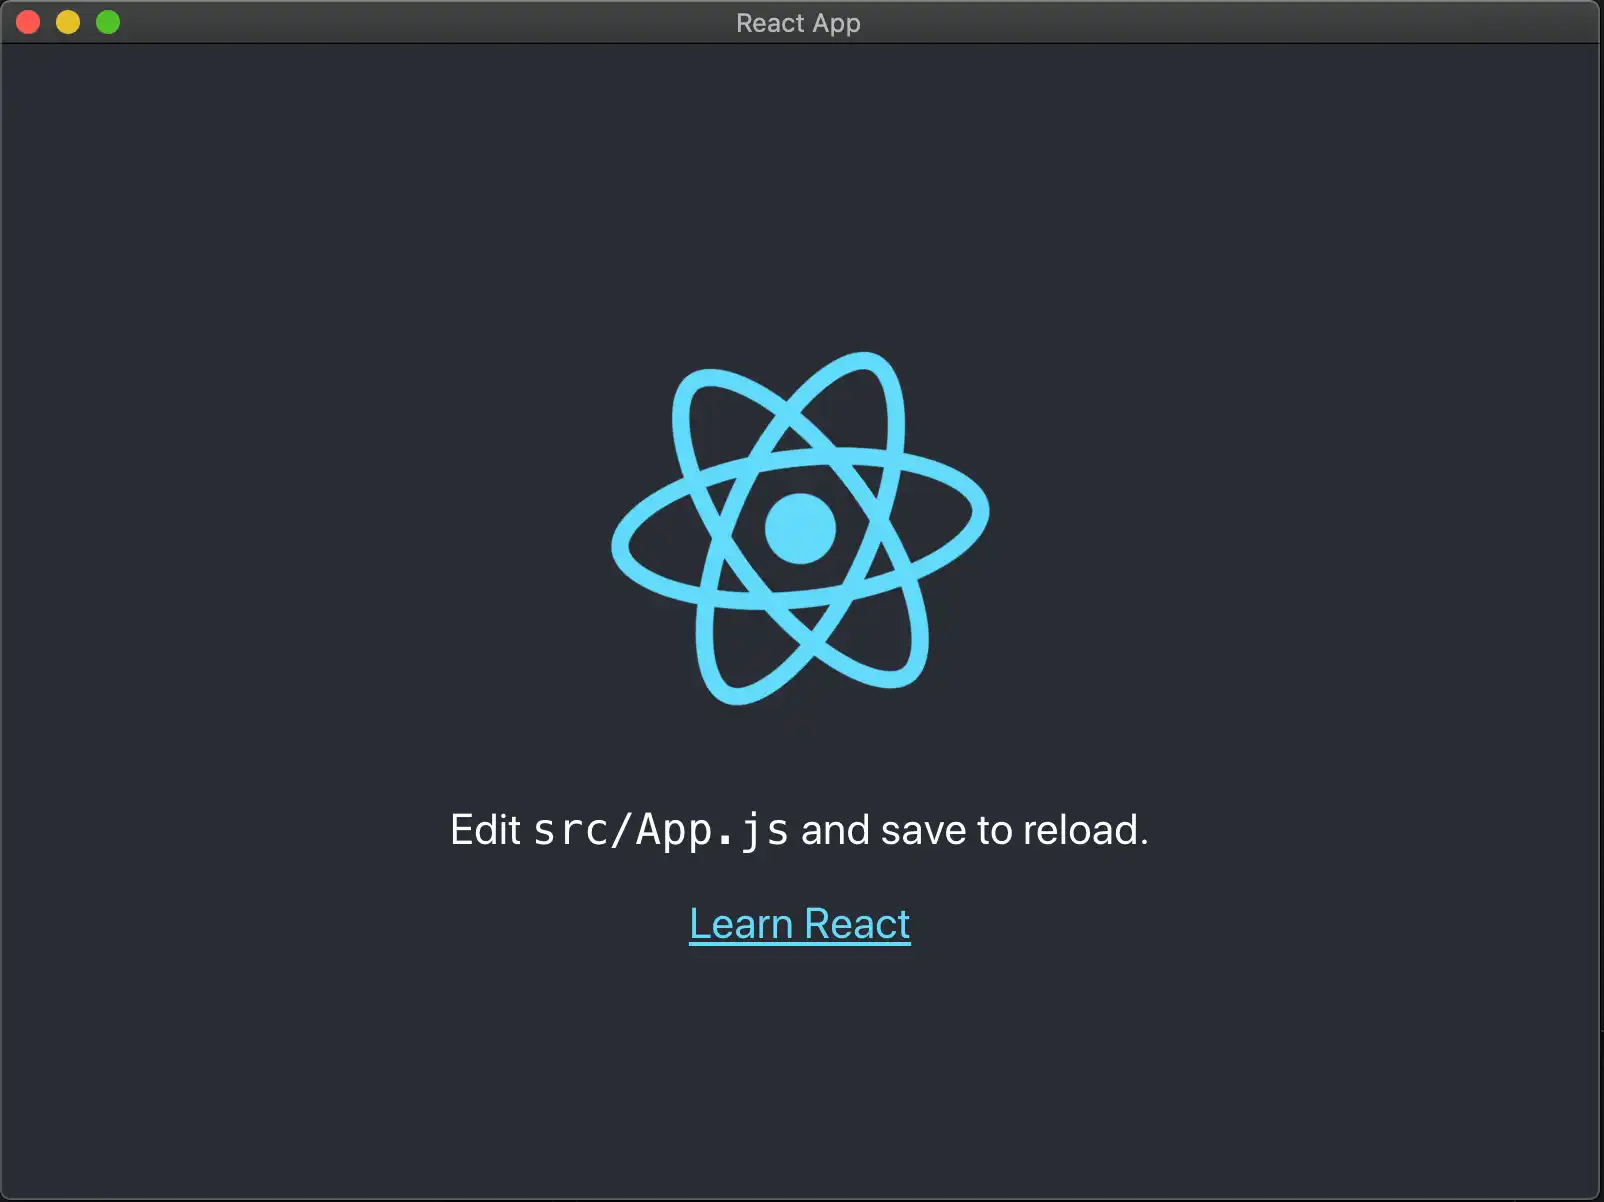
In your terminal, run npm run build and then npm run start. You should see the following:

Install Realm
In your terminal, use the following command to add Realm to your project:
npm install realm@12
Use realm in the renderer process by adding the following to the top of the src/App.js file (you will also need to import it in whichever file you write code using Realm in):
import Realm from "realm";
Open a Realm
Autentica un usuario, define un esquema y sincroniza la sincronización de dispositivos habilitada, luego llama a Realm.open() en un archivo en el que hayas importado Realm.
Una vez que hayas abierto el realm, puedes guardar en el realm.
const app = new Realm.App({ id: "<Your App ID>" }); // create a new instance of the Realm.App async function run() { // login with an anonymous credential await app.logIn(Realm.Credentials.anonymous()); const DogSchema = { name: "Dog", properties: { _id: 'int', name: "string", age: "int", }, primaryKey: '_id' }; const realm = await Realm.open({ schema: [DogSchema], sync: { user: app.currentUser, partitionValue: "myPartition", }, }); // The myPartition realm is now synced to the device. You can // access it through the `realm` object returned by `Realm.open()` // write to the realm } run().catch(err => { console.error("Failed to open realm:", err) });
Nota
For an example of writing to a realm from both the renderer and main processes, check out the realm-electron-advanced-quickstart repository.
Nota
Current React Native binaries are included in the realm package. You can remove the binaries and the react-native directory from the build. In your package.json file, add a build.files entry and set its value to !**/node_modules/realm/react-native.