Esta página contiene información sobre cómo instalar e integrar Realm en tu proyecto de Unity.
Requisitos previos
Unity 2020.3.12f1 (LTS)
Nota
El SDK de Realm.NET puede ser compatible con otras versiones de Unity, pero 2020.3.12f1 (LTS) Es la versión que el equipo de Realm utiliza para pruebas y desarrollo. Recomendamos usar esta versión para garantizar que su proyecto funcione con Realm y que los pasos de instalación coincidan con los siguientes, ya que la interfaz de usuario de Unity suele cambiar entre versiones.
Instalar
Realm ofrece varias maneras de instalar el SDK de Realm.NET para usarlo con Unity. Los desarrolladores de Unity con experiencia pueden encontrar intuitiva la instalación manual de Realm con un archivo tar. Sin embargo, recomendamos instalar el SDK de Realm.NET mediante npm, ya que este notifica las actualizaciones de versión a través del gestor de paquetes de Unity.
Agregar NPM como un registro con alcance
Before you can download and use Realm within your Unity project, you must add NPM as a scoped registry. Adding NPM as a scoped registry configures Unity to communicate with NPM, allowing you to install packages, such as Realm.
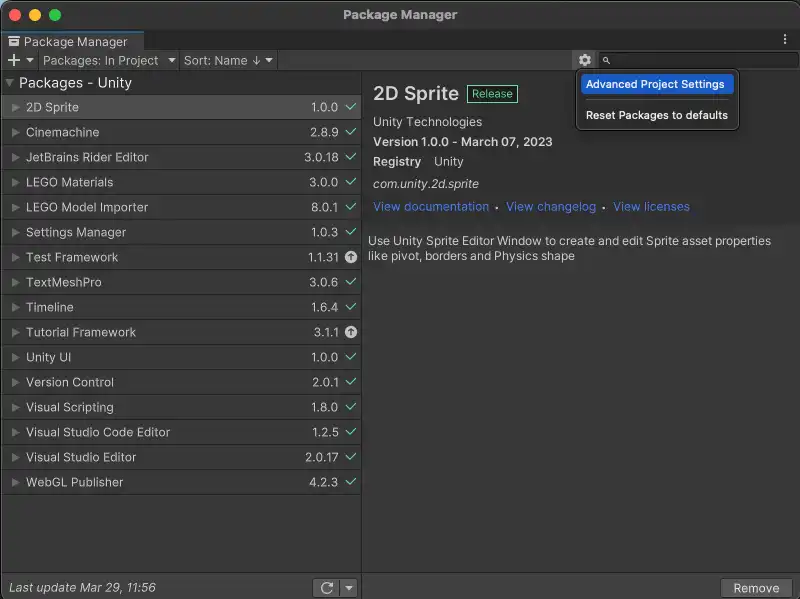
Abra el administrador de paquetes de Unity haciendo clic en el icono Window Pestaña en la parte superior del menú de Unity. Haga clic en Package Manager en Window dropdown. Luego, haga clic en el icono del engranaje en la esquina derecha. Seleccione la opción Advanced Project Settings en el menú desplegable.

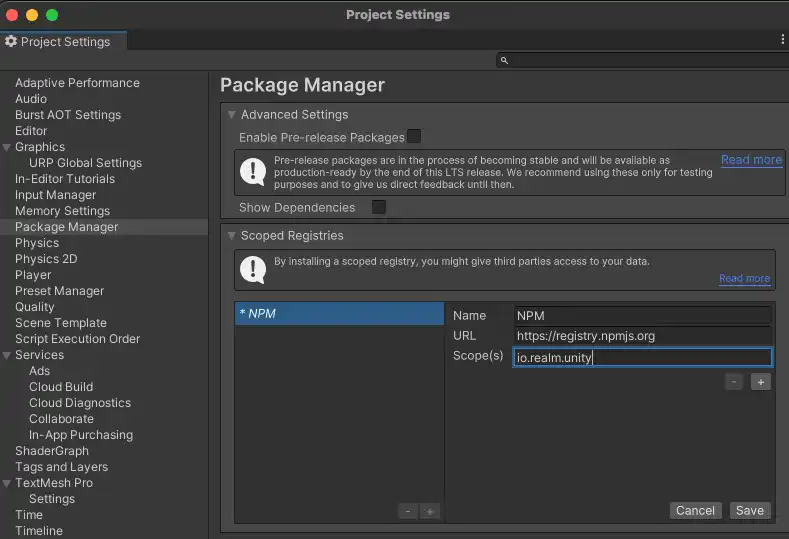
Rellena el formulario de registro específico con los detalles a continuación y haz clic en el botón guardar.
name = NPM URL = https://registry.npmjs.org Scope(s) = io.realm.unity

Agregar Realm al manifiesto del proyecto
Now that Unity can install the Realm .NET SDK from NPM, you need to add Realm as a dependency in your project's manifest file. Open "Packages/manifest.json" file in Visual Studio or another text editor. At the bottom of the dependency's object, add the field, "io.realm.unity" and its value, the Realm .NET version number you want to use in quotes.
"io.realm.unity": "<version-number>"
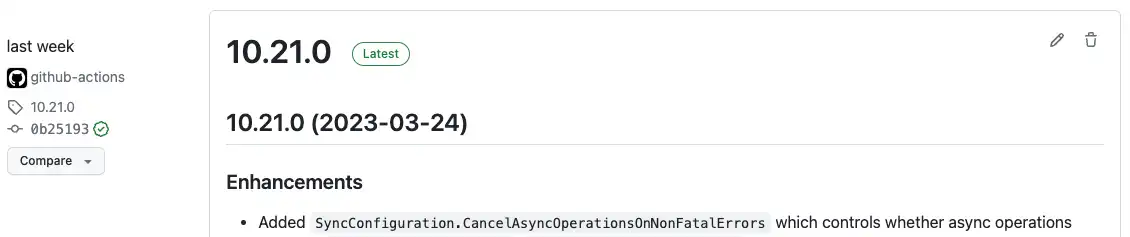
Recuerda reemplazar el <version-number> anterior con el número de versión. Puedes encontrar la última versión en el repositorio de GitHub realm-dotnet. Tu archivo de manifiesto completo debería ser similar a lo siguiente:
{ "dependencies": { ... "io.realm.unity": "10.21.0" }, "scopedRegistries": [ { "name": "NPM", "url": "https://registry.npmjs.org/", "scopes": [ "io.realm.unity" ] } ] }
When you save this file, Unity downloads the specified version of the Realm .NET SDK package from the NPM registry.
Verify the Realm Dependency and Check for Updates
To verify that the Realm package has been downloaded from NPM, open your Unity package manager by clicking the Window tab on the top of the Unity menu. Click Package Manager from the Window dropdown. You should see Realm on the "Packages: In Project" tab.


Si ves un icono de marca de verificación verde junto al número de versión del paquete Realm, significa que tu paquete está actualizado. Sin embargo, si ves el icono de flecha hacia arriba, significa que hay una nueva versión del paquete disponible. Al hacer clic, te da la opción de actualizar a la versión más reciente.
Download the Latest Realm .NET SDK Release
Antes de comenzar a usar Realm dentro de tu proyecto de Unity, debes descargar el SDK de Realm .NET.
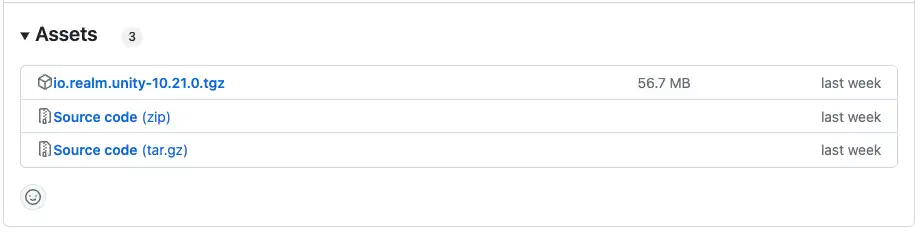
Navigate to the realm-dotnet repository releases page, and scroll down to the release you want to use in your project. If you are unsure of which release to use, you can use the one labeled "latest release" on the left row.

Desplázate hasta <version-number> el menú desplegable"Activos" de la versión y haz clic en el enlace etiquetado como"io.realm.unity-<versión-número>.tgz" para descargar el SDK.

Add the Tarball to Your Projects Package Manager
Move your downloaded Realm .NET SDK tarball inside of your project. You can do this by dragging and dropping the file into your project's folder. Copying the tarball to your project folder and committing it to version control ensures other developers working on the project can just clone the repository and build without manually downloading the Realm dependency.
Next, you must load the tarball into your project using the Unity package manager.
To open the package manager, click the Window tab on the top of the Unity menu. Click Package Manager from the Window dropdown. Once the package manager model opens, click the + icon in the top left corner of the model. Select the Add package from tarball... option.

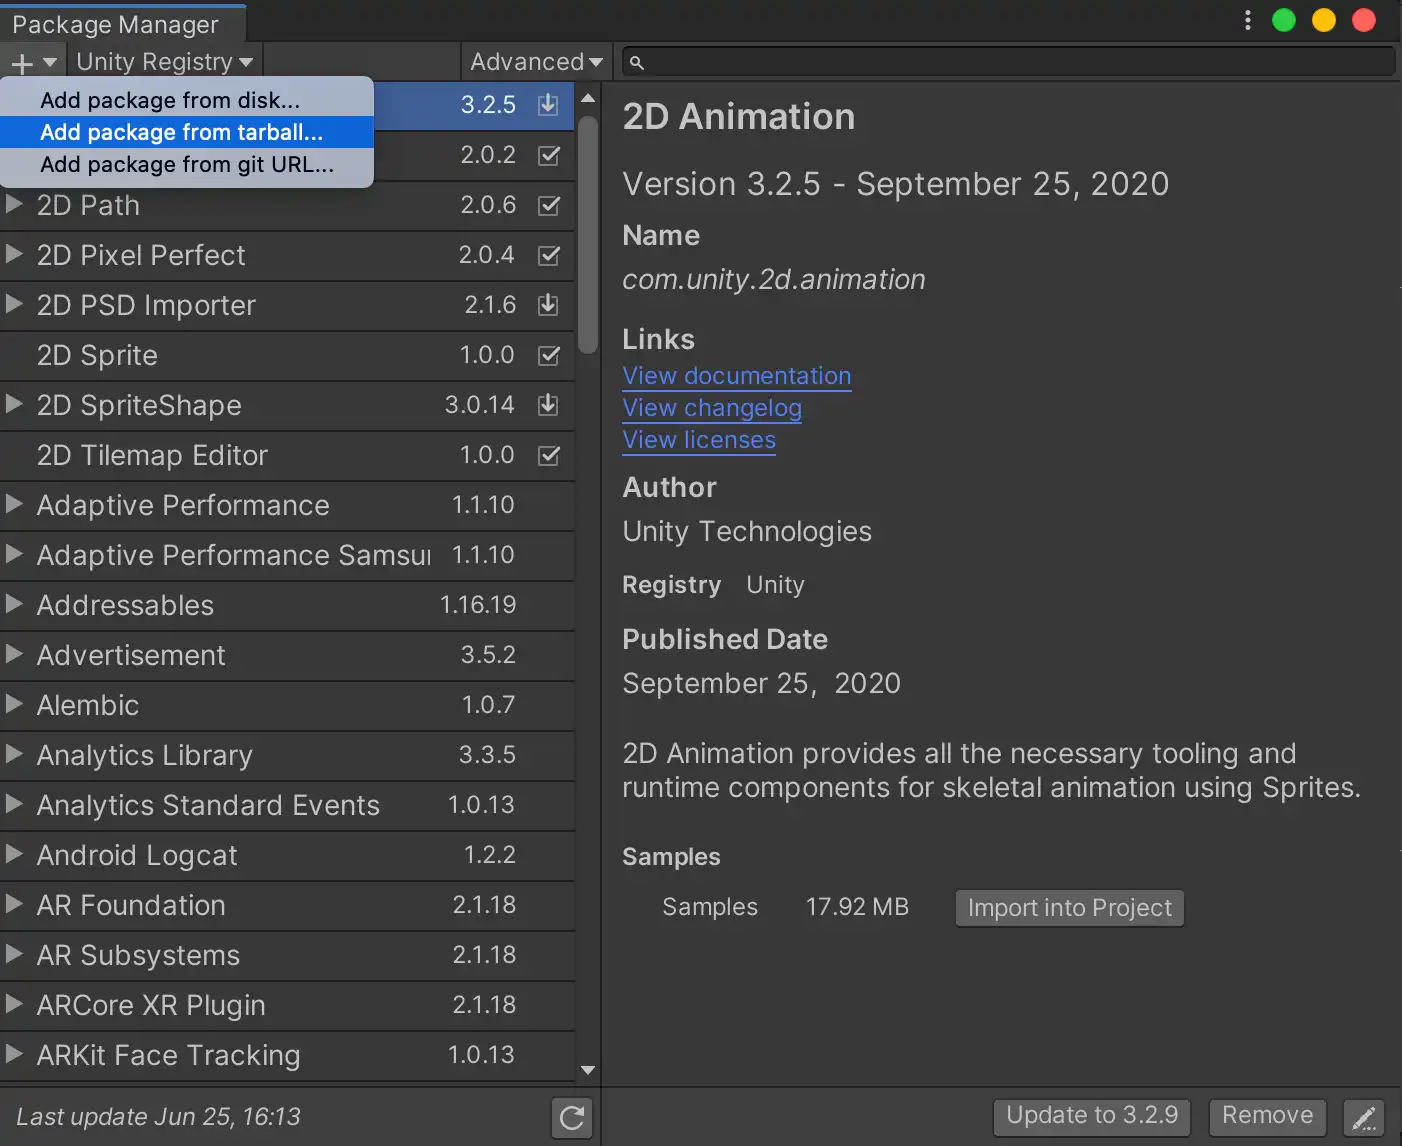
Select your "io.realm.unity-bundled-<version-number>.tgz" file to begin importing your project.
Import Realm
Create a C# script or use a C# script you have already created. Open that script in Visual Studio or another text editor and add the following line to import your Realm package:
using Realms;
Using Realm in Your Unity Project
When developing with Realm .NET SDK, the API methods are the same regardless of whether you use Unity or another platform. However, since Unity has some scripting restrictions, you should keep the following additional considerations in mind when developing your project:
Managed Code Stripping
Unity performs managed code stripping, discarding any unused code from a build to reduce binary size. This may lead to issues when deserializing BSON into C# classes. For platforms that use IL2CPP, such as iOS, managed code stripping is enabled by default. When working with BSON, use the [Preserve] attribute to prevent managed code stripping on types properties that are only populated by the serializer. Since those properties use reflection, Unity cannot statically infer that the property setter is used. This means that unless you apply the [Preserve] attribute, Unity will strip those properties away. For examples of when you may perform BSON deserialization, check out the Query MongoDB and Call a Function documentation.
Uso de Realm mientras la aplicación se está cerrando
The Realm .NET SDK cannot be accessed within the AppDomain.DomainUnload Event or the Application.quitting event. This means you cannot write data to a Realm while the player application is quitting. If you need to store some data just before the app exits, consider using the Application.wantsToQuit event instead.
Nota
Problema conocido al desarrollar con Unity en Windows
On Windows, if you are using Device Sync, your project may crash when running multiple instances of your project since multiple processes are attempting to access the same synced realm. If you are using a local realm, you are able to run multiple instances of your project without crashes.
Ejemplos adicionales
La comunidad de Realm ha creado muchos proyectos que demuestran el uso del SDK .NET de Realm. ¡Consulta los ejemplos a continuación que demuestran el uso del SDK .NET de Realm con Unity!
Nota
The MongoDB Documentation team does not directly maintain these examples.