This post is part of our ongoing series on running Ops Manager with the MongoDB Kubernetes Operator. Check out the related articles for more.
- Introducing MongoDB Ops Manager in Kubernetes
- Running MongoDB Ops Manager in Kubernetes
Recently, we announced the ability to deploy Ops Manager in Kubernetes and provided a step-by-step guide on how to set this up in your environment. Now we’re back to show you how to use an exciting new feature we’ve released: the ability to run an S3 compatible or HTTP(s) endpoint to serve the mongoDB binaries used to deploy clusters. This allows you to set up Ops Manager on a Kubernetes cluster without access to the internet and without the need to manage mongod/mongos binaries on each pod within the Ops Manager deployment.
We’ll show you how to configure your endpoint, upload the correct binaries and reconfigure the Ops Manager deployment to use files served from this endpoint.
Prerequisites
This guide assumes you’ve already set up and run Ops Manager and the MongoDB Enterprise Kubernetes Operator on your cluster, following the steps in the guide here. This will give you a deployed cluster that we can modify to use our new HTTP endpoint to retrieve the binaries needed to deploy and upgrade mongod/mongos instances.
If you have an existing environment, then you will need to have the following versions installed:
- Kubernetes API
- v1.16 or above for MongoDB Operator
- v1.17 or above for MinIO Operator
- MongoDB Enterprise Kubernetes Operator 1.6.0 or above
- MongoDB Ops Manager 4.4.0 or above
Choosing Where to Host Binaries
The only requirement from Ops Manager is an HTTP endpoint, so you can leverage an existing file server configuration within your organisation if required.
For this tutorial, we’re going to use MinIO, a popular Open Source Object Storage platform that is optimised for private cloud deployments on containerised infrastructure such as Kubernetes, used in many Fortune 500 companies. With MinIO, customers can manage their binaries with individual policies through rich programmatic and UI admin services that align with best practices for file management such as bitrot protection, encryption, and identity management.
Installing MinIO
Installing MinIo is similar to the MongoDB Kubernetes Operator. The MinIO documentation shows you how to deploy on your Kubernetes cluster, with many configurations to suit your organization’s requirements. In this tutorial, we will show you how to use the Operator to manage the installation of your instance.
First, let’s ensure the operator is installed and configured by running the following command on your cluster:
Now, let's create the MinIO instances to serve our binaries:
This deployment will take a few moments. Let's verify that the instance successfully deploys:
Once this is complete, we should also get a service name, which we will use in the Ops Manager configuration later:
Creating Buckets With MongoDB Binaries and Database Tools
Now that we have a running instance of MinIO, we can populate it with binaries for use by the operator to deploy mongoDB instances. The MongoDB Kubernetes Operator, as of v0.10, uses Ubuntu 16.04 mongoDB binaries, which can be downloaded from https://www.mongodb.org/dl/linux/x86_64-ubuntu1604. If Ops Manager will also be managing deployments, you may also wish to populate your buckets with versions for other architectures and platforms. A full list of the currently supported binaries can be retrieved from the version manifest of Ops Manager through the Version Manifest endpoint.
For the purposes of this tutorial, we will just fetch versions 4.2.3 and 4.2.0 for use by the operator:
Also, we’ll need the mongodb-database-tools for the current version of Ops Manager. For the 4.4.0 release, this is v100.0.2.
Now, let's put the mongod files into a bucket named ‘linux’, and the database tools in a bucket named ‘tools/db’. Both buckets will have read-only permissions for all users. We can do this with the mc MinIO command-line client or through the graphical UI that MinIO provides. For this tutorial, we will use the UI, but the command line would allow us to script this operation if required.
To access the UI, we will need to forward a connection to the MinIO service running on kubernetes. In a terminal, run the following command:
You should now be able to access the MinIO dashboard at http://localhost:9000
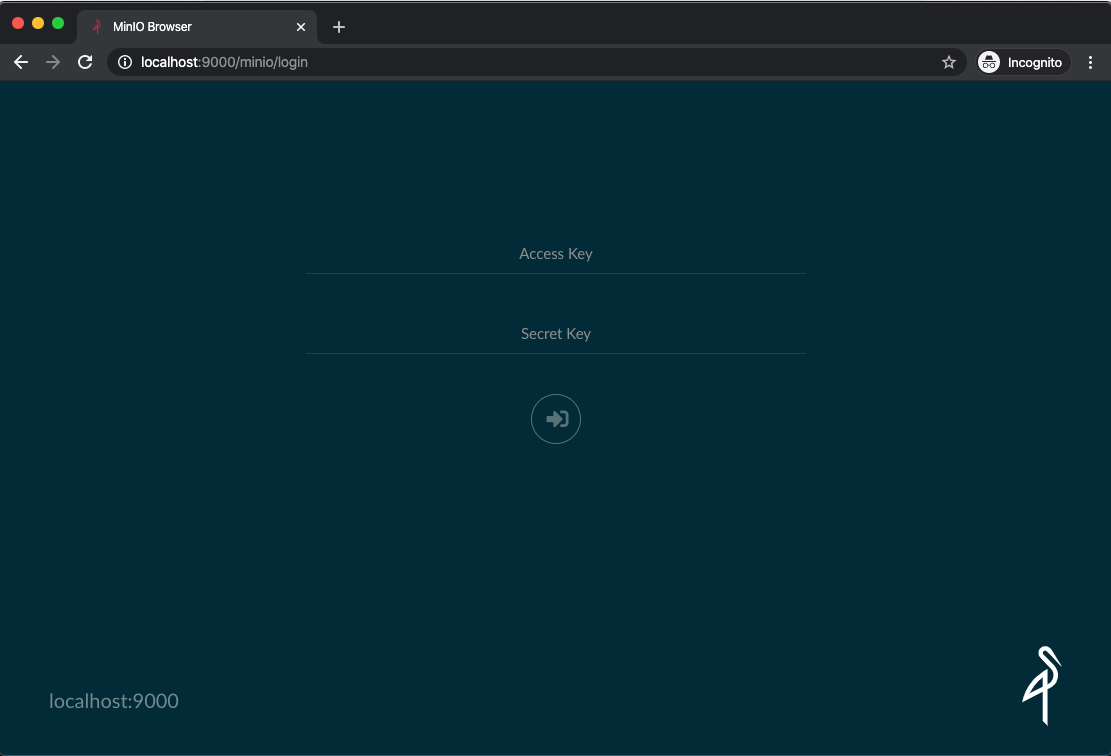
The default credentials, from the public sample config we deployed earlier, are minio/minio123.
Once we log in, we can create a bucket named ‘linux’ through the + → Create bucket button in the bottom right of the interface.

Once this is created, it will appear in the left menu. Select this and upload the binaries you downloaded earlier, again using the + → Upload file button in the bottom right.

Once all files are uploaded, you will need to allow read-only access to the bucket from anyone who has the link. This is to allow unauthenticated GET and HEAD HTTP requests to access the resource from our Ops Manager container.
To enable read-only access, click the ... button on the ‘linux’ bucket and select Edit Policy. On the modal dialog, select Read Only and click Add, which will enable access.

At this point, we should be able to validate the files that can be downloaded. Running the following HEAD request should now return a successful result:
Our S3 buckets are now ready to serve binaries for the Ops Manager instance. Let’s now configure it to consume these resources.
Upgrade Ops Manager to 4.4.0 or Later
In the previous tutorial, we created the ops-manager.yaml configuration file, which we will now edit to include the following options:
The updated configuration file should match the following:
We can now update the running instance:
The deployment will take a few minutes to update, as it will need to redeploy the configuration with new pods. Check the status and ensure the Ops Manager resource gets to the “Running” phase:
Now, let’s connect to our Ops Manager instance through the UI Dashboard. Get the load balancer address, as with the previous tutorial:
Create a MongoDB Replica Set
At this point, everything should be in place to let us deploy mongoDB binaries using our MinIO instance. Let’s verify this, creating a new project and replica set using the Kubernetes Operator.
First, let’s make the replica set configuration Create the file replica-set-s3-endpoint.yaml describing the new MongoDB resource, reusing the ops-manager-connection configMap from the previous tutorial:
Apply it to the Kubernetes cluster:
Wait until the resource enters the Running state:
Now, let’s verify this has deployed correctly in Ops Manager:

Also, if we click on the modify button and click the versions dropdown, we will see the listing is limited to 4.2.3 and 4.2.2; the versions we uploaded to the MinIO instance.

If the user configured a version that isn’t stored on the MinIO instance, we instead will get a deployment failure. The MongoDB Agent logs will give a clear error about which file and location could not be found on the remote endpoint, allowing admins to quickly identify where the files should be uploaded.
To test this, let’s change the version to 4.2.1 on the replica-set-s3-endpoint.yaml and deploy using:
In Ops Manager, a red deployment bar will be displayed for the deployment. If we click on the view agent logs link, the following will now be shown :

Would you like to know more?
Stay tuned for upcoming blog posts in this series, where we will continue to do deep dives on all things Ops Manager. Learn about how to backup Ops Manager, configure it for high availability, set up SCRAM and get an inside look at the architecture behind the MongoDB Enterprise Kubernetes Operator.