Introduction to Atlas Device Sync for Android


Rate this announcement


Atlas App Services (Formerly MongoDB Realm )
Atlas Device Sync (Formerly Realm Sync)
Welcome back! We really appreciate you coming back and showing your interest in Atlas App Services. This is a follow-up article to Introduction to Realm Java SDK for Android. If you haven't read that yet, we recommend you go through it first.
This is a beginner-level article, where we introduce you to Atlas Device Sync. As always, we demonstrate its usage by building an Android app using the MVVM architecture.
Build better mobile apps with Atlas Device Sync: Atlas Device Sync is a fully-managed mobile backend-as-a-service. Leverage out-of-the-box infrastructure, data synchronization capabilities, built-in network handling, and much more to quickly launch enterprise-grade mobile apps. Get started now by build: Deploy Sample for Free!
You have created at least one app using Android Studio.
In the previous article, we learned that the Realm Java SDK is easy to use when working with a local database. But in the world of the internet we want to share our data, so how do we do that with Realm?
MongoDB Atlas Device Sync
Atlas Device Sync is the solution to our problem. It's one of the many features provided by MongoDB Atlas App Services. It synchronizes the data between client-side Realms and the server-side cloud, MongoDB Atlas, without worrying about conflict resolution and error handling.
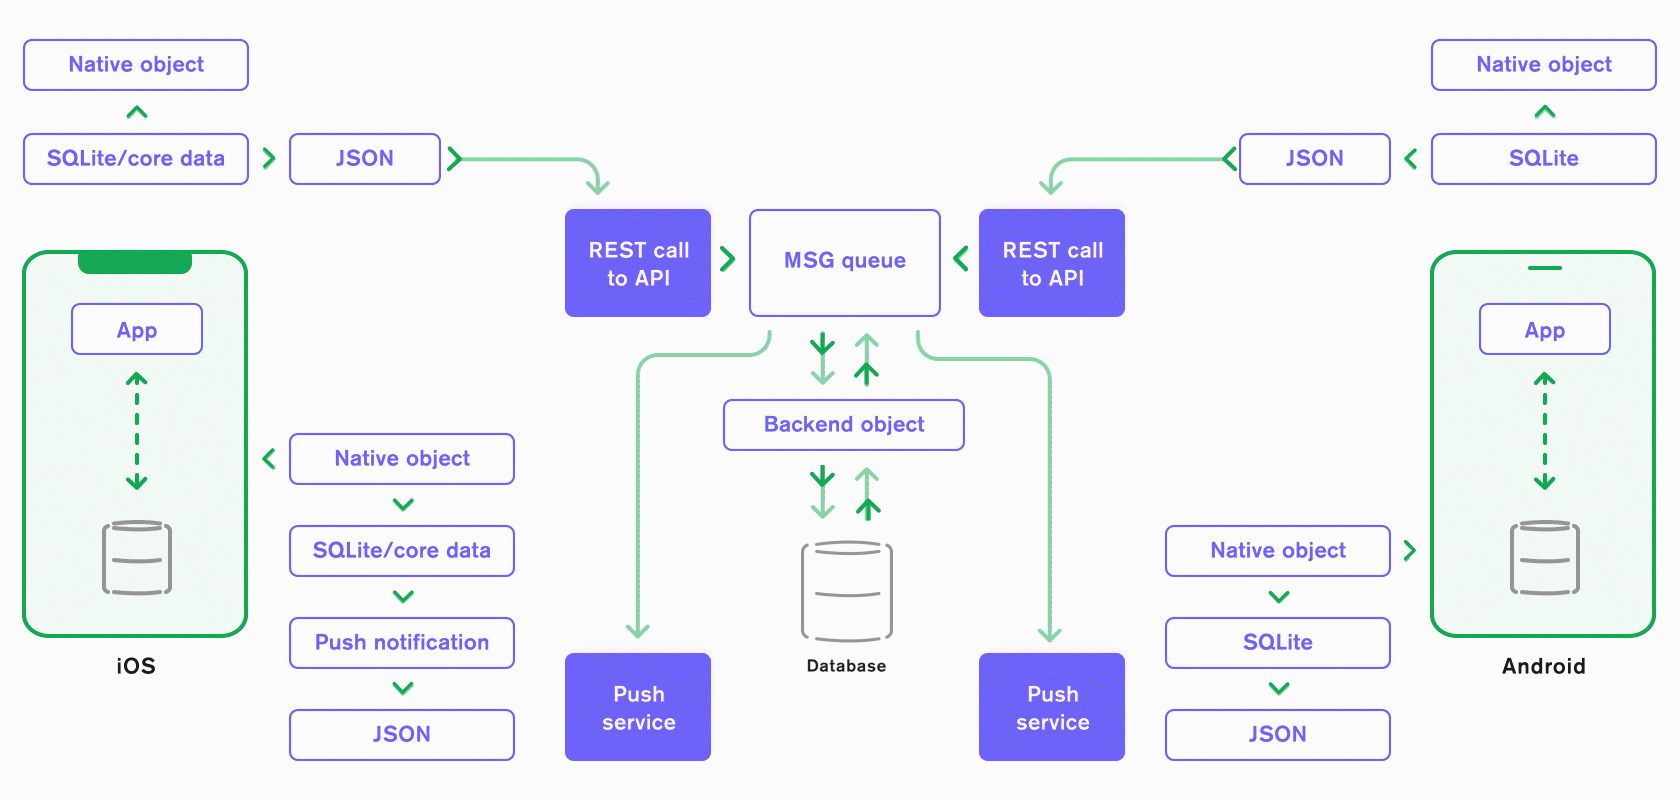
The illustration below demonstrates how MongoDB Atlas Device Sync has simplified the complex architecture:
To demonstrate how to use Atlas Device Sync, we will extend our previous application, which tracks app views, to use Atlas Device Sync.
Update the
syncEnabled state as shown below in the Gradle file (at the module level):
Also, add the
buildConfigField to buildTypes in the same file:You can ignore the value of
App Key for now, as it will be covered in a later step.
Once this is done, we have a cloud database where all our mobile app data can be saved, i.e., MongoDB Atlas. Now we are left with linking our cloud database (in Atlas) with the mobile app.
In layman's terms, App Services apps on MongoDB Atlas are just links between the data flowing between the mobile apps (Realm Java SDK) and Atlas.
Copy the App ID and use it to replace
App Key in the build.gradle file, which we added in Step 2.With this done, MongoDB Atlas and your Android App are connected.
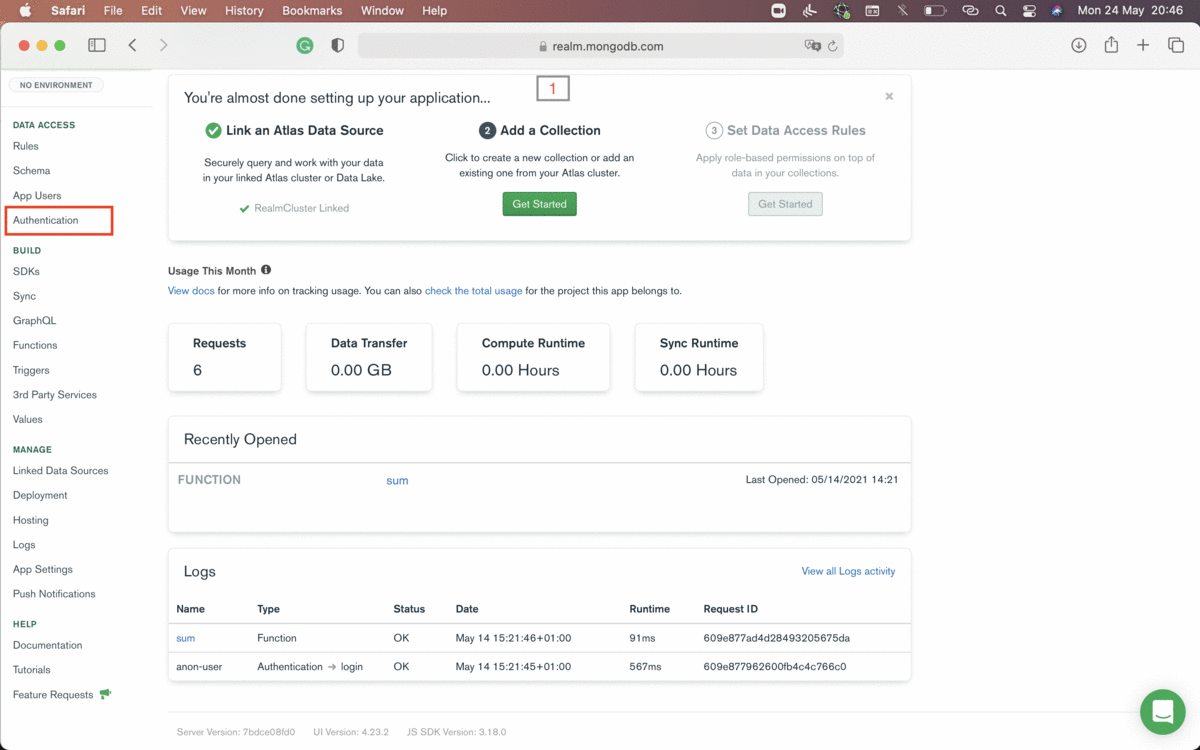
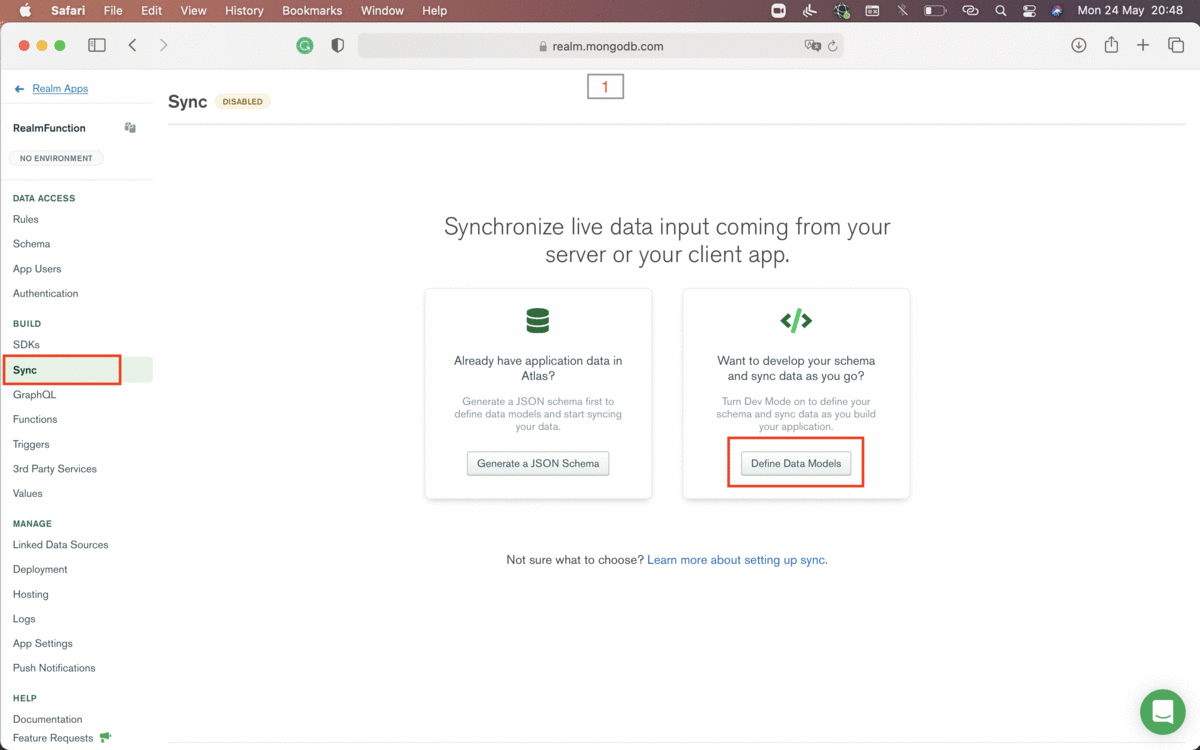
MongoDB Atlas App Services is a very powerful tool and has a bunch of cool features from data security to its manipulation. This is more than sufficient for one application. Let's enable authentication and sync.
Device Sync is designed to make apps secure by default, by not allowing an unknown user to access data.
We don't have to force a user to sign up for them to become a known user. We can enable anonymous authentication, which is a win-win for everyone.
So let's enable both of them:
Let's quickly recap what we have done so far.
In the Android app:
- Added App Services App ID to the Gradle file.
- Enabled Atlas Device Sync.
- Set up account.
- Created a App Services app.
- Enabled anonymous authentication.
- Enabled sync.
Now, the final piece is to make the necessary modifications to our Android app.
The only code change is to get an instance of the Realm mobile database from the App Services app instance.
- Get a App Services app instance from which the Realm instance can be derived:
- Update the creation of the View Model:
- Update the View Model constructor to accept the App Services app instance:
- Update the
updateDatamethod inHomeViewModel:
In the above snippet, we are doing two primary things:
- Getting a user instance by signing in anonymously.
- Getting a Realm instance using
SyncConfiguration.Builder.
Where
user.id is the partition key we defined in our Atlas Device Sync configuration (Step 6). In simple terms, partition key is an identifier that helps you to get the exact data as per client needs. For more details, please refer to the article on Atlas Device Sync Partitioning Strategies.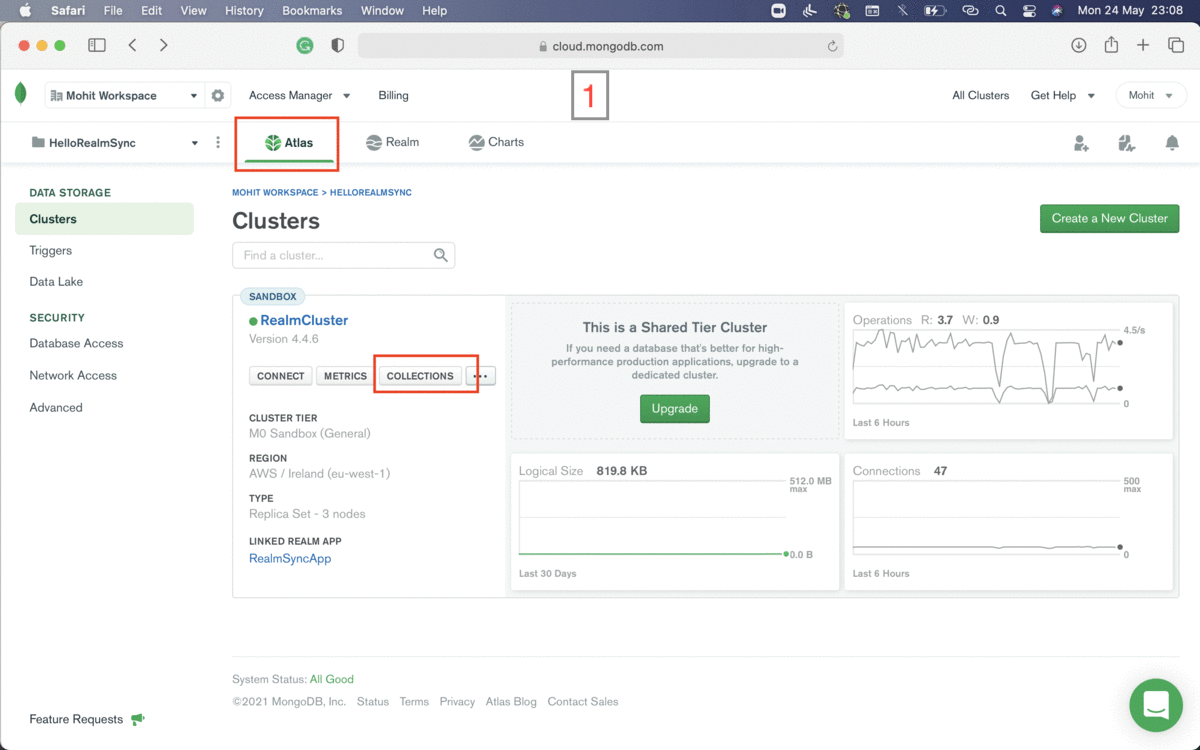
If you have questions, please head to our developer community website where the MongoDB engineers and the MongoDB community will help you build your next big idea with MongoDB.
Rate this announcement