Integrating MongoDB Change Streams with Socket.IO


Rate this tutorial


The Socket.IO Getting Started guide provides a nice introduction to Socket.IO. The guide bundles the server and client into a single application where messages submitted via an HTML input form are received and displayed on the page.
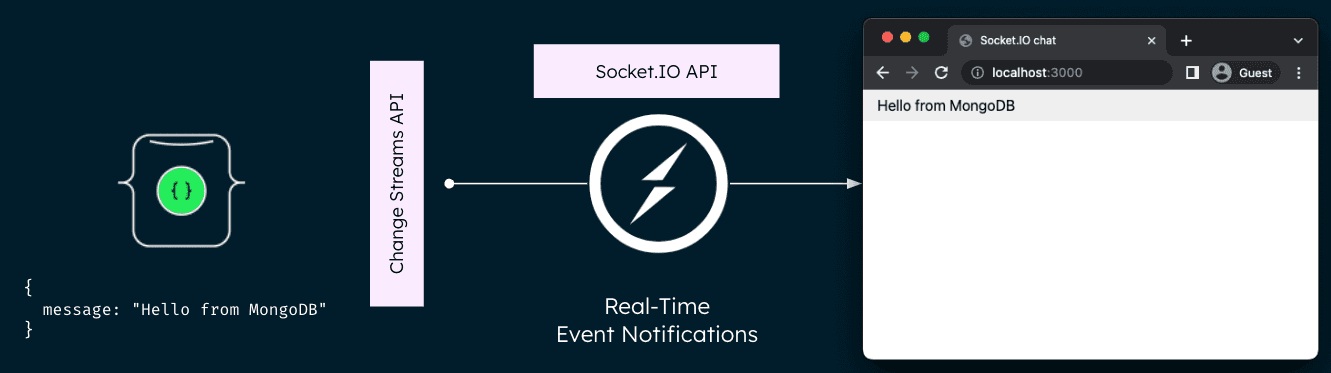
Since MongoDB supports an exceptional eventing framework of its own, this tutorial will demonstrate how to propagate events emitted from MongoDB through to Socket.IO. To keep things consistent, I will try to mirror the Socket.IO Getting Started guide as much as possible.
Let's get started...
As with the Socket.IO Getting Started guide, we're going to set up a simple HTML webpage, however, in our example, it's only going to display a list of messages -- there will be no input form.
First let's create a
package.json manifest file that describes our project. I recommend you place it in a dedicated empty directory (I'll call mine mongo-socket-chat-example).
Then use
npm to install express:One express is installed, we can set up an
index.js file that will set up our application.This means that:
- Express initializes
appto be a function handler that you can supply to an HTTP server (as seen in line 4). - We define a route handler / that gets called when we hit our website home.
- We make the HTTP server listen on port 3000.
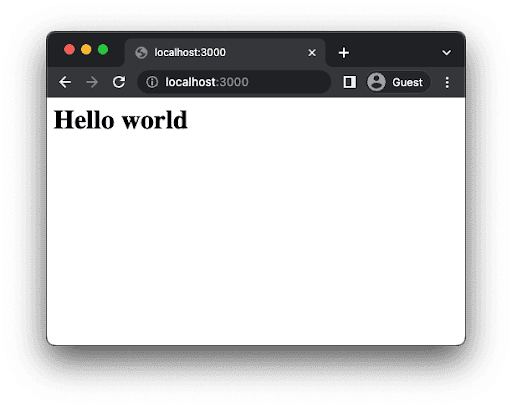
If you run
node index.js you should see the following:
So far in
index.js we are calling res.send and passing it a string of HTML. Our code would look very confusing if we just placed our entire application’s HTML there, so we're going to create an index.html file and serve that instead.Let’s refactor our route handler to use
sendFile instead.Here's a simple
index.html file to display a list of messages with some styling included:If you restart the process (by hitting Control+C and running
node index.js again) and refresh the page it should look like this:
Since you're here, I'm going to assume you already have access to a MongoDB cluster. If you do not, just follow these Create a MongoDB Cluster instructions.
Note, a cluster (replica set) is required because we'll be using change streams, which require an oplog. There's no need to worry, however, as it is easy enough to configure a single node replica set.
For this example I'm going to create a
chat database with a messages collection along with an initial record that I will later use to validate connectivity to MongoDB from my client application: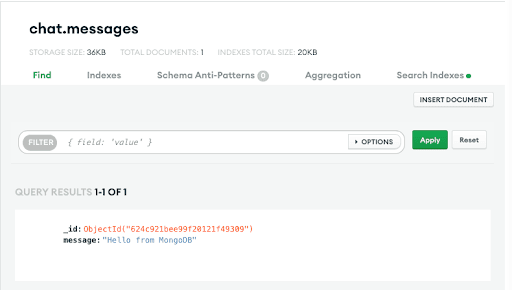
To avoid storing MongoDB credentials in our application code, we'll use dotenv to read the MongoDB connection string from our environment. As with the
express framework, use npm to install dotenv:Create a
.env file with the following MONGODB_CONNECTION_STRING variable:Then add the following to your
index.js:If you restart the process (by hitting Control+C and running
node index.js again) you can verify that your environment is working properly: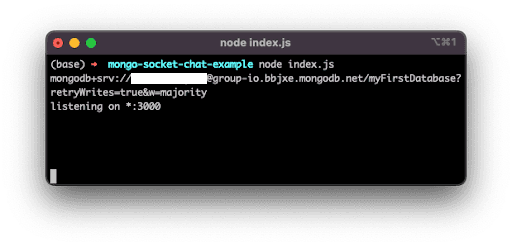
Use npm once again to install the Node.js driver:
Add the following code to your
index.js:Restart your application and you should see the following

For further information, this MongoDB Node.js Quick Start provides an excellent introduction to incorporating MongoDB into your Node.js applications.
We want to be alerted any time a new message is inserted into the database. For the purpose of this tutorial we'll also watch for message updates. Replace the three lines of query test code in
index.js with the following:Then edit and/or insert some messages:

Socket.IO is composed of two parts:
- A server that integrates with (or mounts on) the Node.JS HTTP Server socket.io
- A client library that loads on the browser side socket.io-client
During development,
socket.io serves the client automatically for us, as we’ll see, so for now we only have to install one module:That will install the module and add the dependency to
package.json. Now let’s edit index.js to add it:Now in
index.html add the following snippet before the </body> (end body tag):The next goal is for us to emit the event from the server to the rest of the users.
In order to send an event to everyone, Socket.IO gives us the
io.emit() method, which looks as follows:So, augment our change stream code with the following:
And on the client side when we capture a 'chat message' event we’ll include it in the page. The total client-side JavaScript code now amounts to:
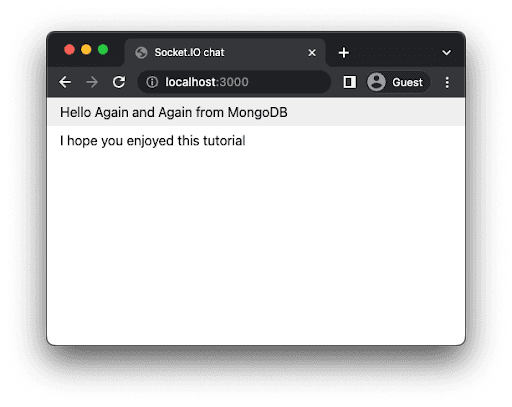
And that completes our chat application, in about 80 lines of code! This is what it looks like on the web client when messages are inserted or updated in our
chat.messages collection in MongoDB: