How to Build CI/CD Pipelines for MongoDB Realm Apps Using GitHub Actions


Rate this tutorial


As of June 2022, the functionality previously known as MongoDB Realm is now named Atlas App Services. Atlas App Services refers to the cloud services that simplify building applications with Atlas – Atlas Data API, Atlas GraphQL API, Atlas Triggers, and Atlas Device Sync. Realm will continue to be used to refer to the client-side database and SDKs.
Building Continuous Integration/Continuous Deployment (CI/CD) pipelines can be challenging. You have to map your team's ideal pipeline, identify and fix any gaps in your team's test automation, and then actually build the pipeline. Once you put in the work to craft a pipeline, you'll reap a variety of benefits like...
- Faster releases, which means you can get value to your end users quicker)
- Smaller releases, which can you help you find bugs faster
- Fewer manual tasks, which can reduce manual errors in things like testing and deployment.
As Tom Haverford from the incredible TV show Parks and Recreation wisely said, "Sometimes you gotta work a little, so you can ball a lot." (View the entire scene here. But don't get too sucked into the silliness that you forget to return to this article 😉.)

In this article, I'll walk you through how I crafted a CI/CD pipeline for a mobile app built with MongoDB Realm. I'll provide strategies as well as code you can reuse and modify, so you can put in just a little bit of work to craft a pipeline for your app and ball a lot.
This article covers the following topics:
More of a video person? No worries. Check out the recording below of a talk I gave at MongoDB.live 2021 that covers the exact same content this article does.
I recently created a CI/CD pipeline for an iOS app that manages stores' inventories. In this section, I'll walk you through what the app does and how it was architected. This information will help you understand why I built my CI/CD pipeline the way that I did.
The Inventory App is a fairly simple iOS app that allows users to manage the online record of their physical stores' inventories. The app allows users to take the following actions:
- Create an account
- Login and logout
- Add an item to the inventory
- Adjust item quantities and prices

If you'd like to try the app for yourself, you can get a copy of the code in the GitHub repo: mongodb-developer/realm-demos.
The system has three major components:
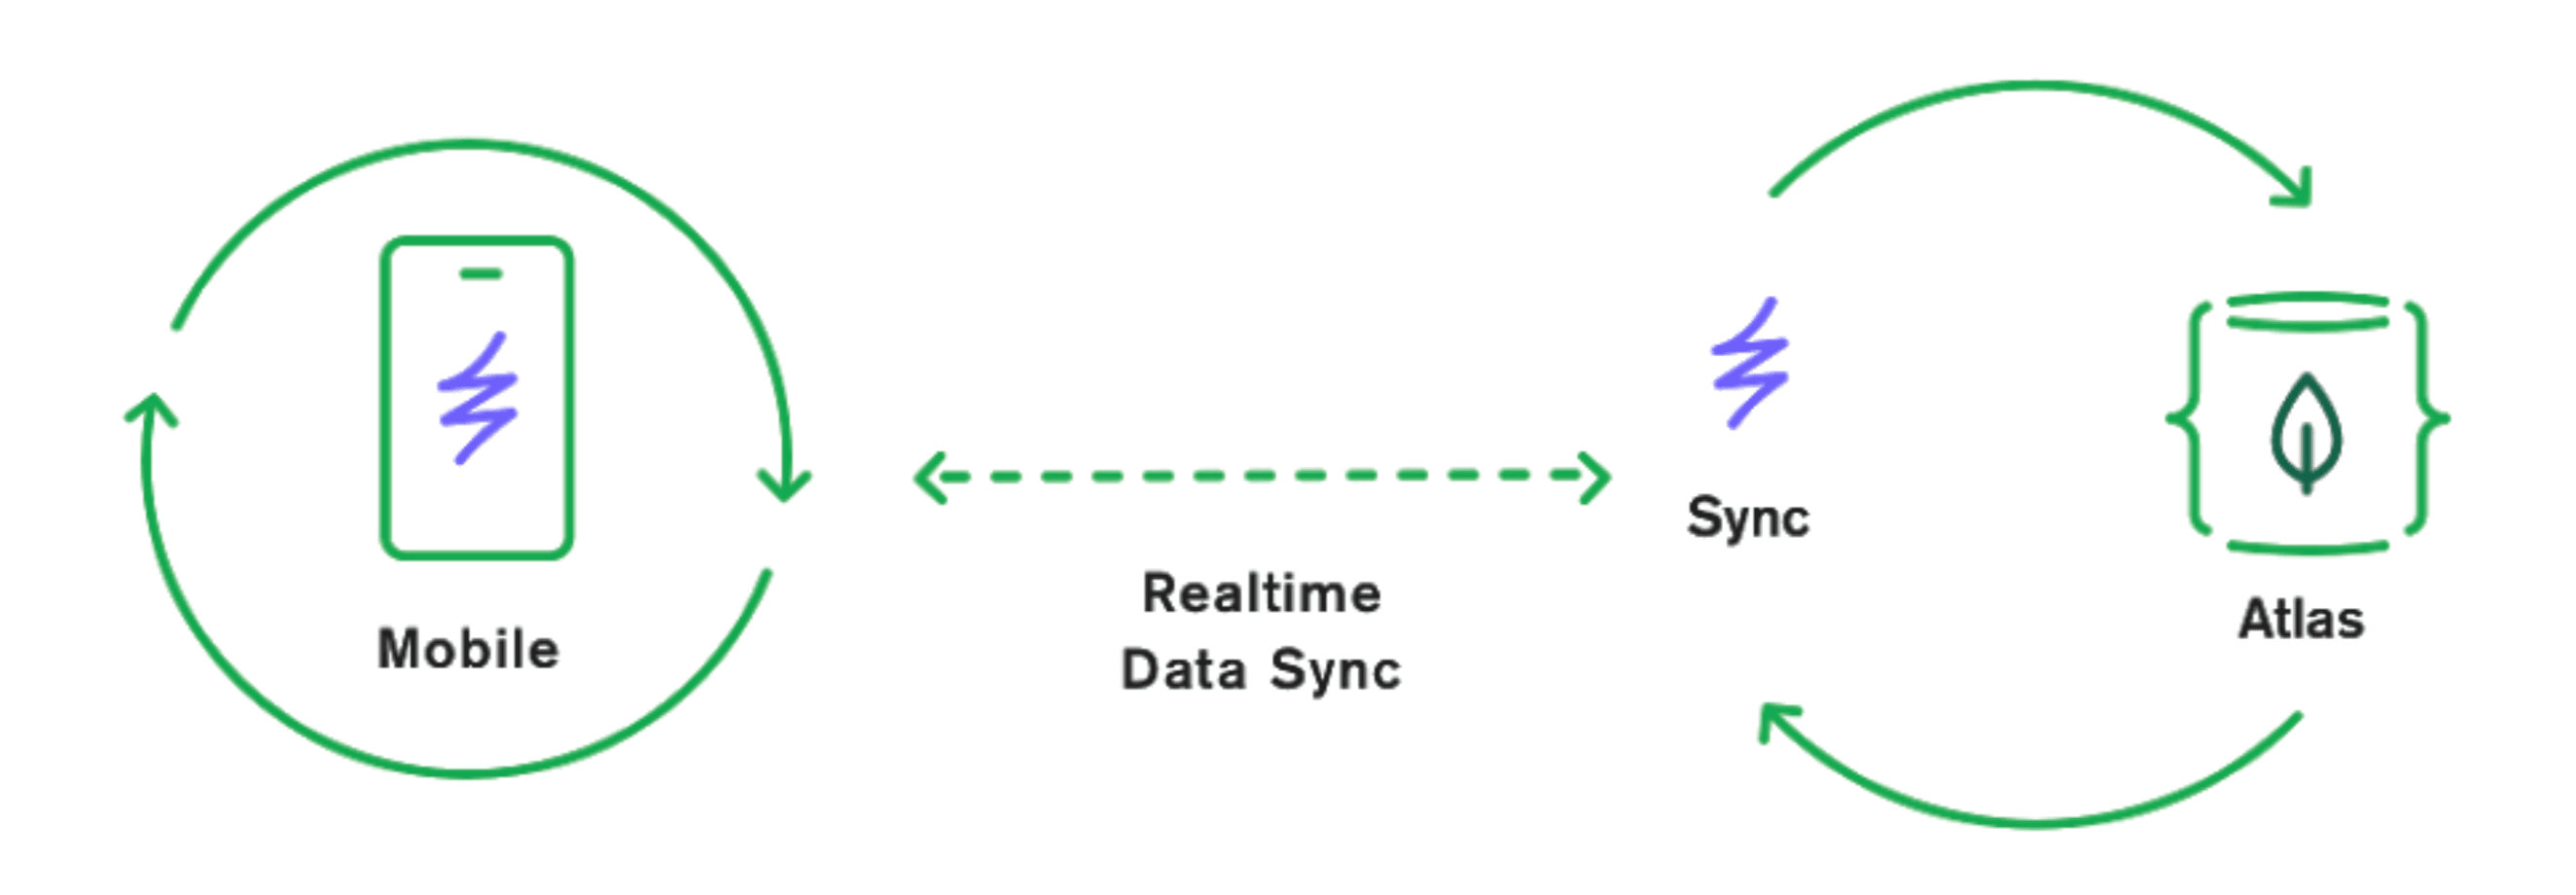
- The Inventory App is the iOS app that will be installed on the mobile device. The local Realm database is embedded in the Inventory App and stores a local copy of the inventory data.

- The Realm App is the central MongoDB Realm backend instance of the mobile application. In this case, the Realm App utilizes Realm features like authentication, rules, schema, GraphQL API, and Sync. The Inventory App is connected to the Realm App. Note: The Inventory App and the Realm App are NOT the same thing; they have two different code bases.

- The Atlas Database stores the inventory data. Atlas is MongoDB's fully managed Database-as-a-Service. Realm Sync handles keeping the data synced between Atlas and the mobile apps.

As you're building a CI/CD pipeline for a mobile app with an associated Realm App and Atlas database, you'll need to take into consideration how you're going to build and deploy both the mobile app and the Realm App. You'll also need to figure out how you're going to indicate which database the Realm App should be syncing to. Don't worry, I'll share strategies for how to do all of this in the sections below.

Okay, that's enough boring stuff. Let's get to my favorite part: the CI/CD pipeline!
Now that you know what the Inventory App does and how it was architected, let's dive into the details of the CI/CD pipeline for this app. You can use this pipeline as a basis for your pipeline and tweak it to fit your team's process.
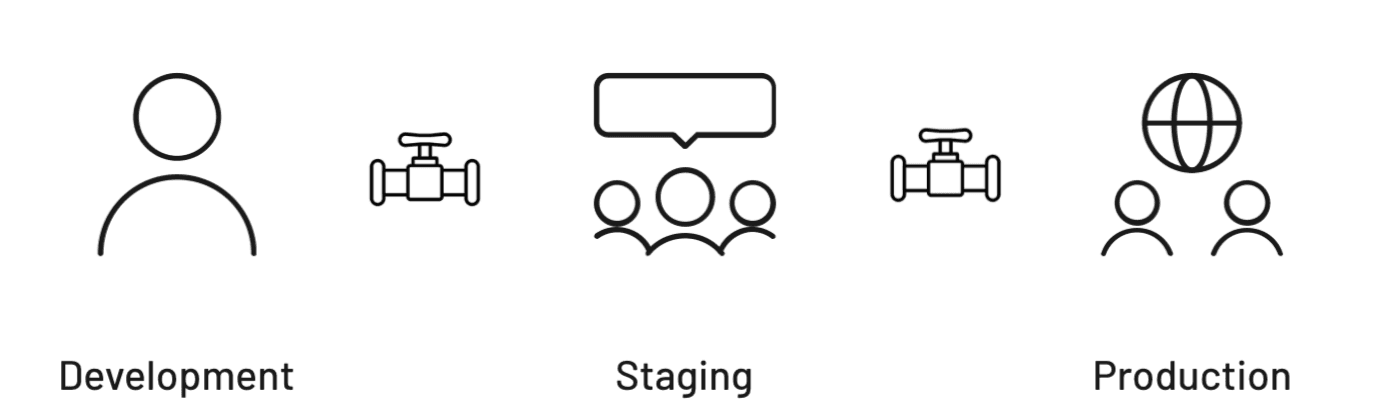
My pipeline has three main stages:
- Development: In the Development Stage, developers do their development work like creating new features and fixing bugs.
- Staging: In the Staging Stage, the team simulates the production environment to make sure everything works together as intended. The Staging Stage could also be known as QA (Quality Assurance), Testing, or Pre-Production.
- Production: The Production Stage is the final stage where the end users have access to your apps.
A variety of tools exist to help teams implement CI/CD pipelines. I chose to use GitHub Actions, because it works well with GitHub (which is where my code is already) and it has a free plan for public repositories (and I like free things!). GitHub Actions allows you to automate workflows. As you'll see in later sections, I implemented my CI/CD pipeline using a workflow. Each workflow can contain one or more jobs, and each job contains one or more steps.
Throughout the pipeline, the workflow will deploy to new or existing Realm Apps that are associated with new or existing databases based on the pipeline stage. I decided to create four Atlas projects to support my pipeline:
- Inventory Demo - Feature Development. This project contains the Realm Apps associated with every new feature. Each Realm App syncs with a database that has a custom name based on the feature (for example, a feature branch named
beta6-improvementswould have a database namedInventoryDemo-beta6-improvements). All of the databases for feature branches are stored in this project's Atlas cluster. The Realm Apps and databases for feature branches are deleted after the feature work is completed. - Inventory Demo - Pull Requests. This project contains the Realm Apps that are created for every pull request. Each Realm App syncs with a database that has a custom name based on the time the workflow runs (for example,
InventoryDemo-2021-06-07_1623089424). All of the databases associated with pull requests are stored in this project's Atlas cluster.As part of my pipeline, I chose to delete the Realm App and associated database at the end of the workflow that was triggered by the pull request. Another option would be to skip deleting the Realm App and associated database when the tests in the workflow fail, so that a developer could manually investigate the source of the failure. - Inventory Demo - Staging. This project contains the Realm App for Staging. The Realm App syncs with a database used only for Staging. The Staging database is the only database in this project's cluster. The Realm App and database are never deleted, so the team can always look in the same consistent locations for the Staging app and its data.
- Inventory Demo - Production. This project contains the Realm App for Production. The Realm App syncs with a database used only for Production. The Production database is the only database in this project's cluster. The Realm App and database are never deleted.
This app requires only a single database. If your app uses more than one database, the principles described above would still hold true.
I've been assigned a ticket to change the color of the Log In button in the iOS app from blue to pink. In the following sections, I'll walk you through what happens in each stage of the pipeline and how my code change is moved from one stage to the next.
All of the stages and transitions below use the same GitHub Actions workflow. The workflow has conditions that modify which steps are taken. I'll walk you through what steps are run in each workflow execution in the sections below. The workflow uses environment variables and secrets to store values. Visit the realm-demos GitHub repo to see the complete workflow source code.
The Development stage is where I'll do my work to update the button color. In the subsections below, I'll walk you through how I do my work and trigger a workflow.
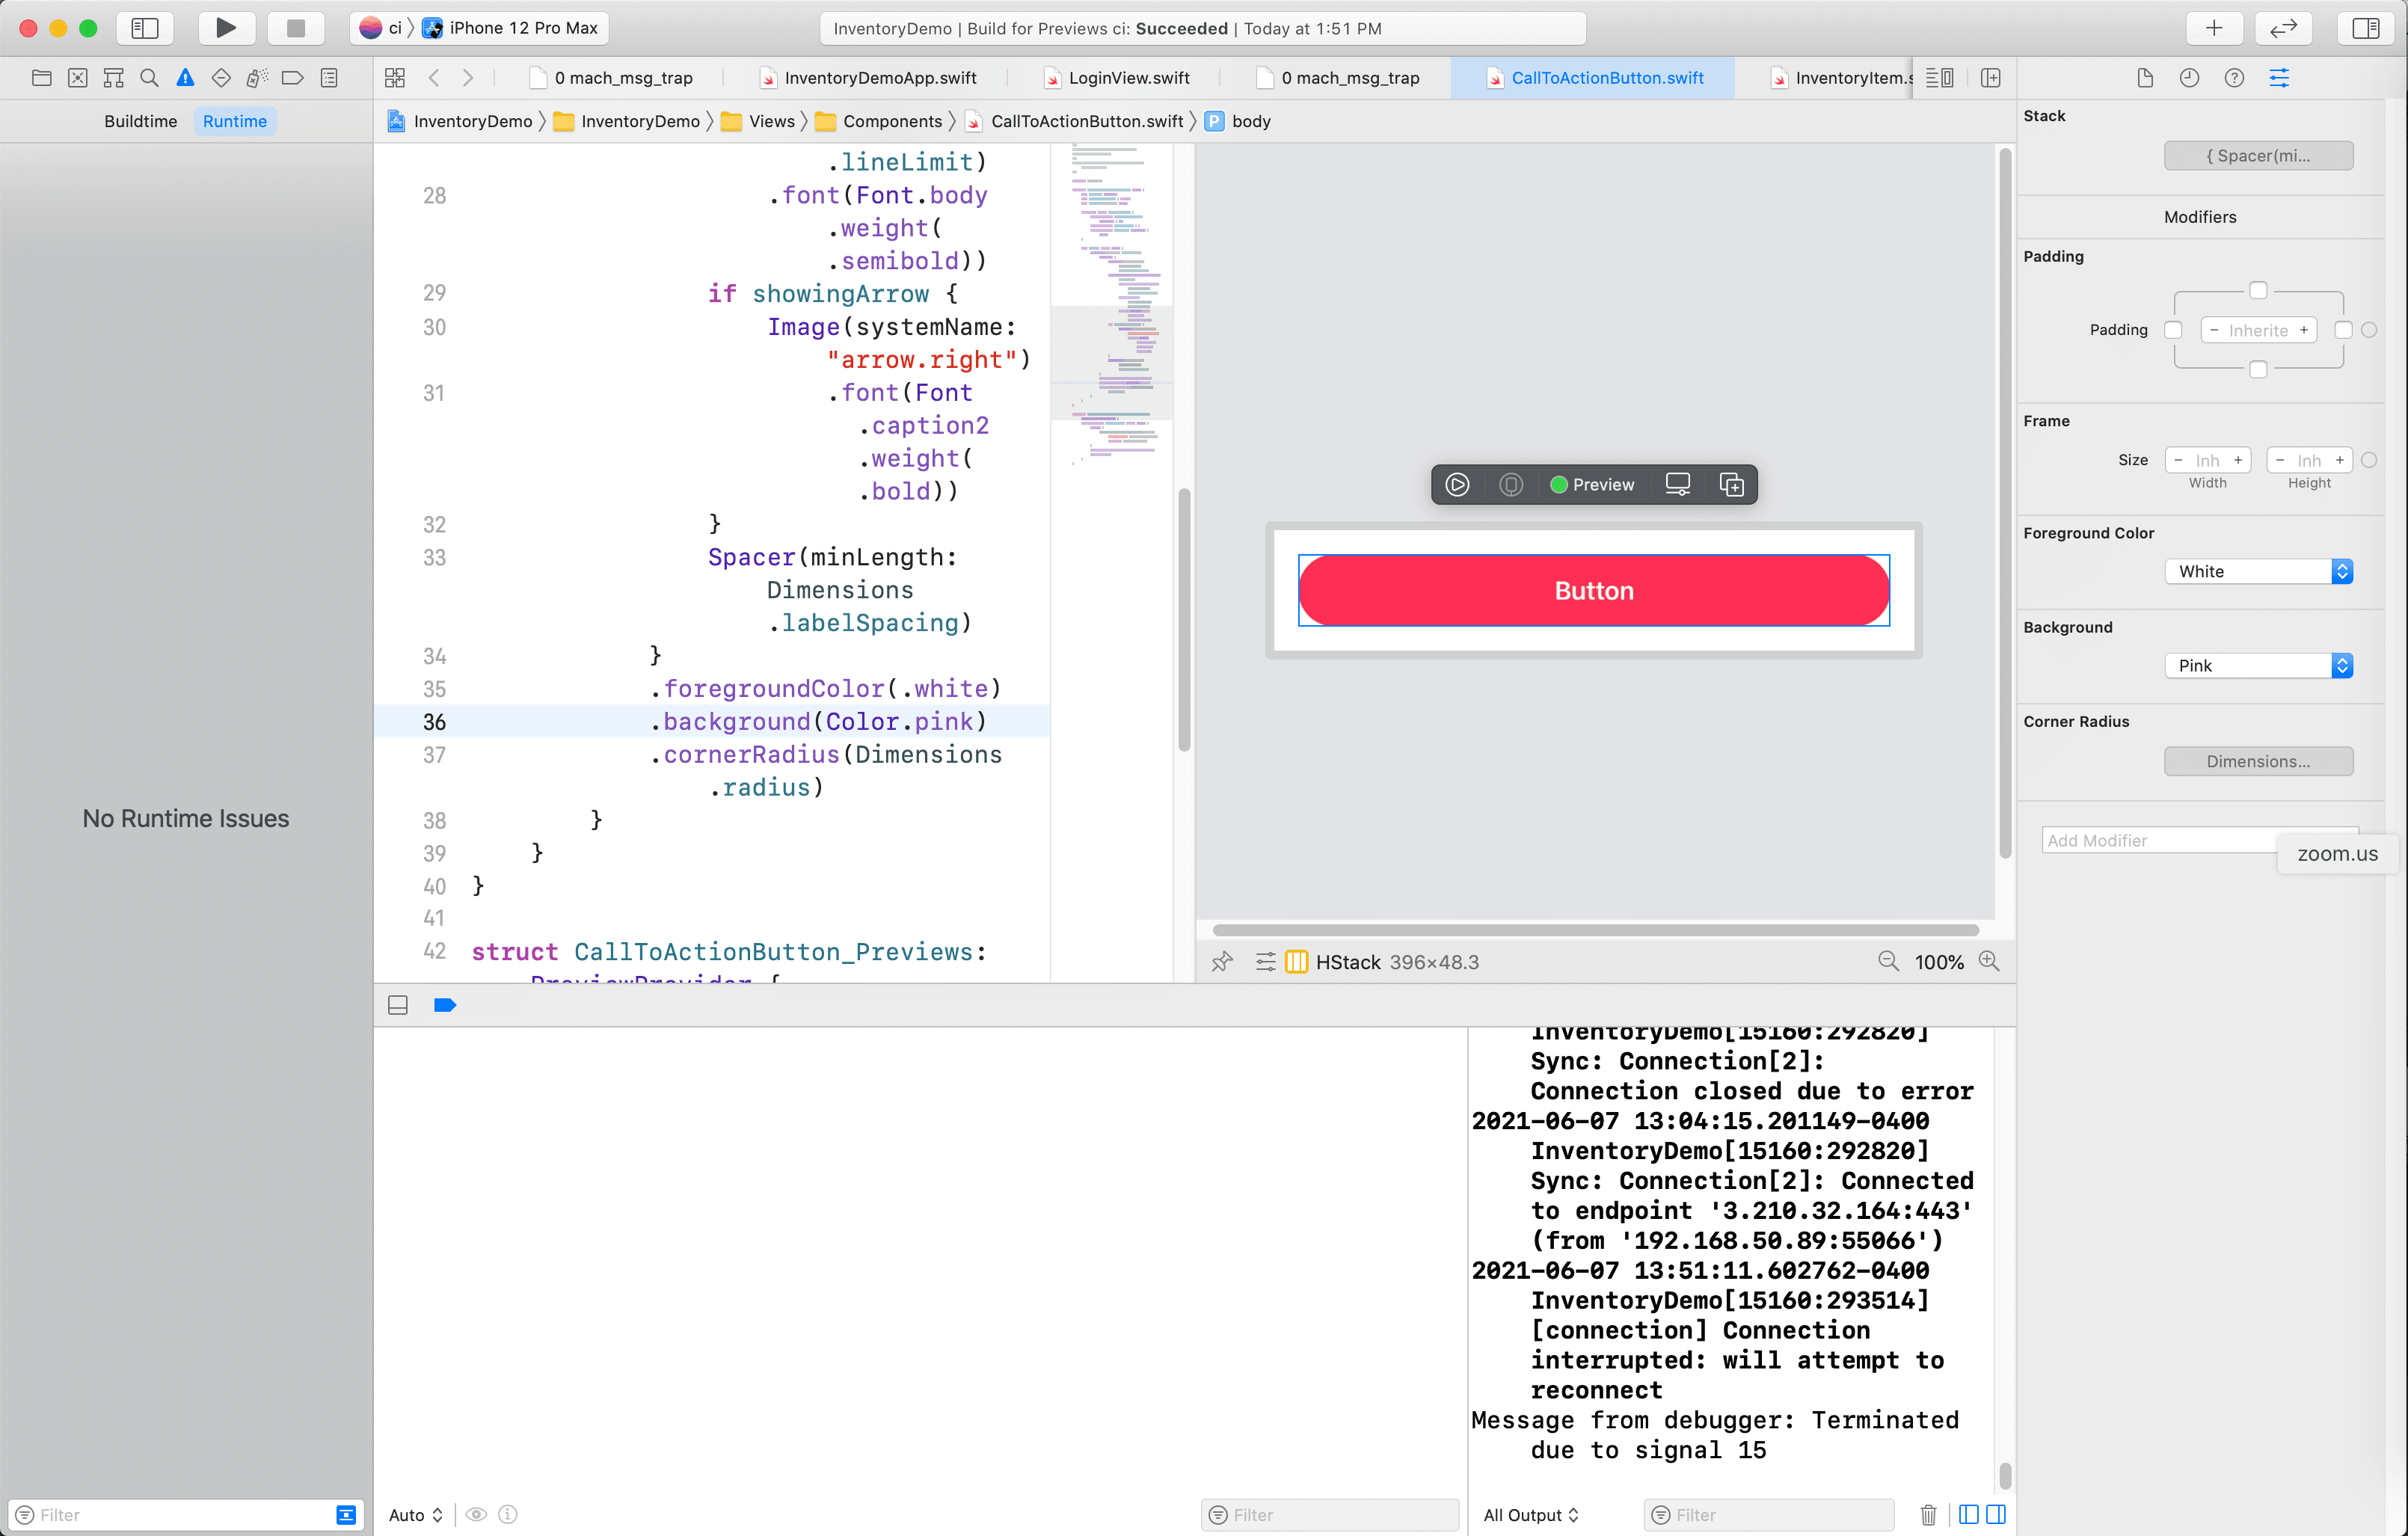
Since I want to update my iOS app code, I'll begin by opening a copy of my app's code in Xcode. I'll change the color of the Log In button there. I'm a good developer 😉, so I'll run the automated tests to make sure I didn't break anything. The Inventory App has automated unit and UI tests that were implemented using XCTest. I'll also kick off a simulator, so I can manually test that the new button color looks fabulous.
If I wanted to make an update to the Realm App code, I could either:
- work in the cloud in the Realm web interface or
- work locally in a code editor like Visual Studio Code.
If I choose to work in the Realm web interface, I can make changes and deploy them. The Realm web interface was recently updated to allow developers to commit changes they make there to their GitHub repositories. This means changes made in the web interface won't get lost when changes are deployed through other methods (like through the Realm Command Line Interface or automated GitHub deployments).

If I choose to work with my Realm App code locally, I could make my code changes and then run unit tests. If I want to run integration tests or do some manual testing, I need to deploy the Realm App. One option is to use the App Services Command Line Interface (App Services CLI) to deploy with a command like
appservices
 push
. Another option is to automate the deployment using a GitHub Actions workflow.
I've chosen to automate the deployment using a GitHub Actions workflow, which I'll describe in the following section.
As I am working locally to make changes to both the Inventory App and the Realm App, I can commit the changes to a new feature branch in my GitHub repository.
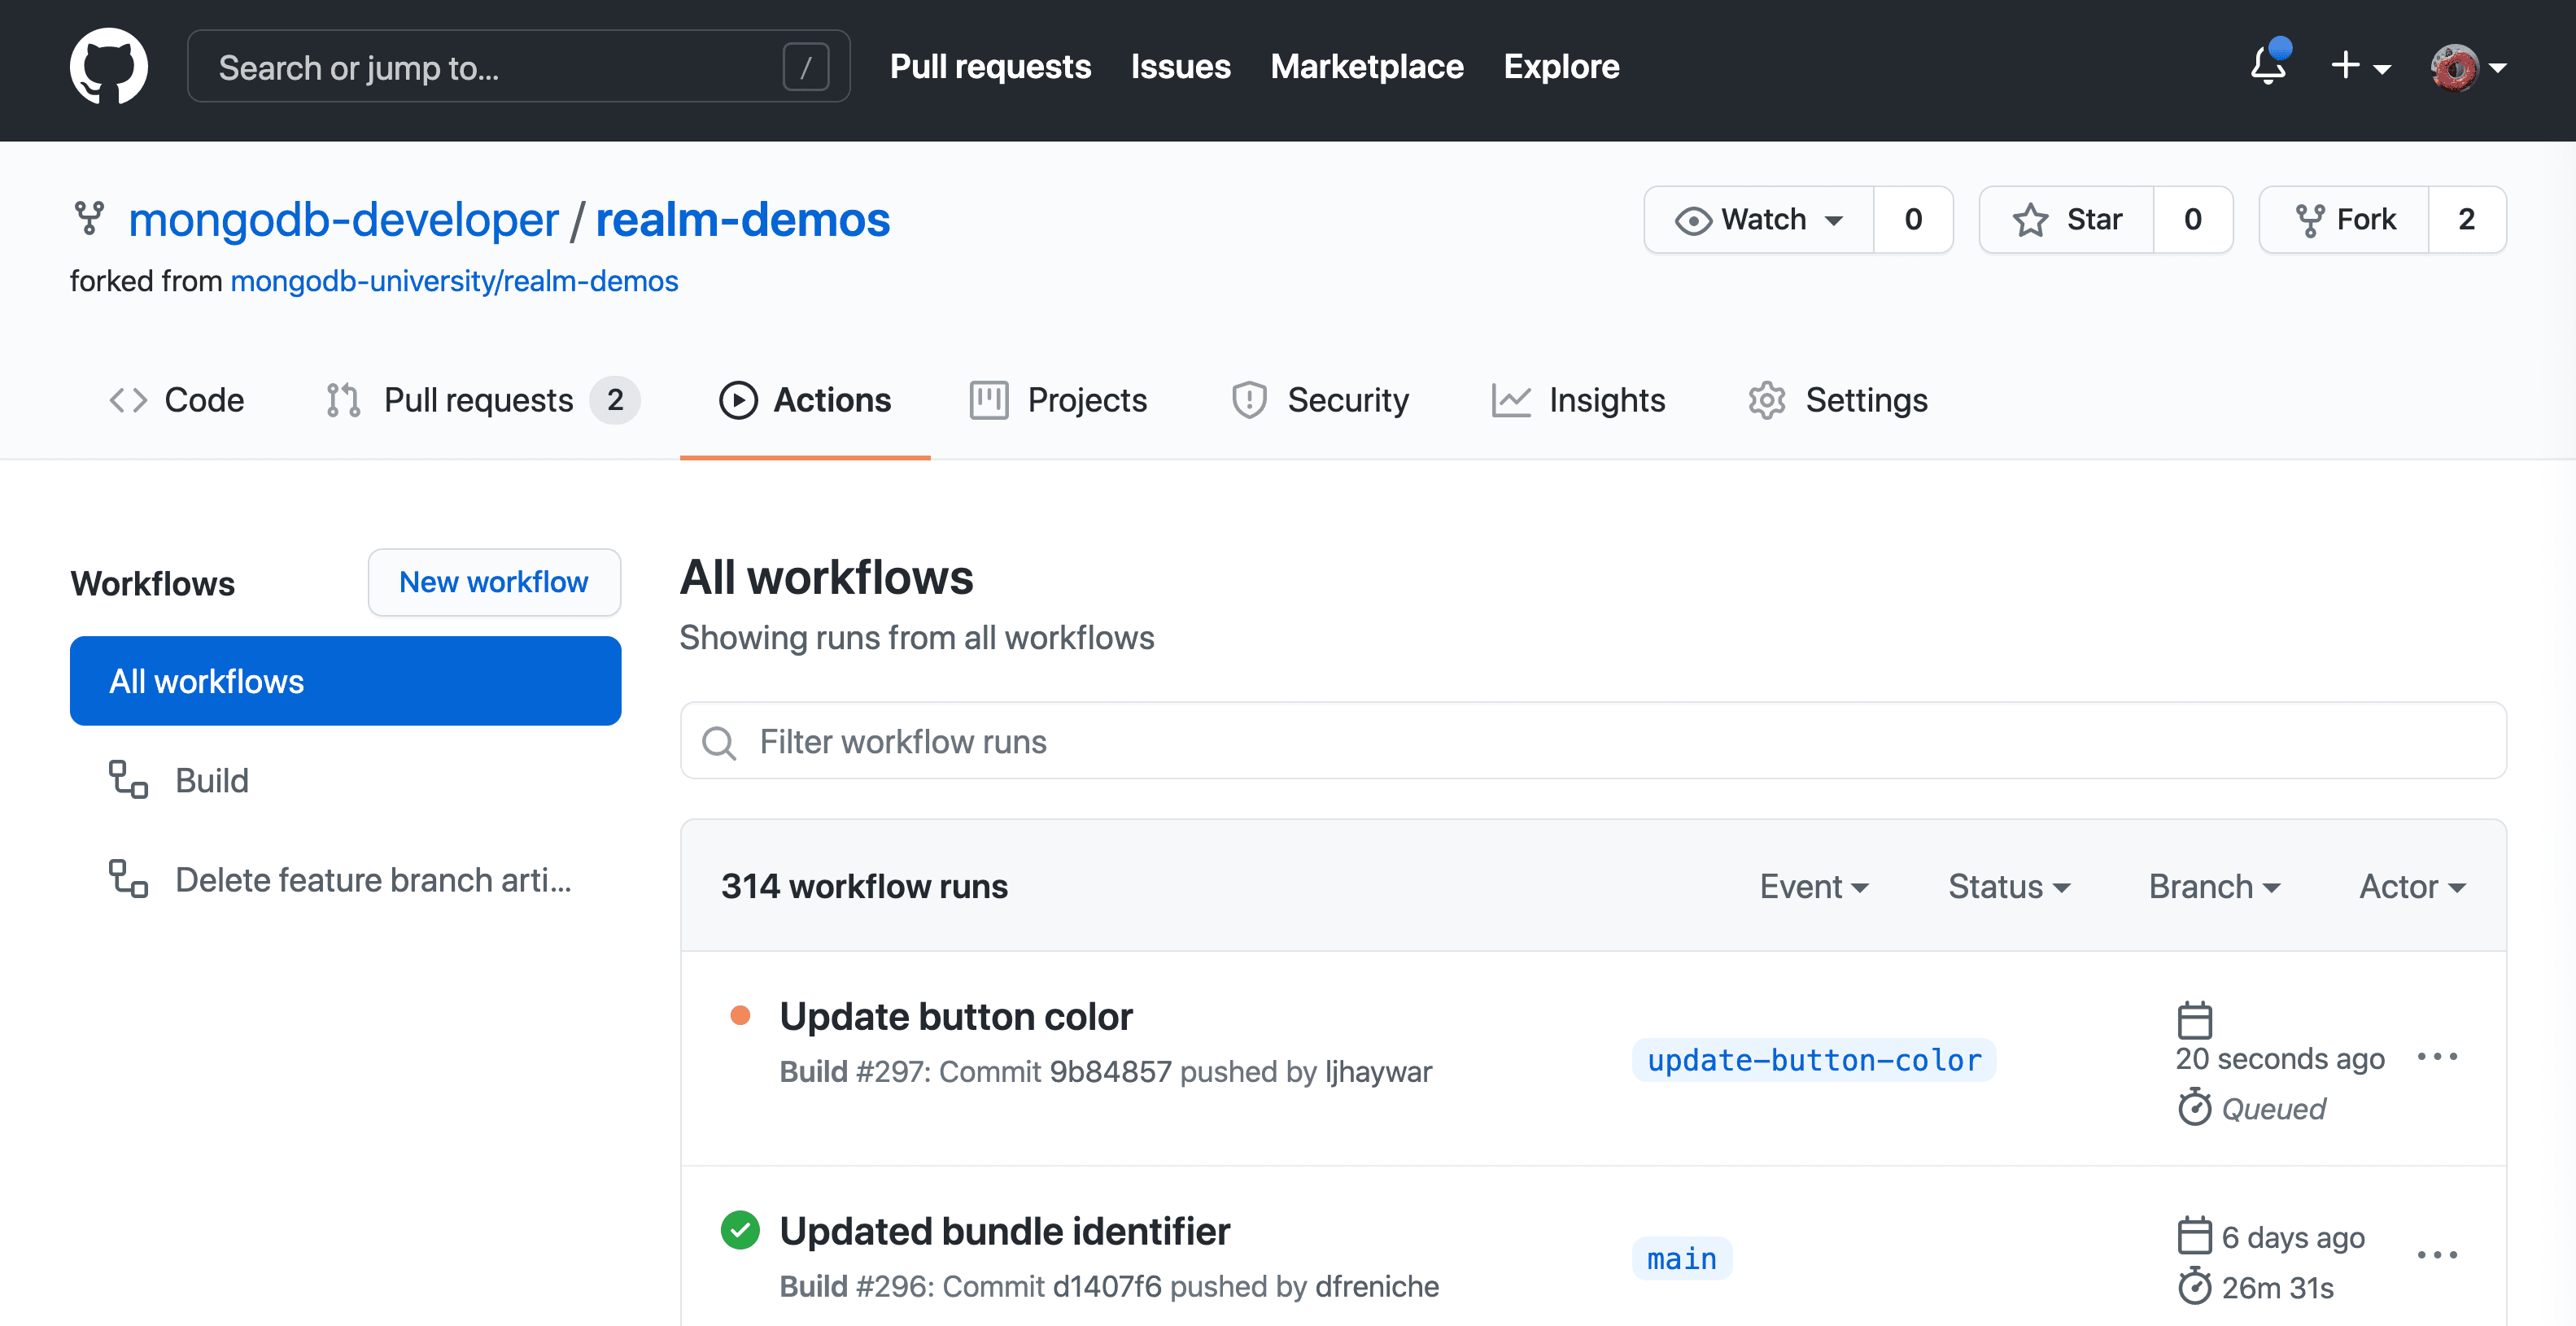
When I am ready to deploy my Realm App and run all of my automated tests, I will push the commits to my repository. The push will trigger the workflow.
- Set up job. This step is created by GitHub Actions to prepare the workflow.
- Run actions/checkout@v2. Uses the Checkout V2 Action to check out the repository so the workflow can access the code.
- Is this a push to a feature branch? If this is a push to a feature branch (which it is), do the following:
- Create a new environment variable to store the name of the feature branch. ref=$(echo ${{ github.ref }}) branch=$(echo "${ref##*/}") echo "FEATURE_BRANCH=$branch" >> $GITHUB_ENV
- Check the
GitHubActionsMetadataAtlas database to see if a Realm App already exists for this feature branch. If a Realm App exists, store the Realm App ID in an environment variable. Note: Accessing the Atlas database requires the IP address of the GitHub Actions virtual machine to be in the Atlas IP Access List. output=$(mongo "mongodb+srv://${{ secrets.ATLAS_URI_FEATURE_BRANCHES }}/GitHubActionsMetadata" --username ${{ secrets.ATLAS_USERNAME_FEATURE_BRANCHES }} --password ${{ secrets.ATLAS_PASSWORD_FEATURE_BRANCHES }} --eval "db.metadata.findOne({'branch': '$branch'})") - Update the
databaseNamein thedevelopment.jsonenvironment file. Set the database name to contain the branch name to ensure it's unique.

5. Install the App Services CLI and authenticate. This step installs the App Services CLI and authenticates using the API keys that are stored as GitHub secrets.
- Create a new Realm App for feature branches where the Realm App does not yet exist. This step has three primary pieces:
- Push the Realm App to the Atlas project specifically for feature branches.
8. Retrieve and store the Realm App ID from the output of
appservices app describe.9. Store the Realm App ID in the GitHubActionsMetadata database. Note: Accessing the Atlas database requires the IP address of the GitHub Actions virtual machine to be in the Atlas IP Access List.
mongo "mongodb+srv://${{ secrets.ATLAS_URI_FEATURE_BRANCHES }}/GitHubActionsMetadata" --username ${{ secrets.ATLAS_USERNAME_FEATURE_BRANCHES }} --password ${{ secrets.ATLAS_PASSWORD_FEATURE_BRANCHES }} --eval "db.metadata.insertOne({'branch': '${{ env.FEATURE_BRANCH}}', 'realm_app_id': '$app_id'})"
10. Create
realm-app-id.txt that stores the Realm App ID. This file will be stored in the mobile app code. The sole purpose of this file is to tell the mobile app to which Realm App it should connect.11. Build mobile app and run tests. This step builds the mobile app for testing and then runs the tests using a variety of simulators. If you have integration tests, you could also choose to checkout previous releases of the mobile app and run the integration tests against the current version of the Realm App to ensure backwards compatibility.
- Navigate to the mobile app's directory.
13. Build the mobile app for testing.
14. Define the simulators that will be used for testing.
15. Run the tests on a variety of simulators. Optionally, you could put these in separate jobs to run in parallel.
16. Post Run actions/checkout@v2. This cleanup step runs automatically when you use the Checkout V2
Action.
17. Complete job. This step is created by GitHub Actions to complete the workflow.
The nice thing here is that simply by pushing my code changes to my feature branch, my Realm App is deployed and the tests are run. When I am finished making updates to the code, I can feel confident that a Staging build will be successful.
Now that I'm done working on my code changes, I'm ready to move to Staging. I can kick off this process by creating a GitHub pull request. In the pull request, I'll request to merge my code from my feature branch to the
staging branch. When I submit the pull request, GitHub will automatically kick off another workflow for me.
The workflow runs the following steps.
- Set up job. This step is created by GitHub Actions to prepare the workflow.
- Run actions/checkout@v2. Uses the Checkout V2 Action to check out the repository so the workflow can access the code.
- Set environment variables for all other runs. This step sets the necessary environment variables for pull requests where a new Realm App and database will be created for each pull request. This step has three primary pieces.
- Create a new environment variable named
IS_DYNAMICALLY_GENERATED_APPto indicate this is a dynamically generated app that should be deleted later in this workflow.
- Update the
databaseNamein thetesting.jsonenvironment file. Set the database name to contain the current time to ensure it's unique.
5. Install the App Services CLI and authenticate. See the section above for more information on this step.
6. Create a new Realm App for pull requests. Since this is a pull request, the workflow creates a new Realm App just for this workflow. The Realm App will be deleted at the end of the workflow.
* Push to the Atlas project specifically for pull requests.
- Retrieve and store the Realm App ID from the output of
appservices app describe.
- Store the Realm App ID in the
GitHubActionsMetadatadatabase.
Accessing the Atlas database requires the IP address of the GitHub Actions virtual machine to be in the Atlas IP Access List.
7. Create
realm-app-id.txt that stores the Realm App ID. See the section above for more information on this step.
8. Build mobile app and run tests. See the section above for more information on this step.
9. Delete dynamically generated Realm App. The workflow created a Realm App just for this pull request in an earlier step. This step deletes that Realm App.10. Delete dynamically generated database. The workflow also created a database just for this pull request in an earlier step. This step deletes that database.
11. Post Run actions/checkout@v2. This cleanup step runs automatically when you use the Checkout V2 Action.
12. Complete job. This step is created by GitHub Actions to complete the workflow.
The results of the workflow are included in the pull request.
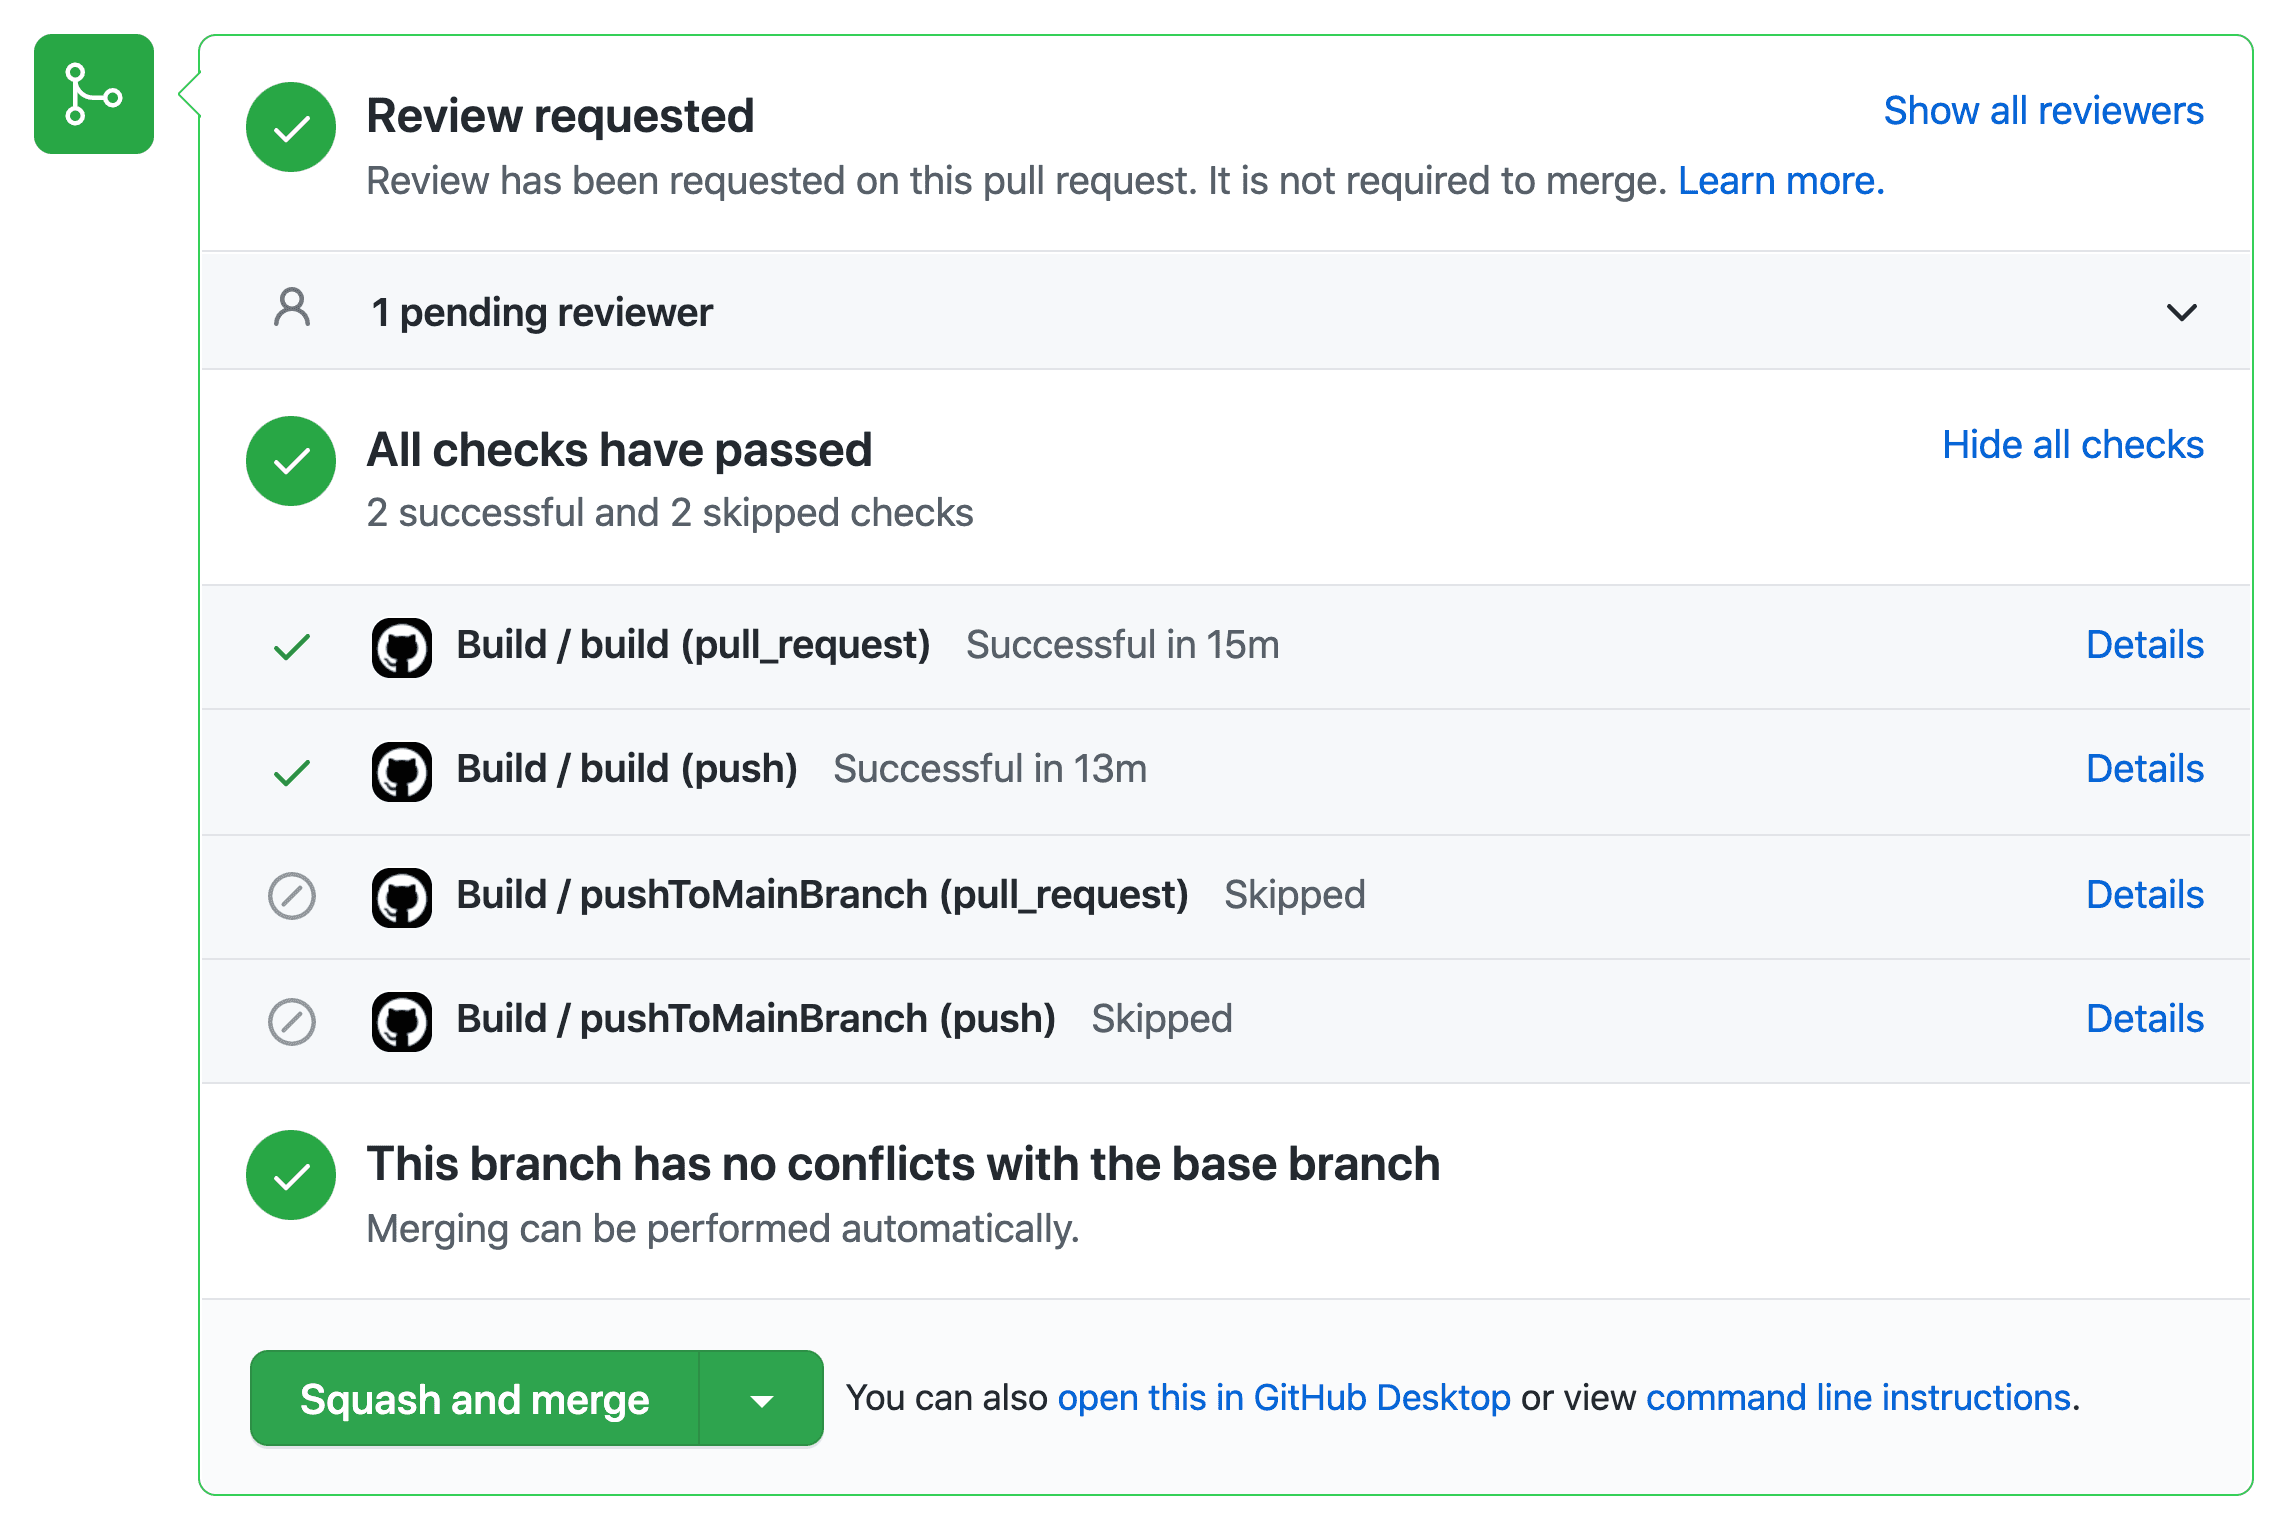
My teammate will review the pull request. They will likely review the code and double check that the workflow passed. We might go back and forth with suggestions and updates until we both agree the code is ready to be merged into the
staging branch.When the code is ready, my teammate will approve the pull request and then click the button to squash and merge the commits. My teammate may also choose to delete the branch as it is no longer needed.

Deleting the branch triggers the
delete-feature-branch-artifacts workflow. This workflow is different from all of the workflows I will discuss in this article. This workflow's job is to delete the artifacts that were associated with the branch.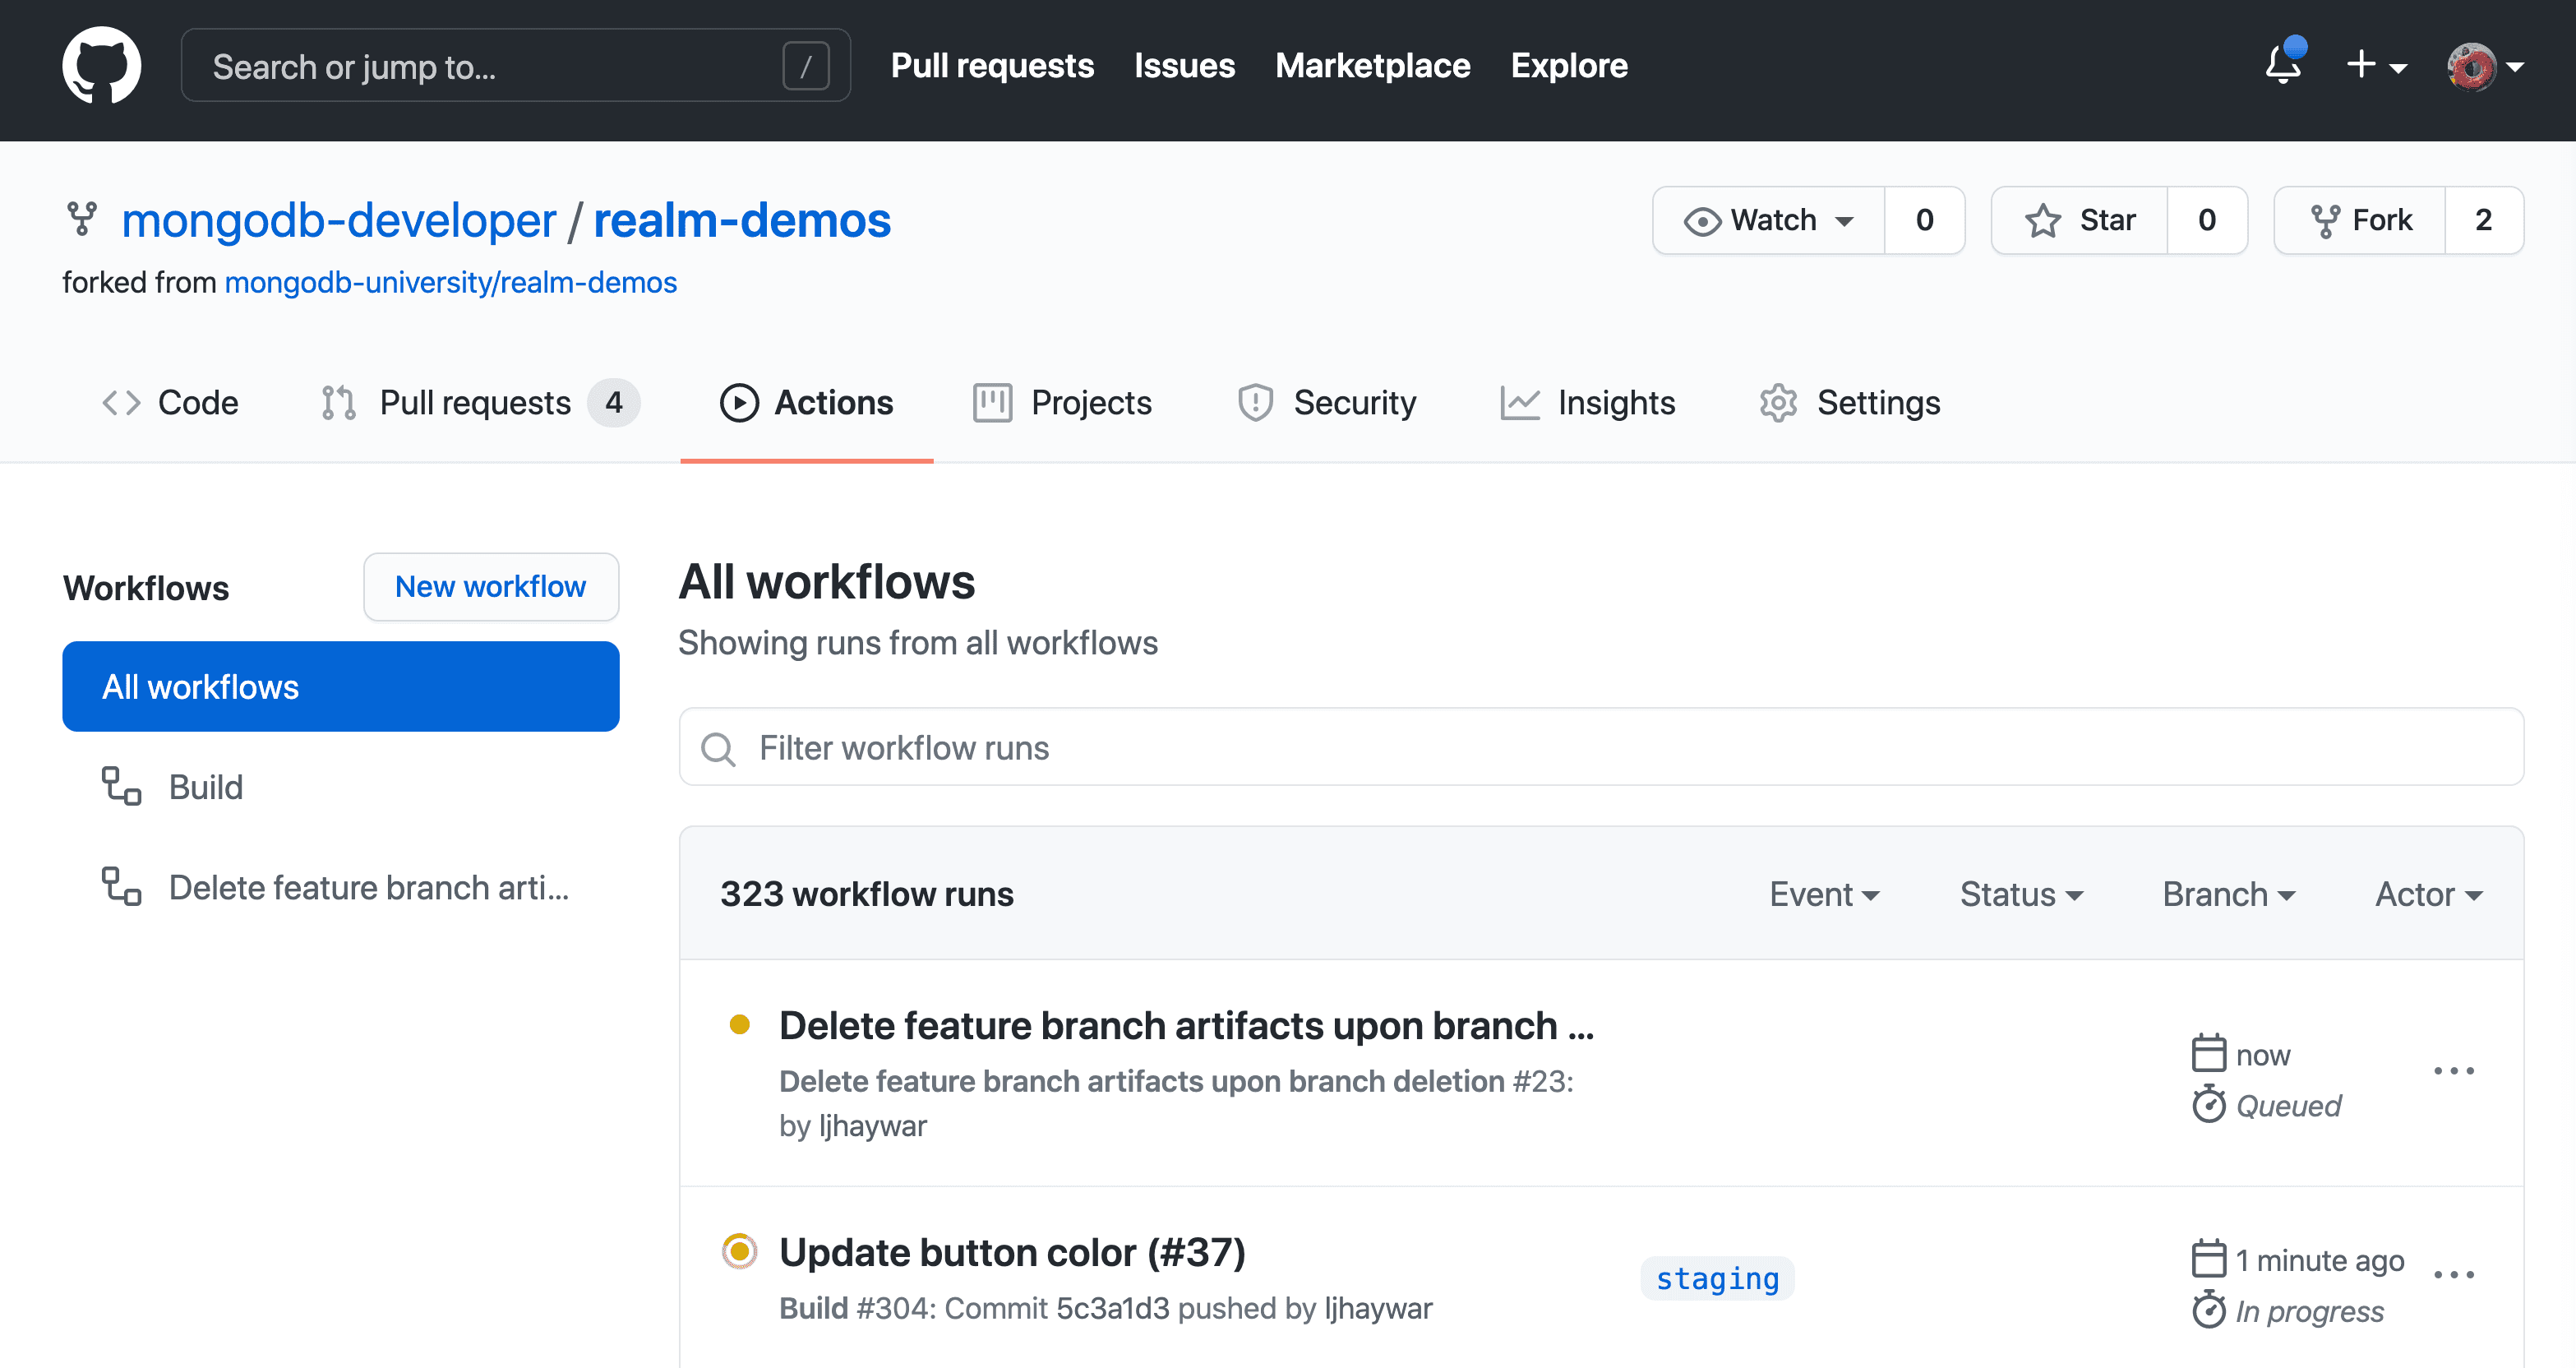
- Set up job. This step is created by GitHub Actions to prepare the workflow.
- Install the App Services CLI and authenticate. See the section above for more information on this step.
- Store the name of the branch. This step retrieves the name of the branch that was just deleted and stores it in an environment variable named
FEATURE_BRANCH.
4. Delete the Realm App associated with the branch. This step queries the
GitHubActionsMetadata database for the ID of the Realm App associated with this branch. Then it deletes the Realm App, and deletes the information in the GitHubActionsMetadata database. Note: Accessing the Atlas database requires the IP address of the GitHub Actions virtual machine to be in the Atlas IP Access List.5. Delete the database associated with the branch. This step deletes the database associated with the branch that was just deleted.
6. Complete job. This step is created by GitHub Actions to complete the workflow.
As part of the pull request process, my teammate merged my code change into the
staging branch. I call this stage "Staging," but teams have a variety of names for this stage. They might call it "QA (Quality Assurance)," "Testing," "Pre-Production," or something else entirely. This is the stage where teams simulate the production environment and make sure everything works together as intended.When my teammate merged my code change into the
staging branch, GitHub kicked off another workflow. The purpose of this workflow is to deploy the code changes to the Staging environment and ensure everything continues to work as expected.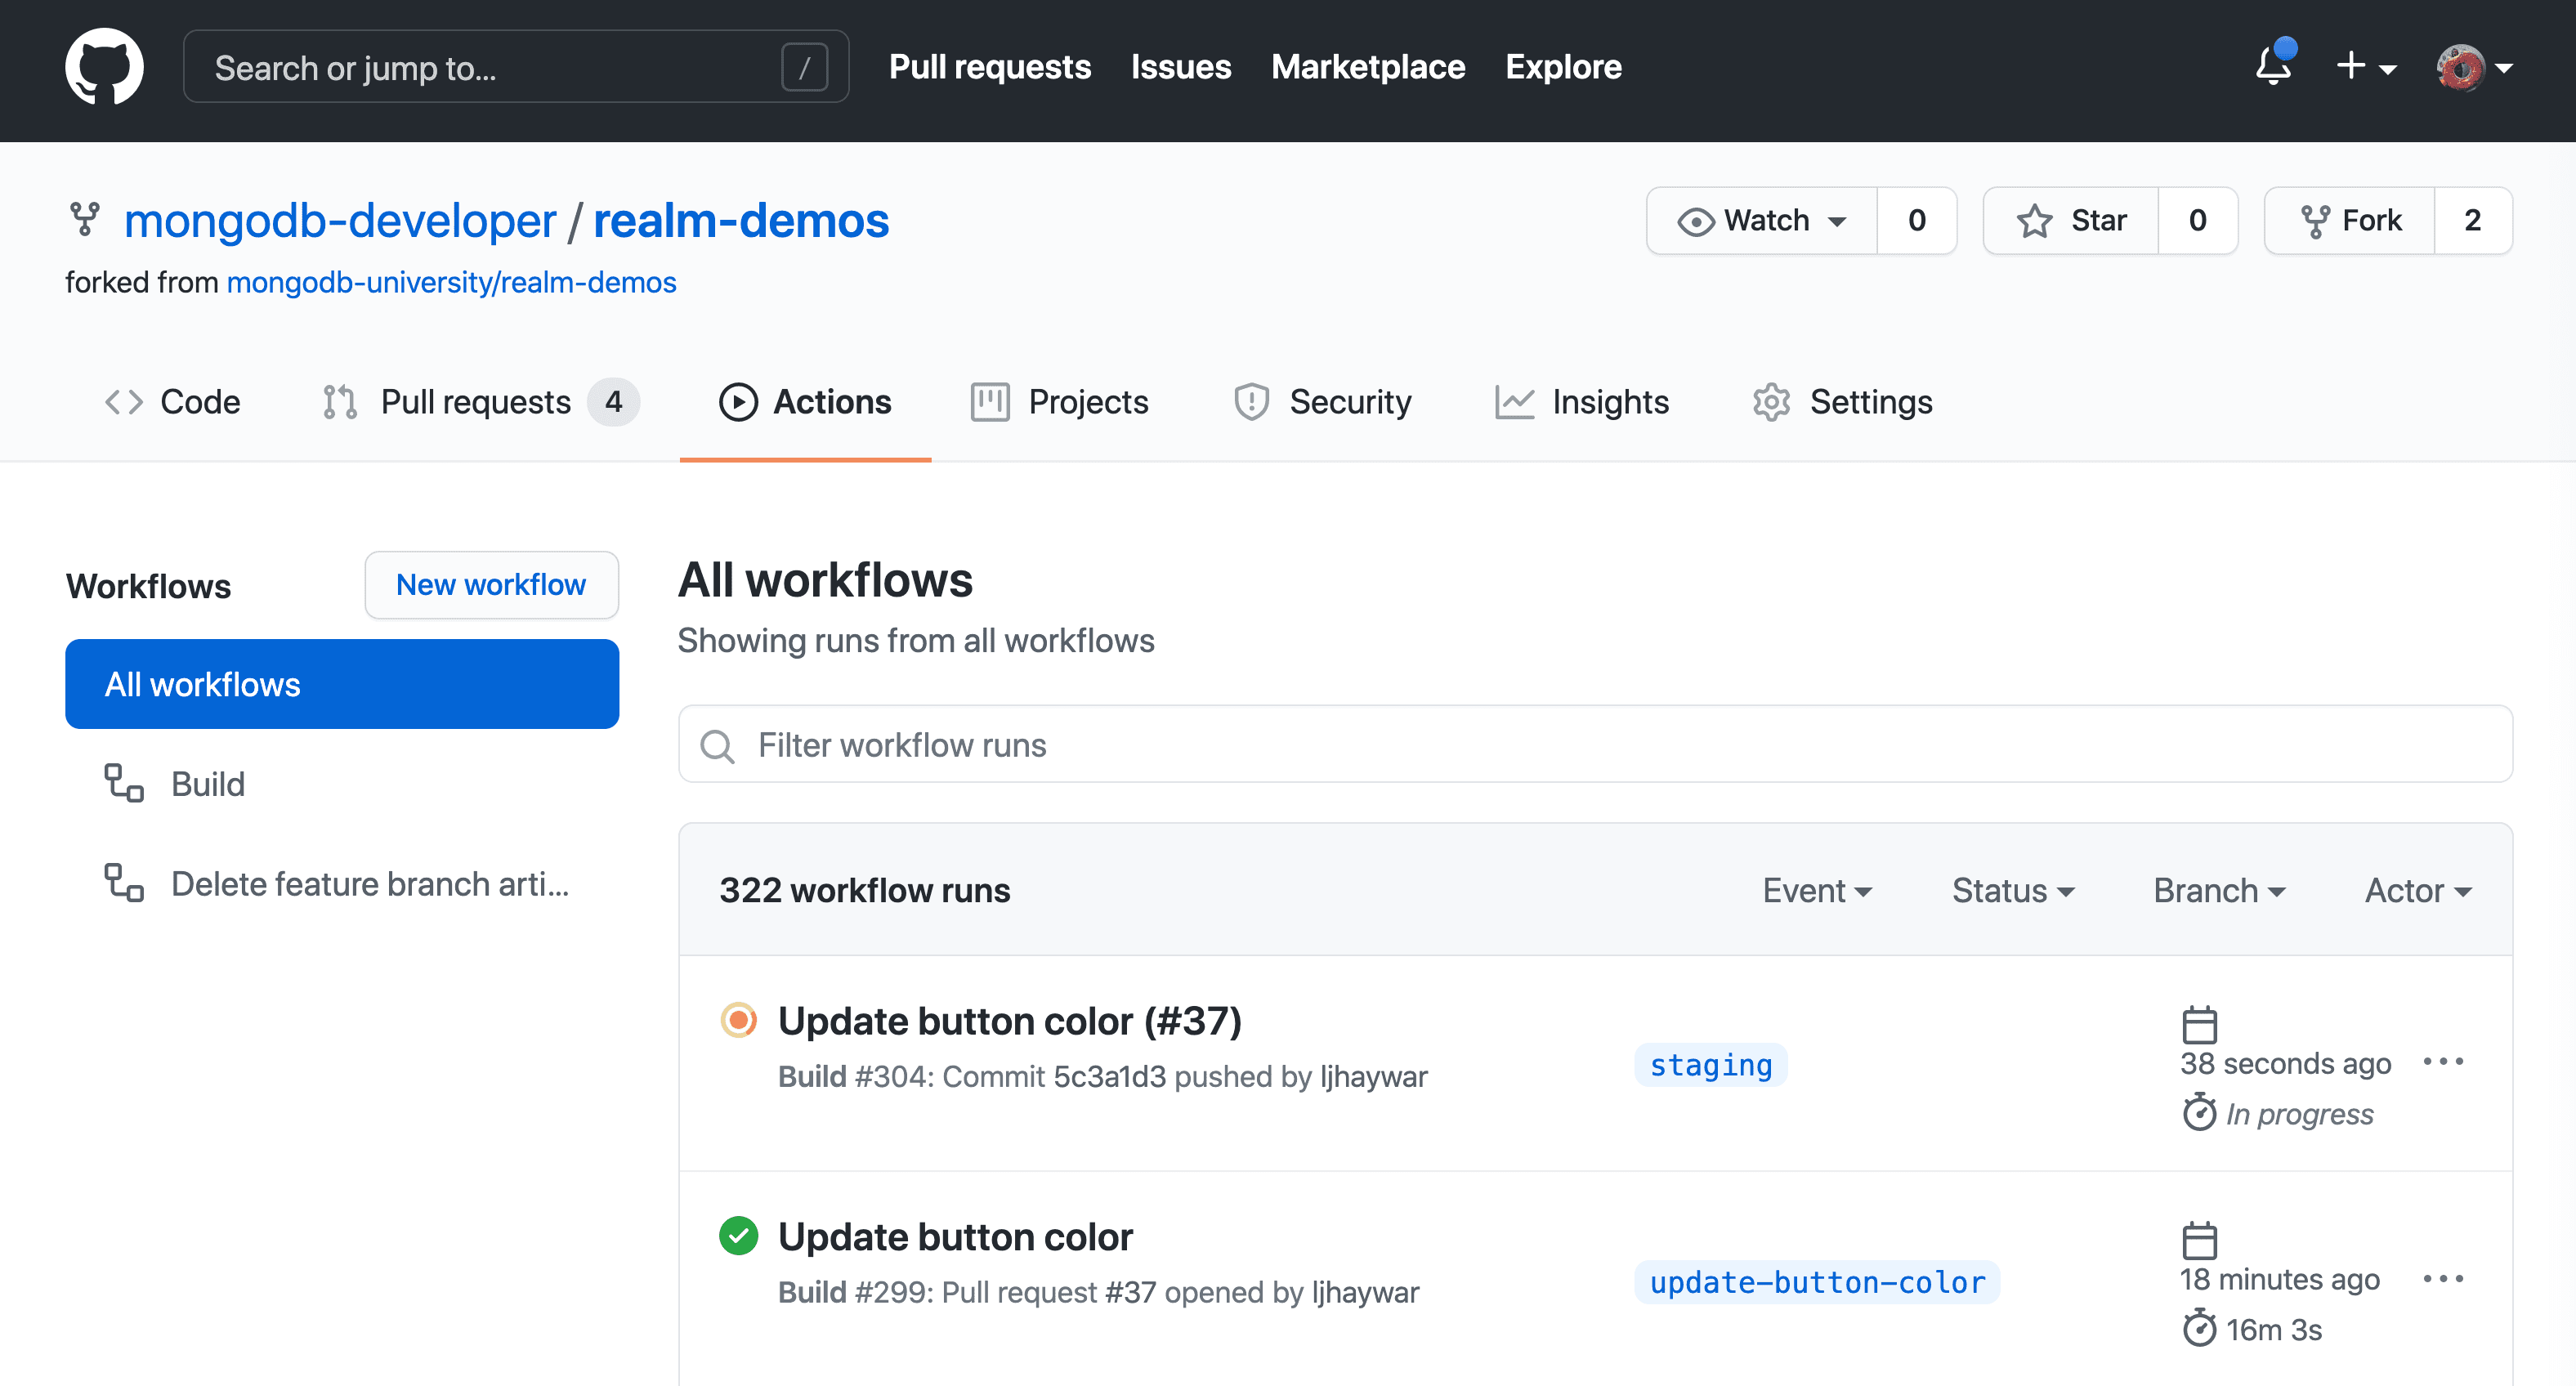
- Set up job. This step is created by GitHub Actions to prepare the workflow.
- Run actions/checkout@v2. Uses the Checkout V2 Action to check out the repository so the workflow can access the code.
- Is this a push to the Staging branch? This step checks if the workflow was triggered by a push to the
stagingbranch. If so, it stores the ID of the Staging Realm App in theREALM_APP_IDenvironment variable.
5. Install the App Services CLI and authenticate. See the section above for more information on this step.
6. Push updated copy of the Realm App for existing apps (Main, Staging, or Feature branches). This step pushes an updated copy of the Realm App (stored in
inventory/export/sync) for cases when the Realm App already exists.7. Create
realm-app-id.txt that stores the Realm App ID. See the section above for more information on this step.
8. Build mobile app and run tests. See the section above for more information on this step.
9. Post Run actions/checkout@v2. This cleanup step runs automatically when you use the Checkout V2 Action.
10. Complete job. This step is created by GitHub Actions to complete the workflow.Realm has a new feature releasing soon that will allow you to roll back deployments. When this feature releases, I plan to add a step to the workflow above to automatically roll back the deployment to the previous one in the event of test failures.
At this point, some teams may choose to have their pipeline automation stop before automatically moving to production. They may want to run manual tests. Or they may want to intentionally limit their number of releases.
I've chosen to move forward with continuous deployment in my pipeline. So, if the tests in Staging pass, the workflow above continues on to the
pushToMainBranch job that automatically pushes the latest commits to the main branch. The job runs the following steps:- Set up job. This step is created by GitHub Actions to prepare the workflow.
- Run actions/checkout@v2. Uses the Checkout V2 Action to check out all branches in the repository, so the workflow can access both the
mainandstagingbranches. - Push to the Main branch. Merges the code from
stagingintomain.
4. Post Run actions/checkout@v2. This cleanup step runs automatically when you use the Checkout V2 Action.
5. Complete job. This step is created by GitHub Actions to complete the workflow.
Now my code is in the final stage: production. Production is where the end users get access to the application.
When the previous workflow merged the code changes from the
staging branch into the main branch, another workflow began.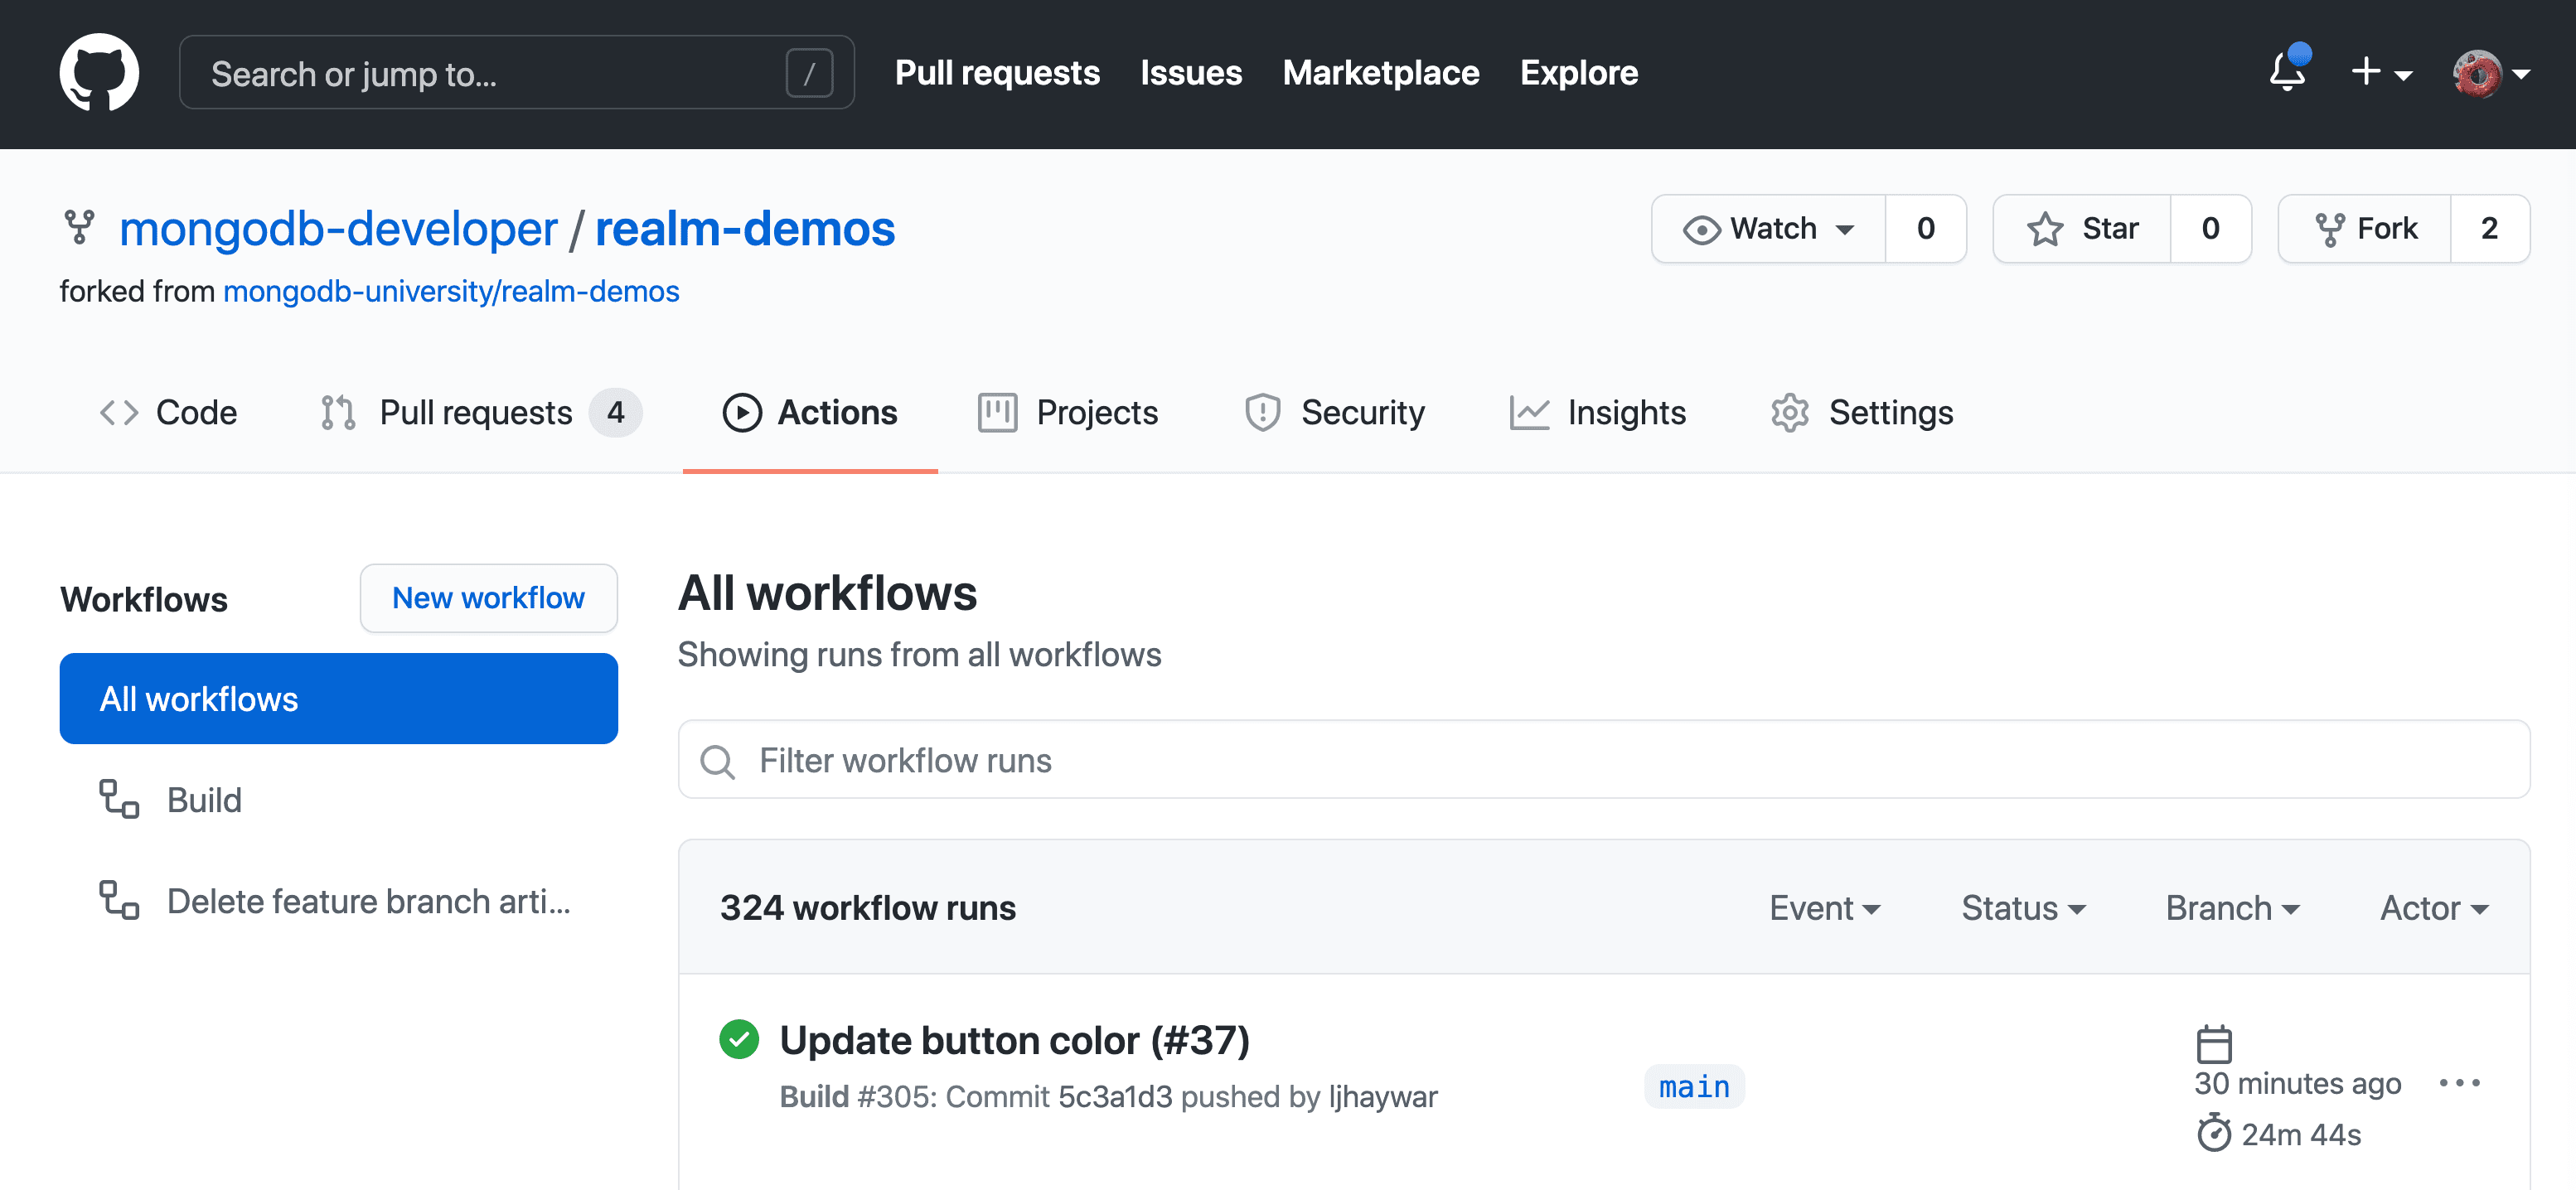
The workflow runs the following steps.
- Set up job. This step is created by GitHub Actions to prepare the workflow.
- Run actions/checkout@v2. Uses the Checkout V2 Action to check out the repository so the workflow can access the code.
- Is this a push to the Main branch? This step checks if the workflow was triggered by a push to the
mainbranch. If so, it stores the ID of the Production Realm App in theREALM_APP_IDenvironment variable.
5. Install the App Services CLI and authenticate. See the section above for more information on this step.
6. Push updated copy of the Realm App for existing apps (Main, Staging, or Feature branches). See the section above for more information on this step.
7. Create
realm-app-id.txt that stores the Realm App ID. See the section above for more information on this step.
8. Build mobile app and run tests. See the section above for more information on this step.
9. Install the Apple certificate and provisioning profile (so we can create the archive). When the workflow is in the production stage, it does something that is unique to all of the other workflows: This workflow creates the mobile app archive file (the .ipa file). In order to create the archive file, the Apple certificate and provisioning profile need to be installed. For more information on how the Apple certificate and provisioning profile are installed, see the GitHub documentation.
10. Archive the mobile app. This step creates the mobile app archive file (the .ipa file).11. Store the Archive in a GitHub Release. This step uses the gh-release action to store the mobile app archive in a GitHub Release as shown in the screenshot below. 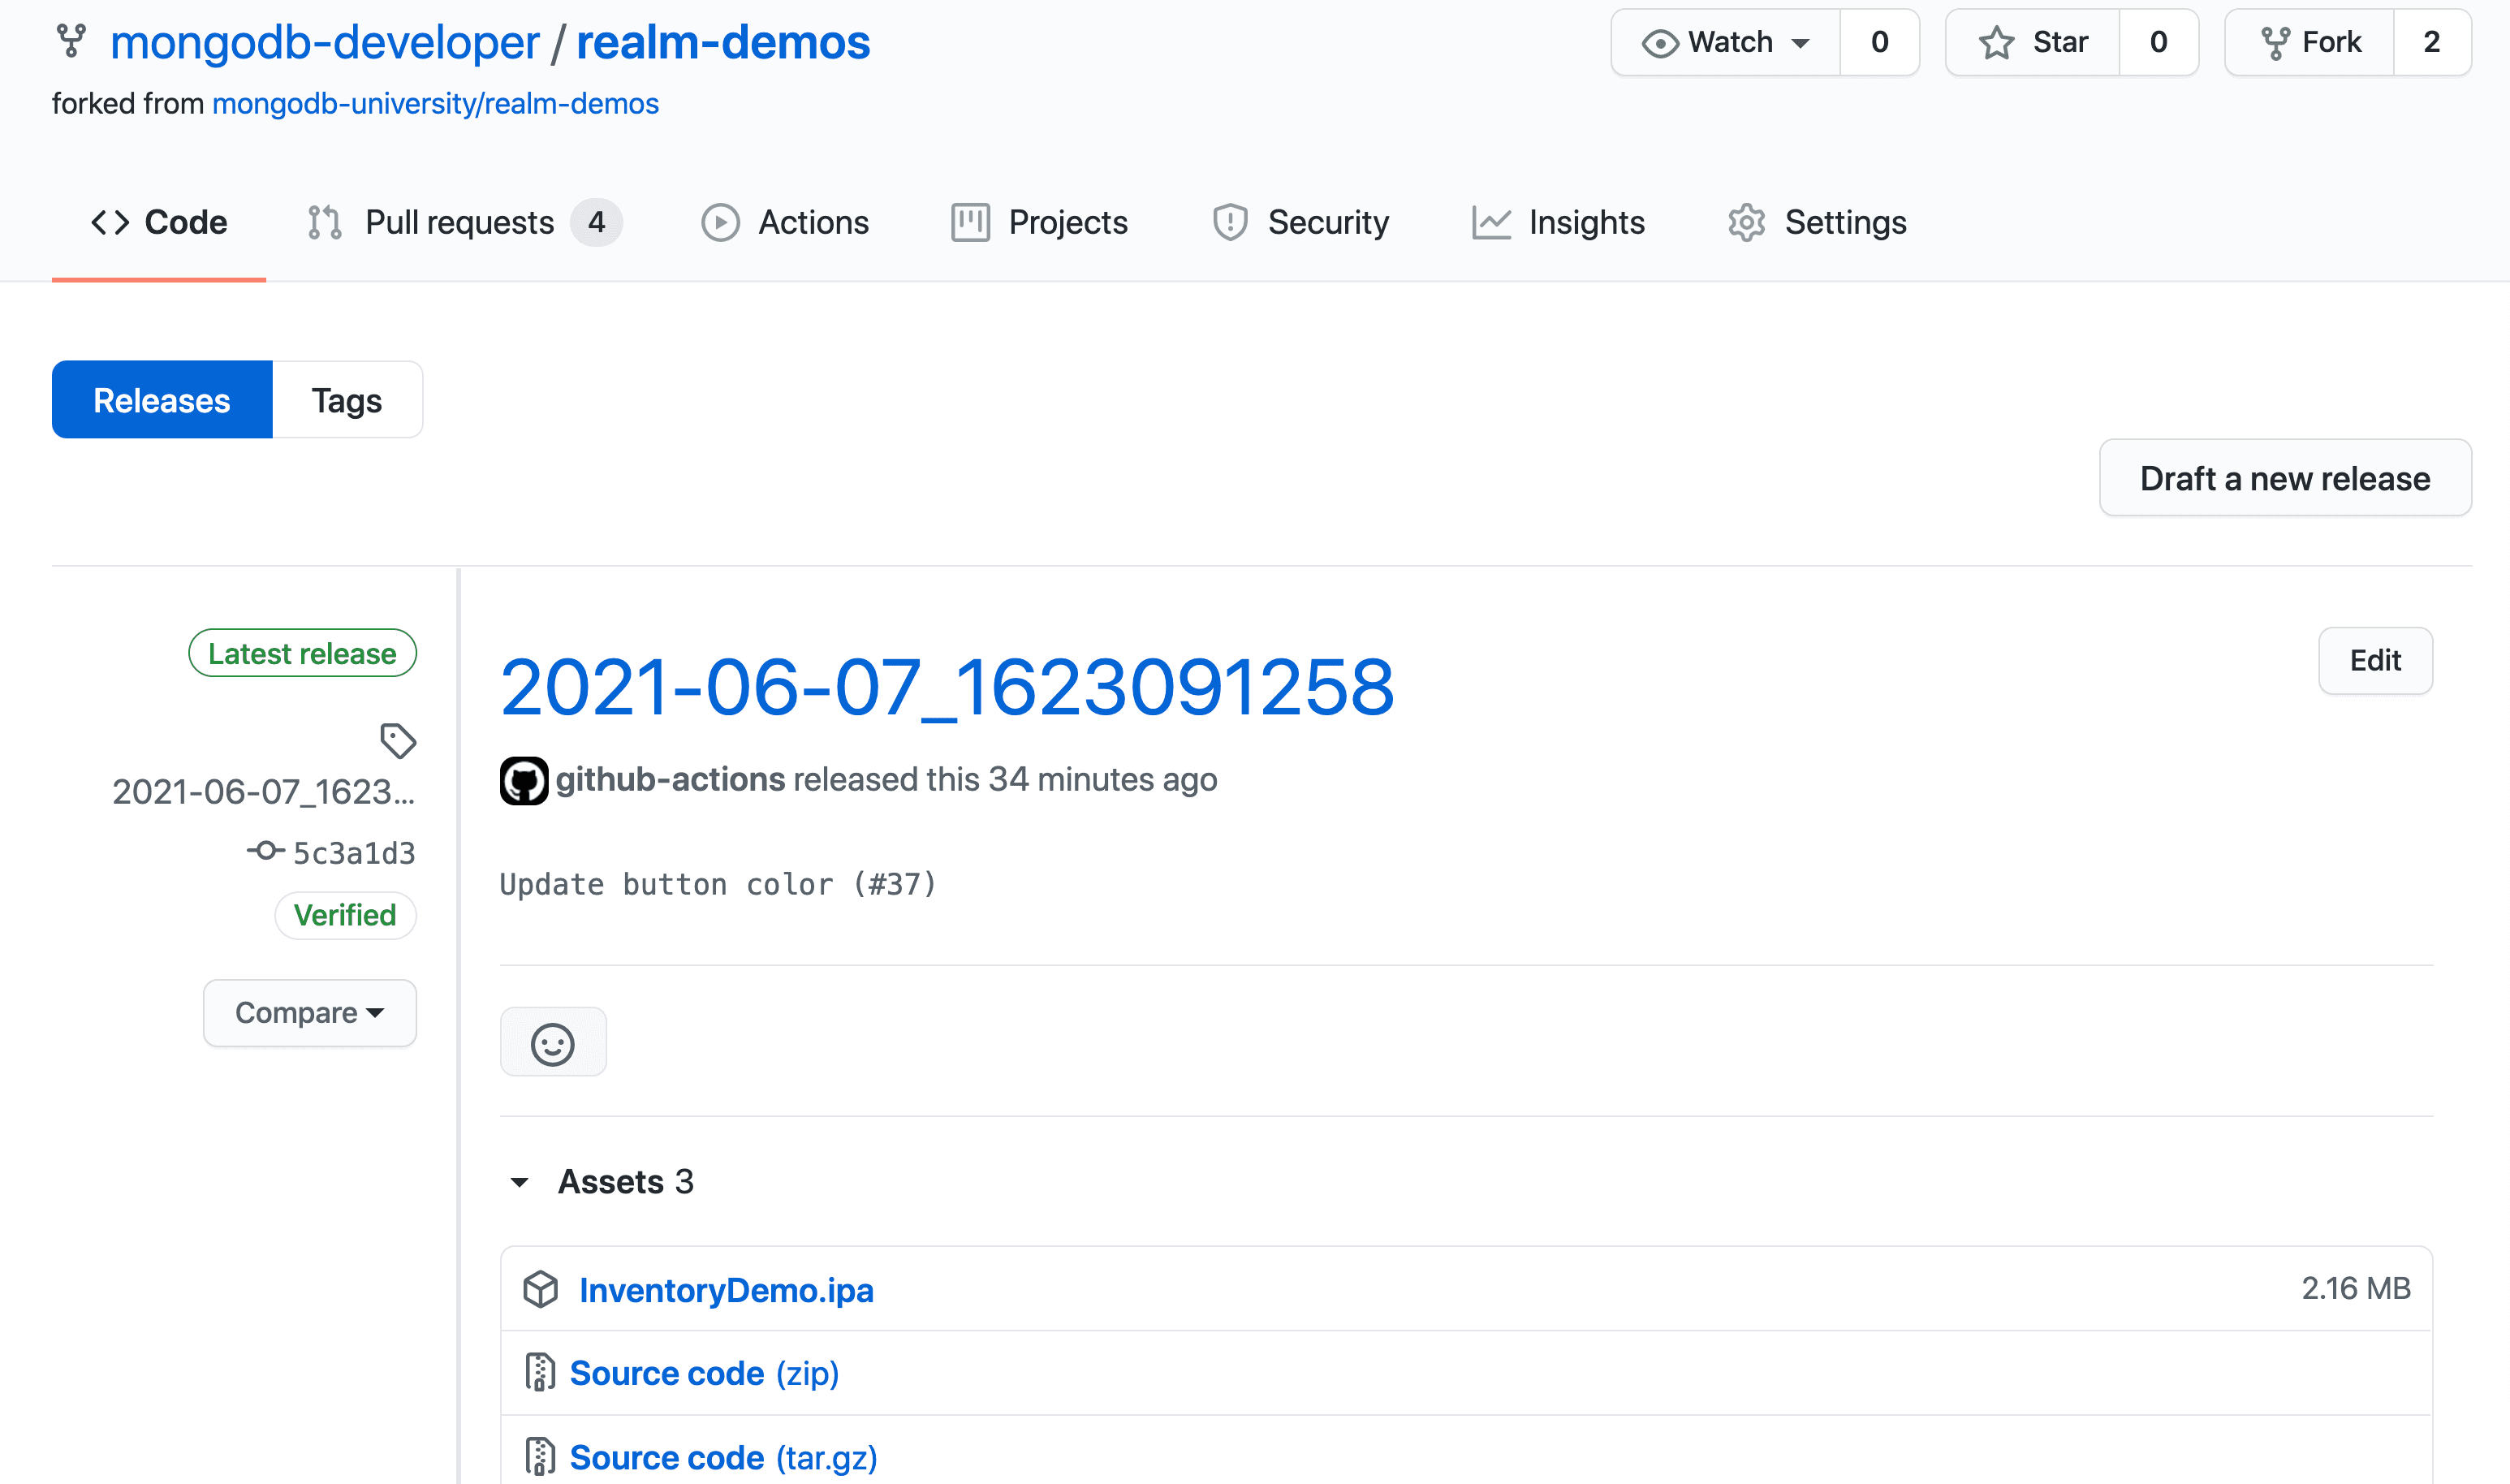 12. Post Run actions/checkout@v2. This cleanup step runs automatically when you use the Checkout V2 Action.
13. Complete job. This step is created by GitHub Actions to complete the workflow.
12. Post Run actions/checkout@v2. This cleanup step runs automatically when you use the Checkout V2 Action.
13. Complete job. This step is created by GitHub Actions to complete the workflow.
12. Post Run actions/checkout@v2. This cleanup step runs automatically when you use the Checkout V2 Action.
13. Complete job. This step is created by GitHub Actions to complete the workflow.As I described above, my pipeline creates a GitHub release and stores the
.ipa file in the release. Another option would be to push the .ipa file to TestFlight so you could send it to your users for beta testing. Or you could automatically upload the .ipa to the App Store for Apple to review and approve for publication. You have the ability to customize your worfklow based on your team's process.The nice thing about automating the deployment to production is that no one has to build the mobile app archive locally. You don't have to worry about that one person who knows how to build the archive going on vacation or leaving the company—everything is automated, so you can keep delivering new features to your users without the panic of what to do if a key person is out of the office.
As I wrap up this article, I want to help you get started building your pipeline.
I encourage you to begin by working with key stakeholders to map your ideal pipeline. Ask questions like the following:
- What stages will be in the pipeline? Do you have more stages than just Development, Staging, and Production?
- What automated tests should be run in the various stages of your pipeline? Consider if you need to create more automated tests so that you feel confident in your releases.
- What should be the final output of your pipeline? Is the result a fully automated pipeline that pushes changes automatically to the App Store? Or do you want to do some steps manually?
Once you've mapped out your pipeline and figured out what your steps should be, it's time to start implementing your pipeline. Starting from scratch can be challenging... but you don't have to start from scratch. Here are some resources you can use:
- The repo has example mobile app and sync code, so you can see how the app itself was implemented. Check out the ios-swiftui directory.
- The repo also has automated tests in it, so you can take a peak at those and see how my team wrote those. Check out the InventoryDemoTests and the InventoryDemoUITests directories.
- The part I'm most excited about is the GitHub Actions Workflow: build.yml. This is where you can find all of the code for my pipeline automation. Even if you're not going to use GitHub Actions to implement your pipeline, this file can be helpful in showing how to execute the various steps from the command line. You can take those commands and use them in other CI/CD tools.
- The delete-feature-branch-artifacts.yml workflow shows how to clean up artifacts whenever a feature branch is deleted.
- The MongoDB Realm documentation has a ton of great information and is really helpful in figuring out what you can do with the App Services CLI.
- The MongoDB Community is the best place to ask questions as you are implementing your pipeline. If you want to show off your pipeline and share your knowledge, we'd love to hear that as well. I hope to see you there!
You've learned a lot about how to craft your own CI/CD pipeline in this article. Creating a CI/CD pipeline can seem like a daunting task.

With the resources I've given you in this article, you can create a CI/CD pipeline that is customized to your team's process.
As Tom Haverford wisely said, "Sometimes you gotta work a little so you can ball a lot." Once you put in the work of building a pipeline that works for you and your team, your app development can really fly, and you can feel confident in your releases. And that's a really big deal.

Rate this tutorial